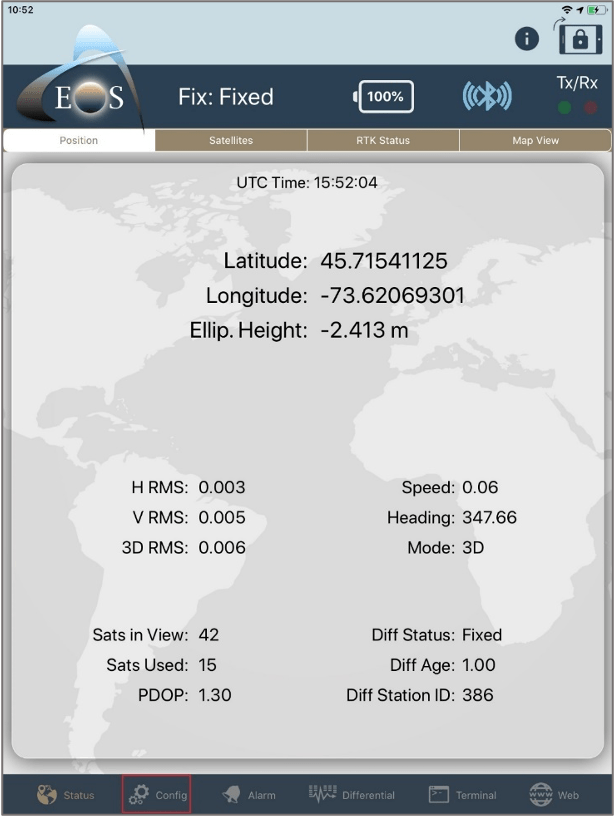
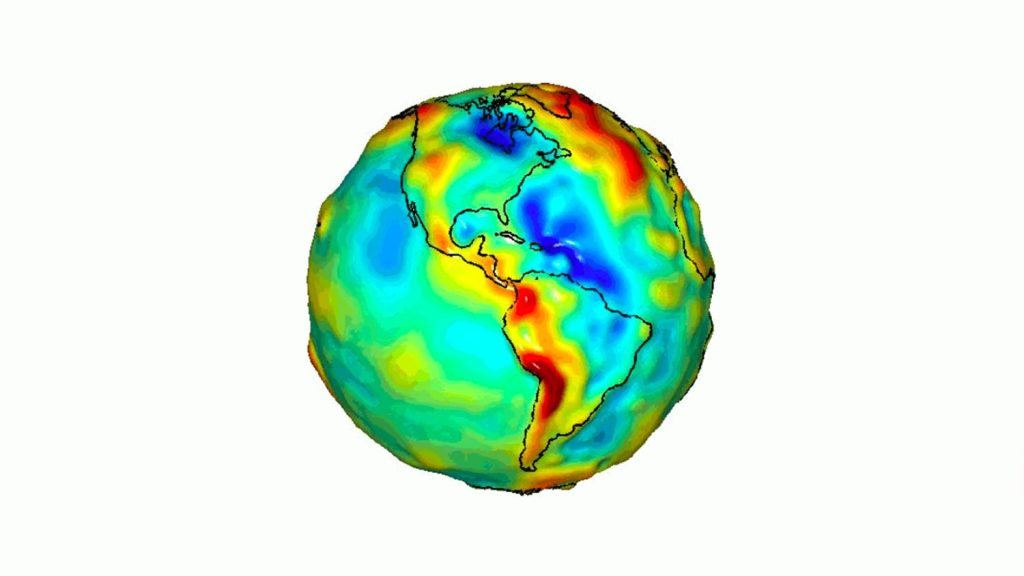
If precise elevation is required for your workflow, we strongly suggest taking a moment to configure real-time orthometric heights to match your vertical datum. In this section, we will show you how to configure Eos Tools Pro so that it outputs orthometric height measurements in the Z-value of the point geometry in ArcGIS Collector. This is possible thanks to built-in geoid models within Eos Tools Pro.
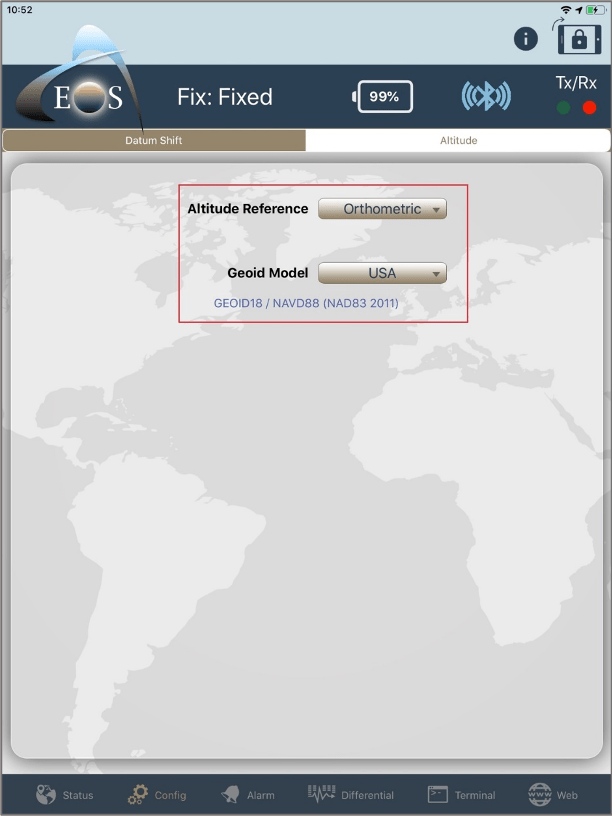
Step 2: Select Altitude in the upper menu bar.
From the Altitude Reference drop-down, select Orthometric.
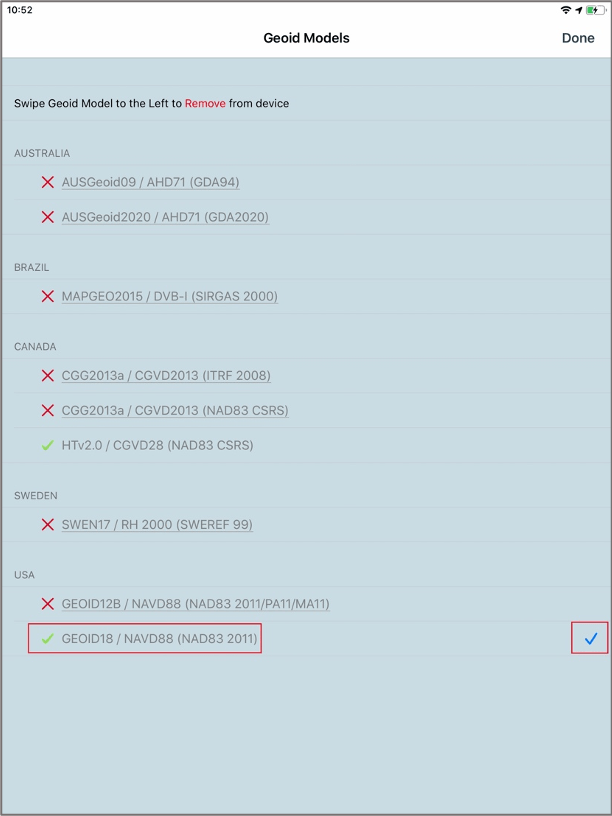
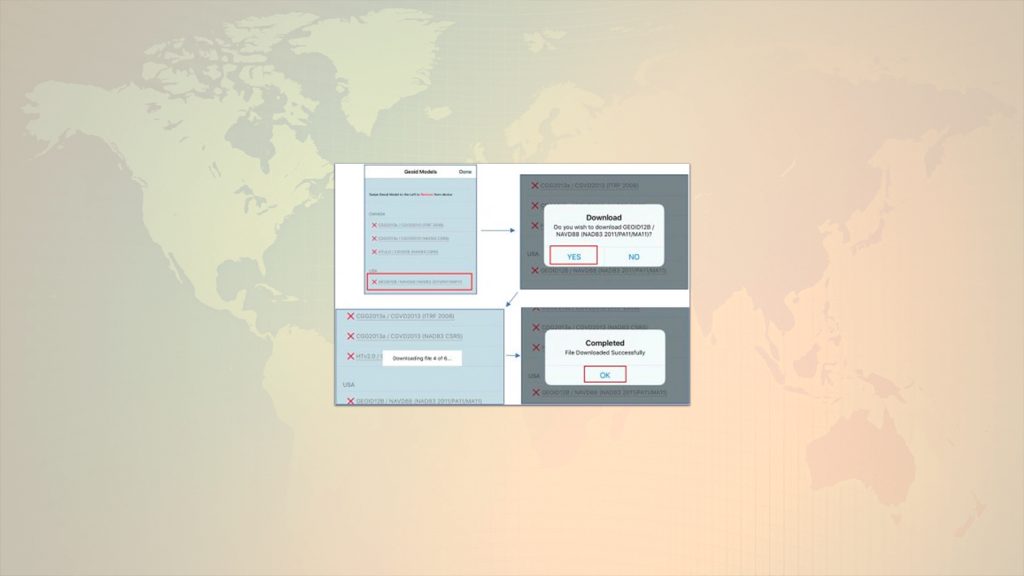
You will be presented with a list of supported (downloadable) geoid models. Scroll down to your country and select the geoid model you wish to download.
The geoid model will download to your device. Once downloaded, select the model by simply tapping on it (a selection checkmark will appear to the right). Then tap Done.
For this example, we have selected “GEOID18 / NAVD88” for field work in the USA:
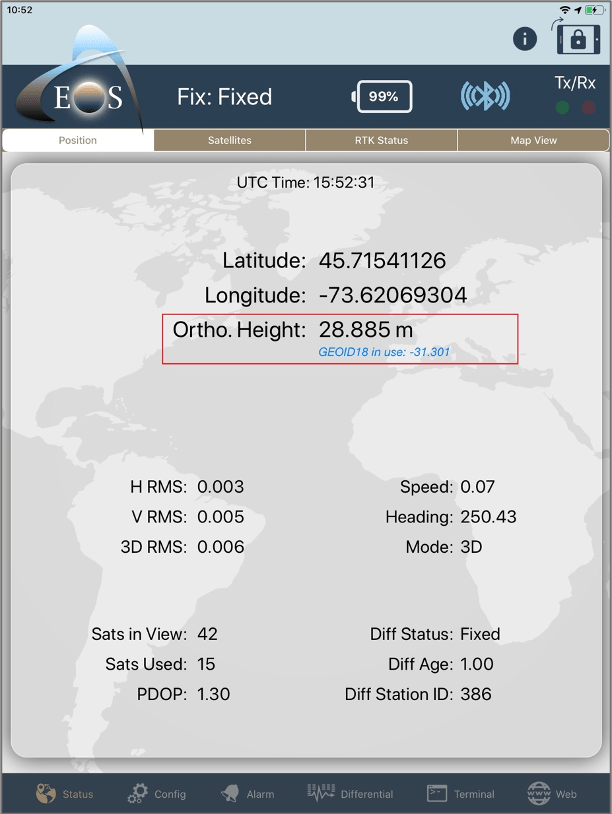
Back in your Eos Tools Pro Position tab you will now see your orthometric height.
With orthometric height configured in Eos Tools Pro, now you can begin collecting orthometric heights in the field.

