Enable Mock Location on Android: A How-To Guide
In order for location-aware apps to have access to the more accurate position of the Arrow, Mock Location must first be enabled on your Android device. Eos Tools Pro will take care of populating the Android Location Service with the Arrow position. The way you enable mock location on Android is fairly simple, and in this article, we’ll show you how to achieve it.
Mock Location is available in the “hidden” Developer Mode menu on your device:
- Go to your “Settings”, “Systems”, “About Device” and tap multiple times on “Build number” and activate the Developer Mode. A new “Developer Options” menu will be available under “Settings” / “Systems”
- In the “Developer Options” menu, scroll down to “Debugging” and activate the “Allow mock locations”.
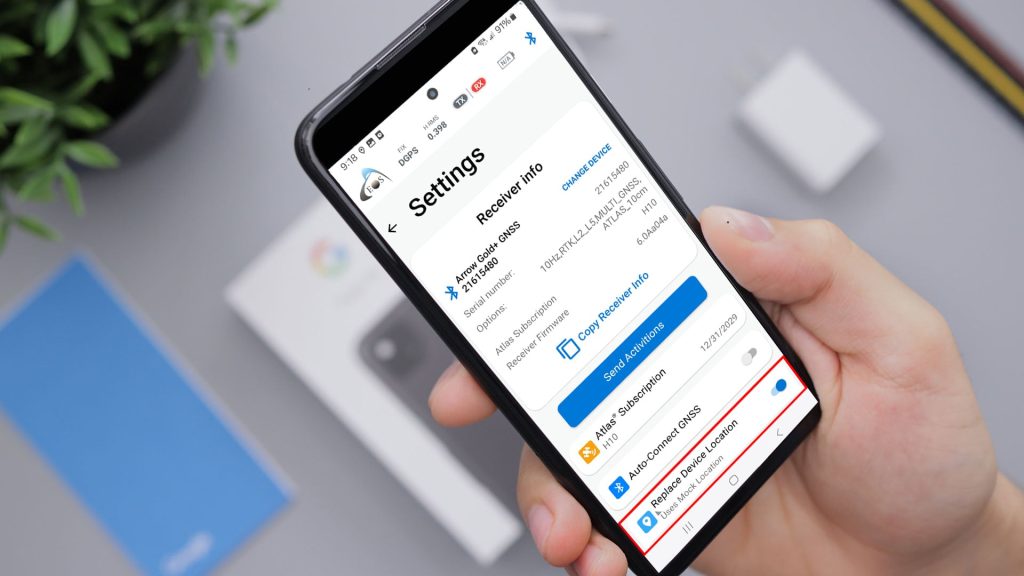
Mock Location must also be enabled in the pull-down menu of Eos Tools Pro (see below on how to access the Main menu on Android 4 and 5).
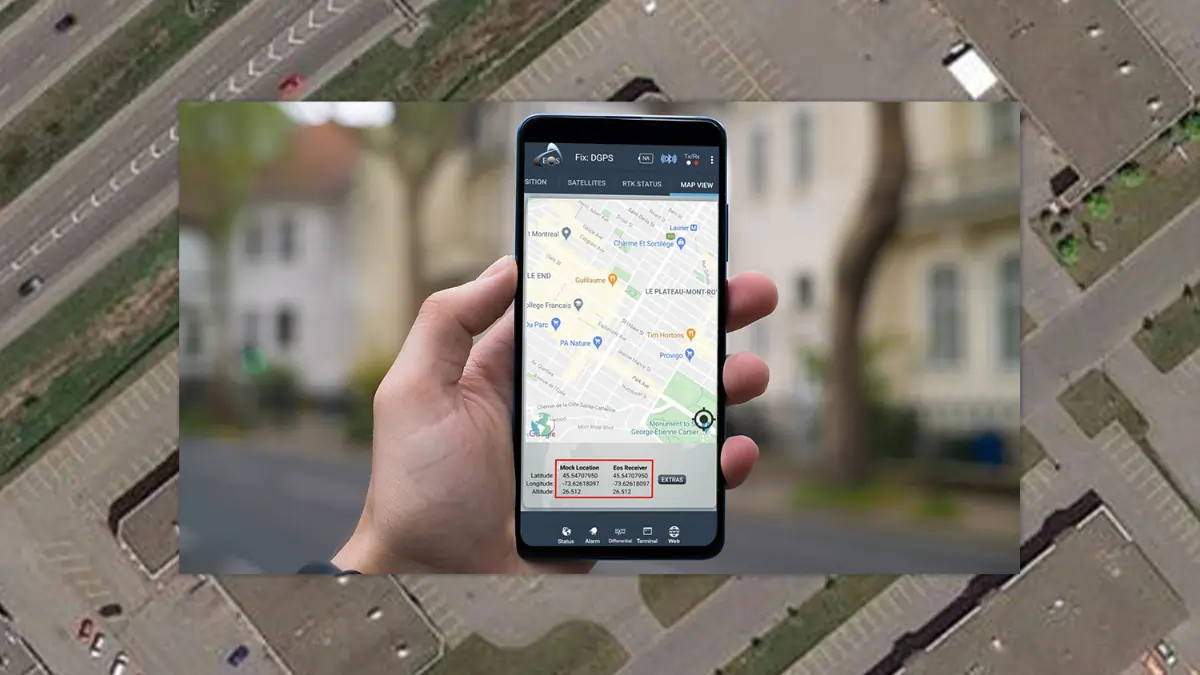
In the “Map View” menu of Eos Tools Pro, you can verify that the Location Service is being populated by the Arrow coordinates. There are two columns:“Mock Location” and “Eos Receiver”. When mock location is active and receiving a valid position from your Arrow receiver, coordinate values in both column will be identical.
Accessing the Main Menu in Eos Tools Pro on Android 4 and 5.
- In Android 5, the Settings menu in Eos Tools Pro will be available on the top right corner.
- In Android 4, the menu is activated by the Menu button to the left of the Home button.
Mock location should also be enabled in this pull-down (pull-up) menu in Eos Tools Pro.
Altitude Reference
Please note that Eos Tools Pro for Android reports and populates Location Service with either “Ellipsoidal” or “Receiver MLS” height. The choice for the “Altitude Reference” is made in the “Settings” menu. Since the “Receiver MSL” height is a coarse/inaccurate grid, we recommend setting to “Ellipsoidal”; it then makes it easier to apply a local geoid model/grid directly to the collected data in your GIS to obtain accurate MSL height.


