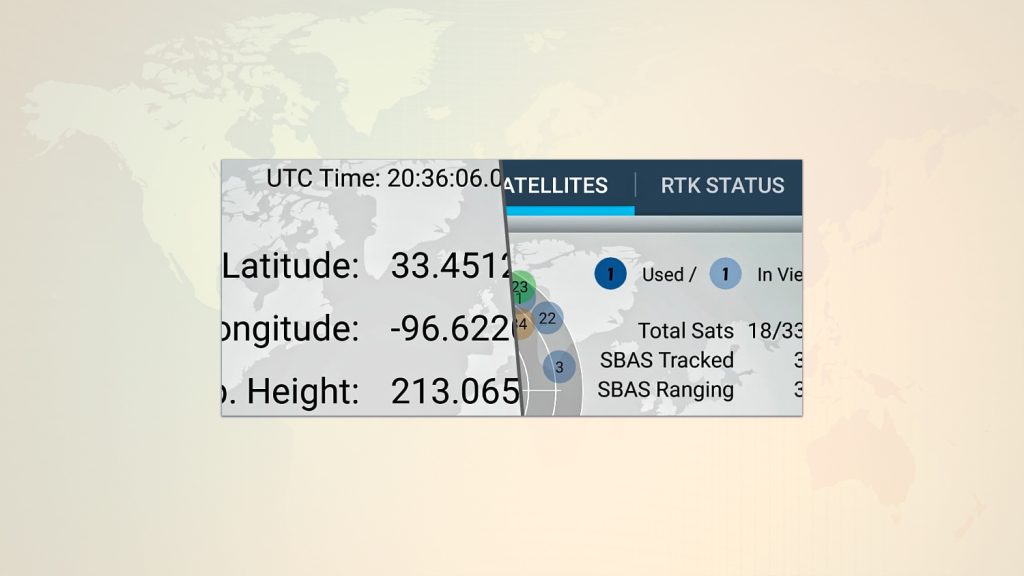
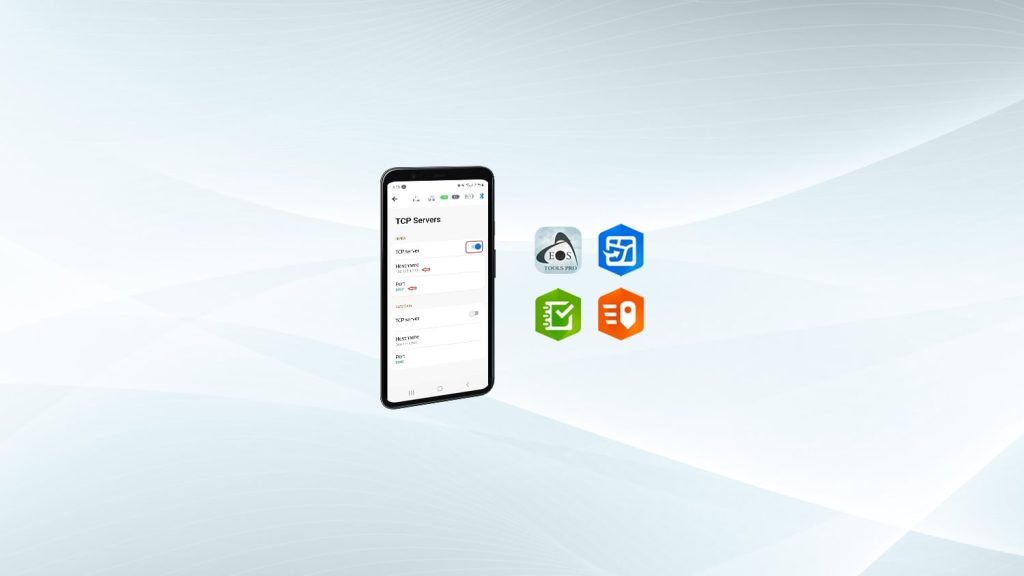
In order for location-aware apps to have access to the more accurate position of your Eos GNSS receiver, Mock Location must first be enabled on your Android device. Once Mock Location is enabled, the free Eos Tools Pro app will take care of populating the Android “Location Service” on your device with the Eos GNSS position.
Mock Location is available in the “hidden” Developer Mode menu on your Android device. Here is how to enable it:
For Android 7+ device versions
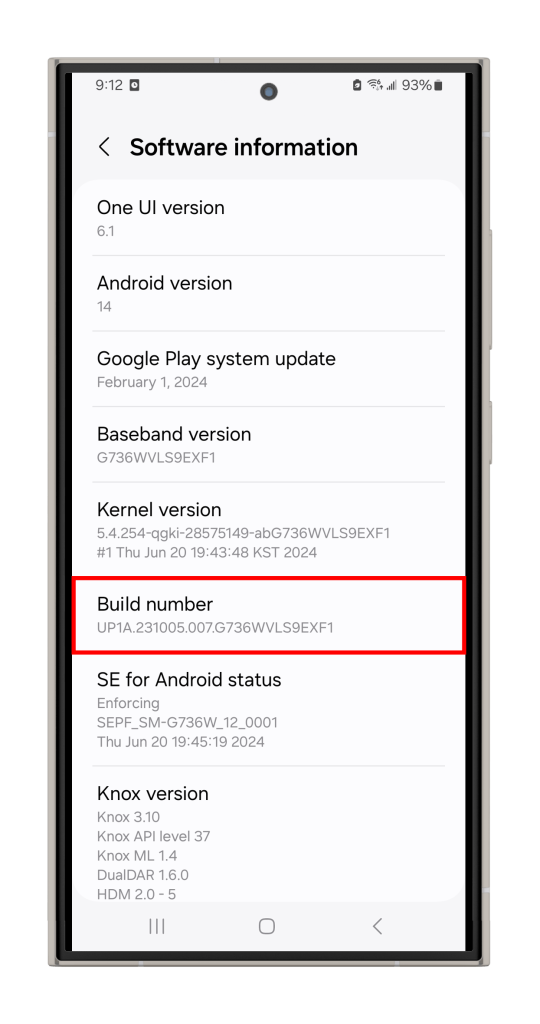
First, go to “Settings” → navigate to “About Device” → and finally tap multiple times on “Build number” at the bottom of the menu to activate the Developer Mode.
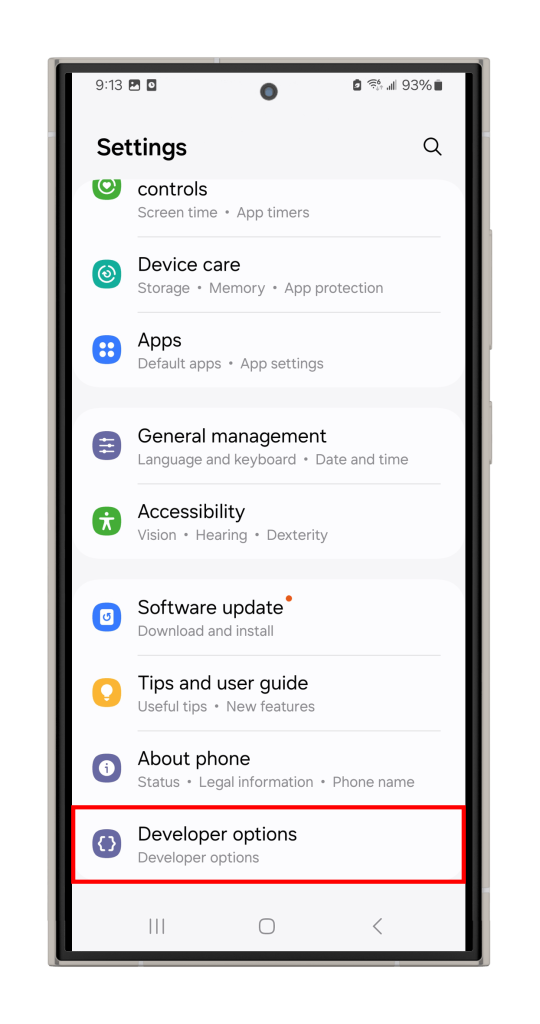
Now, a new “Developer Options” menu will be available under “Settings” → “System”
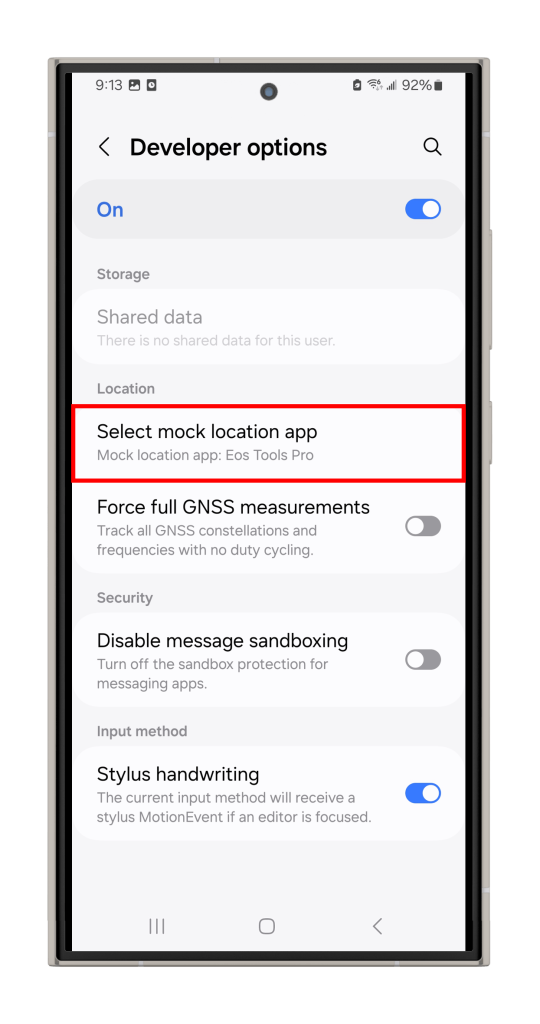
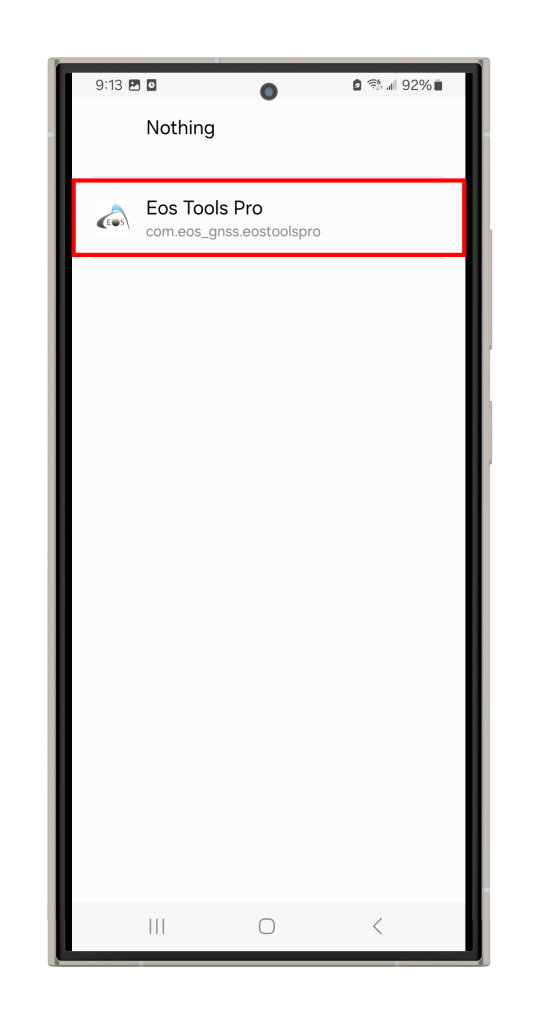
In this “Developer Options” menu, scroll down to “Debugging”, and tap on “Select mock location app”.
Finally, select Eos Tools Pro as the mock location app and close the menu.
Note: For Android 5 and 6 users, you need to check the “Allow mock locations” box.
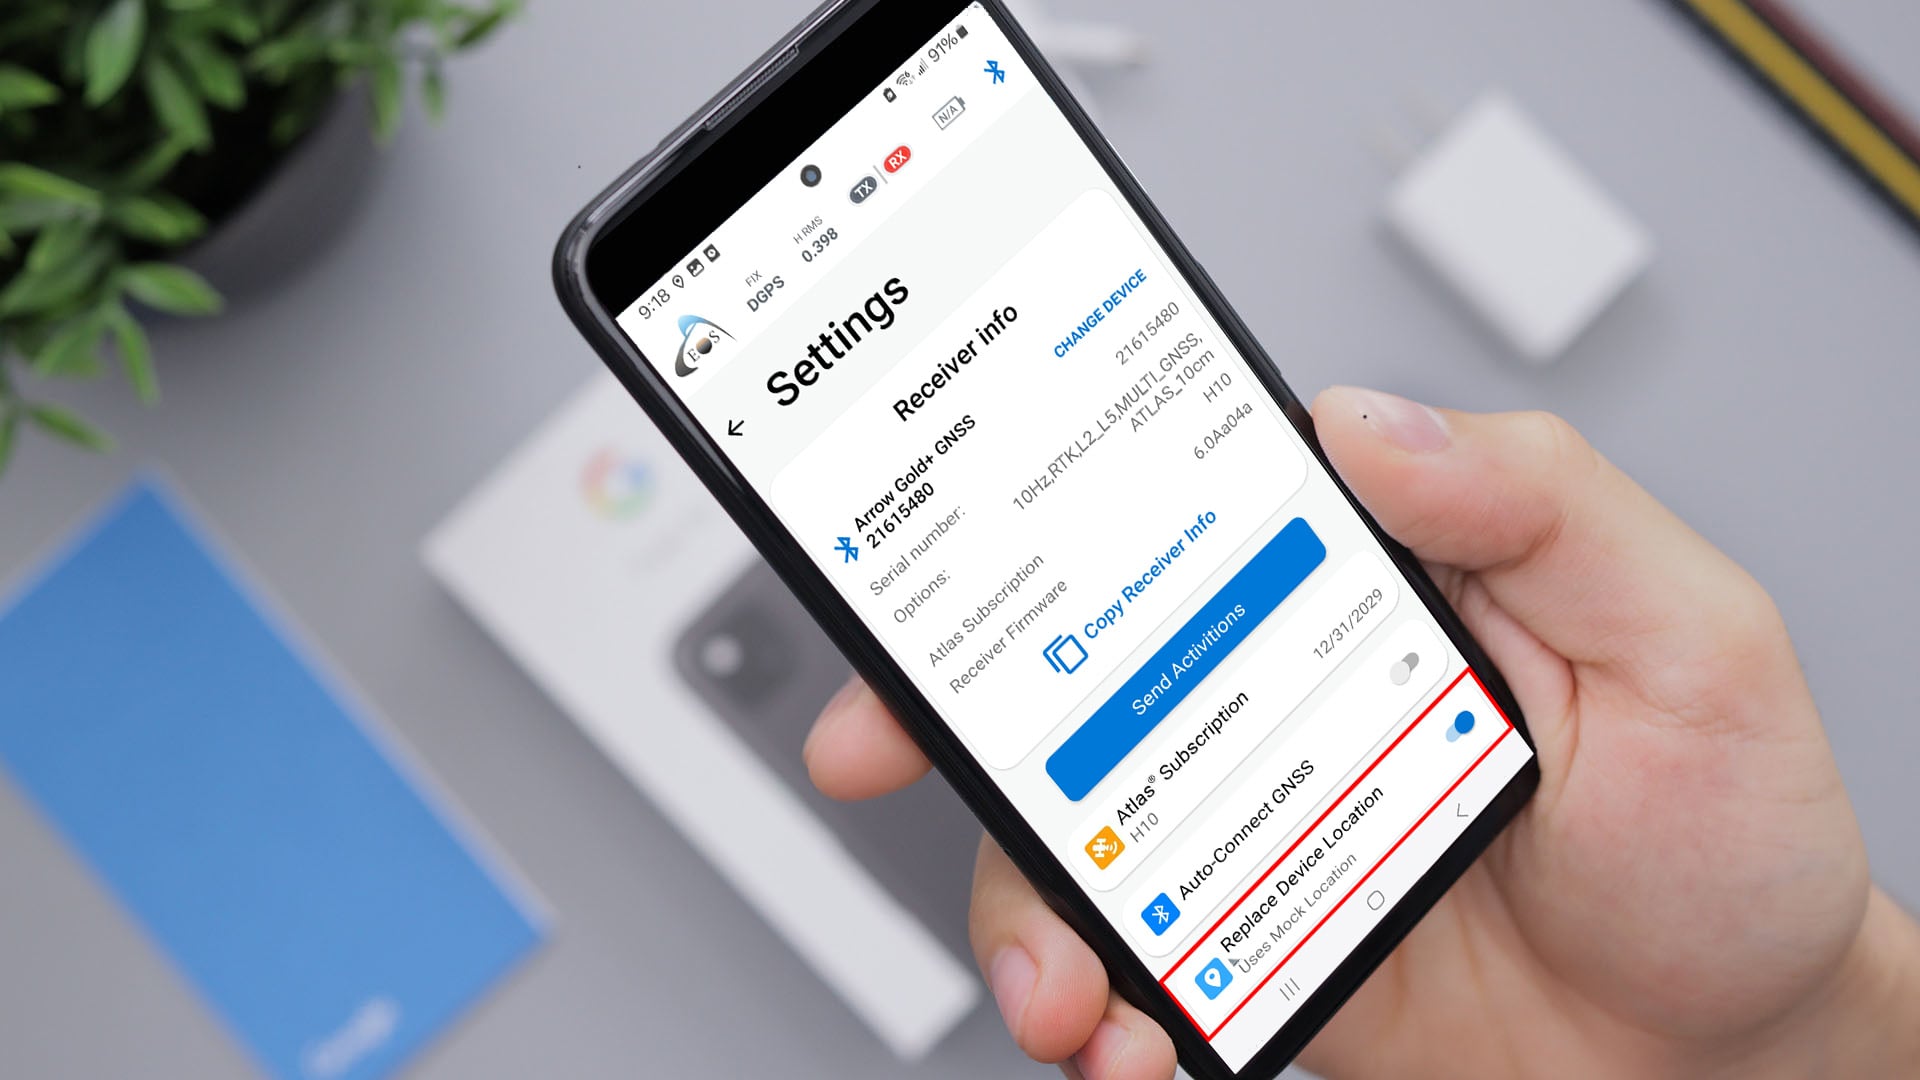
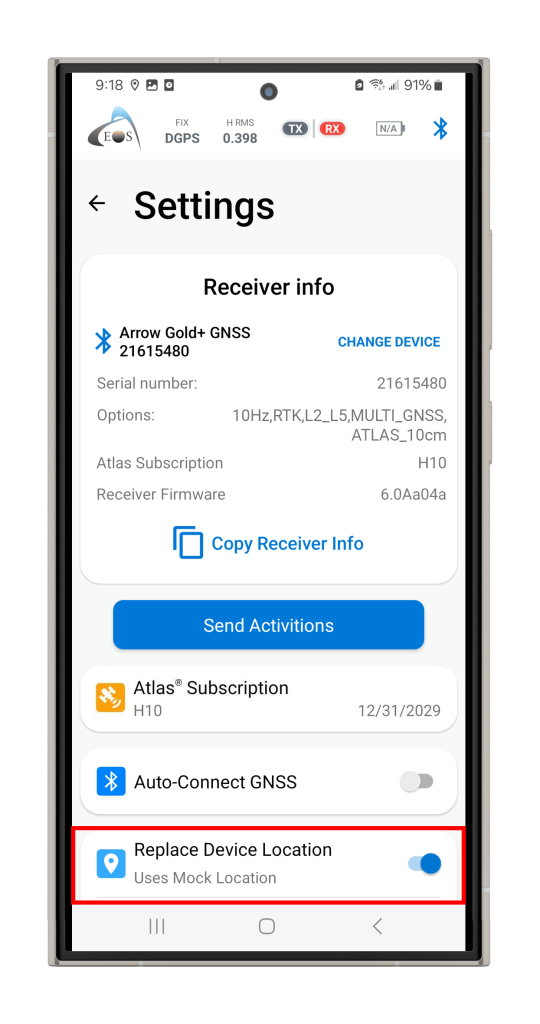
The next step is to enable Mock Location in Eos Tools Pro. To enable this option, open Eos Tools Pro and tap on the three dots at top right corner to access the menu. Activate the “Replace Device Location” button.
Validating Mock Location activation with your Eos GNSS Receiver
In the “Map View” menu of Eos Tools Pro, you will be able to confirm that the Android Location Service is indeed being populated by the Eos GNSS receiver coordinates. But first, you will need to select and then connect to your Eos receiver. Here is how to proceed:
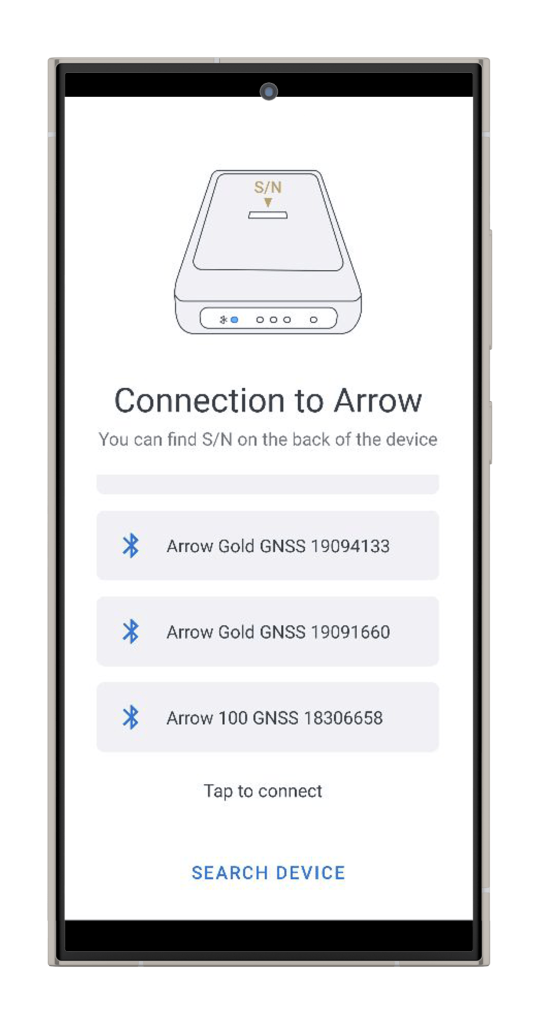
After you have Bluetooth-paired your Eos receiver to your Android device, launch Eos Tools Pro. Tap on your Eos receiver to start the Bluetooth connection (the receiver Bluetooth LED state should change from blinking to solid at this point).
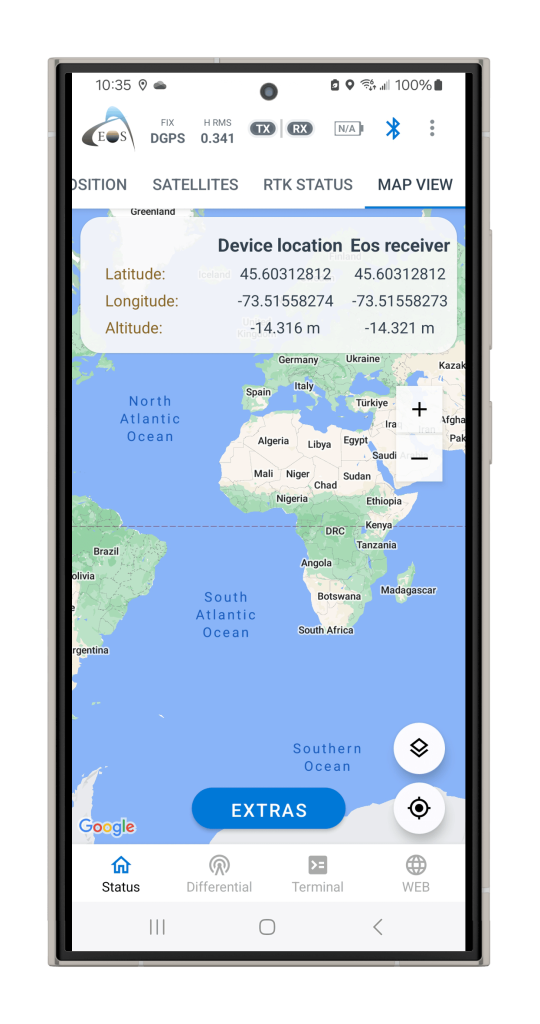
To validate that your Android device’s Location Service is being populated by the Eos GNSS receiver, navigate to the Map View menu from the Status menu. There you will see two sets of coordinates in two columns: “Device Location” and “Eos receiver”. When the mock location is operating properly with a valid position from your Eos receiver, coordinate values in both columns will be identical.
A Note on Altitude Reference
The type of elevation reported by your Eos GNSS receiver in the device’s location depends on your altitude reference setting of Eos Tools Pro. For example, if Orthometric (along with a geoid model for your area) is selected, the altitude of your device’s Location Service will be Orthometric.

