Unboxing the Arrow Gold GNSS receiver and mounting to a range pole
Synopsis
Peek inside what comes in your Arrow GNSS rugged case. This video will walk you through all the parts that belong in your rugged field case, and how to mount your Arrow Gold GNSS receiver to a pole for field work.

Transcript for “How to Unbox Your Arrow Gold GNSS Receiver from its Rugged Case”
This video will walk through how to unbox your Arrow Gold GNSS receiver, including an explanation of all the components that go into the rugged receiver case, and how to mount it to a survey pole.
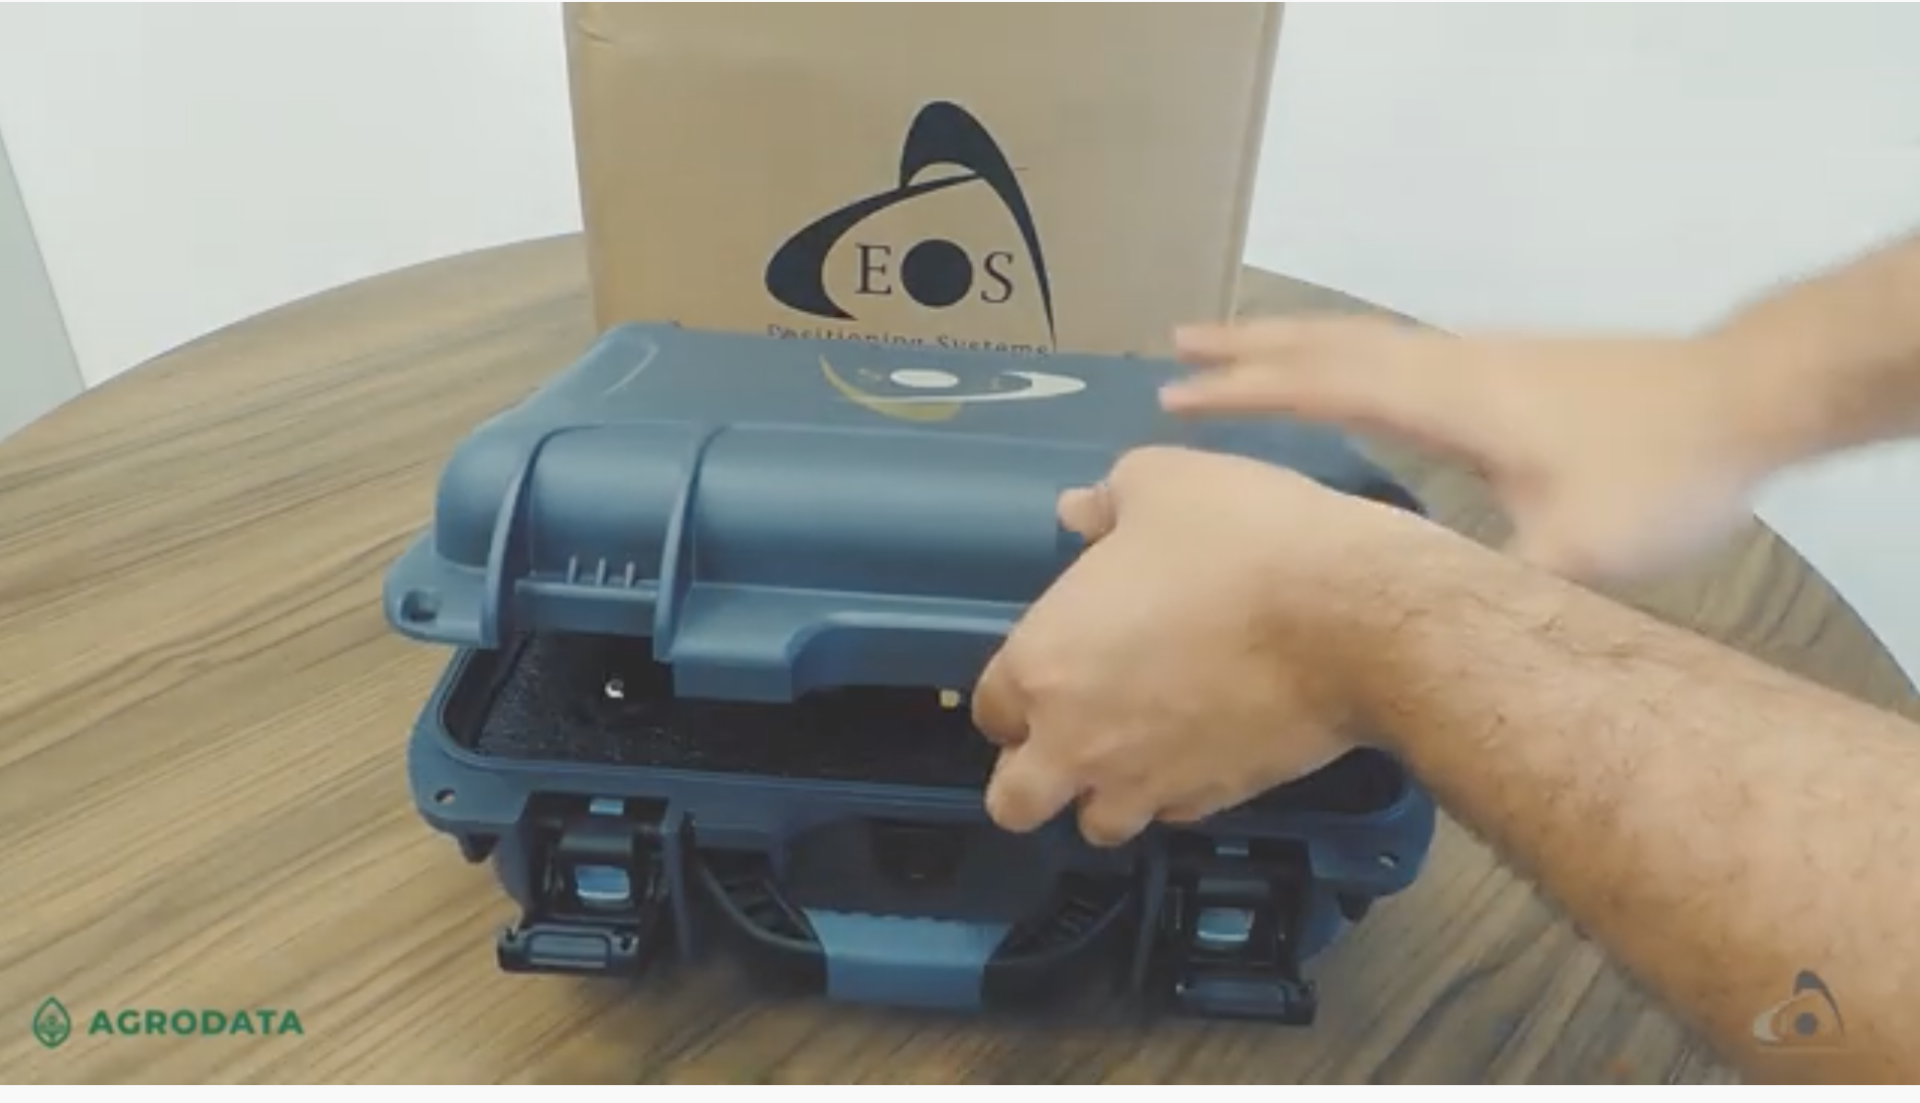
Unboxing your Arrow Gold RTK GNSS receiver from its ruggedized case
First open the case latches and remove the Arrow Gold GNSS receiver. Your Arrow has a
- Power button (press hard to turn on)
- LED interface with: Battery light, status lights (GPS, DGPS, DIFF), and Bluetooth connectivity indicator
On one side of the Arrow, you’ll find the charger input.
On the backside, you’ll find a USB Input for your USB data cable and another port for your your Antenna Connector cable.
How to take off the battery
Flip over the receiver to its back and unscrew the gray battery by twisting the circular latch until it is loose. The battery will slide off when you pull it.
You can now replace the battery with a field-replaceable fully charged battery, or you can charge this battery and replace it later.
To replace the battery, re-attach it to the Arrow and screw the circular latch until it is tight.
How to connect the Arrow to its antenna
Remove the antenna and antenna mounting plate from the rugged case.
Attach the antenna mounting plate via its cable to the Arrow via its Antenna Connector. Screw the two cables together.
How to attach your pole clamp
Remove the clamp from the rugged case.
Slide it into the Arrow bracket on the side. The clamp will fit onto a metal cylinder. Secure it.
Using your Arrow accessories (charger and USB cable)
To use the wall charger, remove the charger from its box and packaging. Insert the charger into the charge port previously shown on the Arrow’s side. Charge for 8 hours.
To use your USB Data Cable, pull it out of the case and packaging. Connect the cable to the Arrow USB Connector and your desktop PC.
How to mount your Arrow Gold to the pole
- Attach the Arrow: First, attach your pole clamp (without the Arrow). Screw it in tightly toward the top of the pole.
- Attach the antenna: Next, slide your Arrow into the clamp by its bracket. Take your antenna and mount plate from the rugged case and screw that onto the top of your pole.
- Connect the Arrow to antenna: Connect the antenna cable to the Arrow Connector cable.
You are ready to go out and collect cm accurate data with your Arrow Gold!
For more videos, check back frequently or subscribe to our monthly newsletter.