To acquire RTK corrections with your Eos GNSS receiver, you need an app such as Eos Tools Pro capable of receiving and transmitting RTK corrections. RTK corrections are received via the Internet, and they are transmitted to the receiver via Bluetooth®.
Eos Tools Pro includes both a Networked Transport of RTCM via Internet Protocol (NTRIP) and a Direct Internet Protocol (DIP) client. These are two options that allow you to connect directly to an RTK network or base station by entering your credentials (e.g., IP address, port number, username, password).
In this tutorial, we will show you how to use Eos Tools Pro on iOS® to configure the differential settings required to connect to your RTK network or base station for use with an Eos GNSS receiver. These steps will work for any Arrow Series® or Skadi Series™ receiver.
Please note that this configuration may be done indoors prior to going outdoors for field work. However, you will need to be outside in order to achieve survey-grade accuracy with your Eos GNSS receiver while using your RTK network.
Initial Settings
Make sure your Eos GNSS receiver is Bluetooth paired to your iOS device by checking your iOS Bluetooth settings, where you should see the receiver connected. Launch Eos Tools Pro.
Setting up Eos Tools Pro for RTK
There are two ways to connect to an RTK network/base station using Eos Tools Pro on iOS. Choose from the following options:
- NTRIP – This is the most common choice.
- DIP
The next two sections cover each of the connection methods separately.
NTRIP: Connecting to Your RTK Network/Base Station Using the NTRIP Protocol
1. Confirm that you have a valid GNSS position. To do this, go to the Status menu at the bottom and tap your Position menu. Your Coordinates should be populated and continuously updating.

2. Now tap open the Differential menu at the bottom of the app. Select the NTRIP tab.

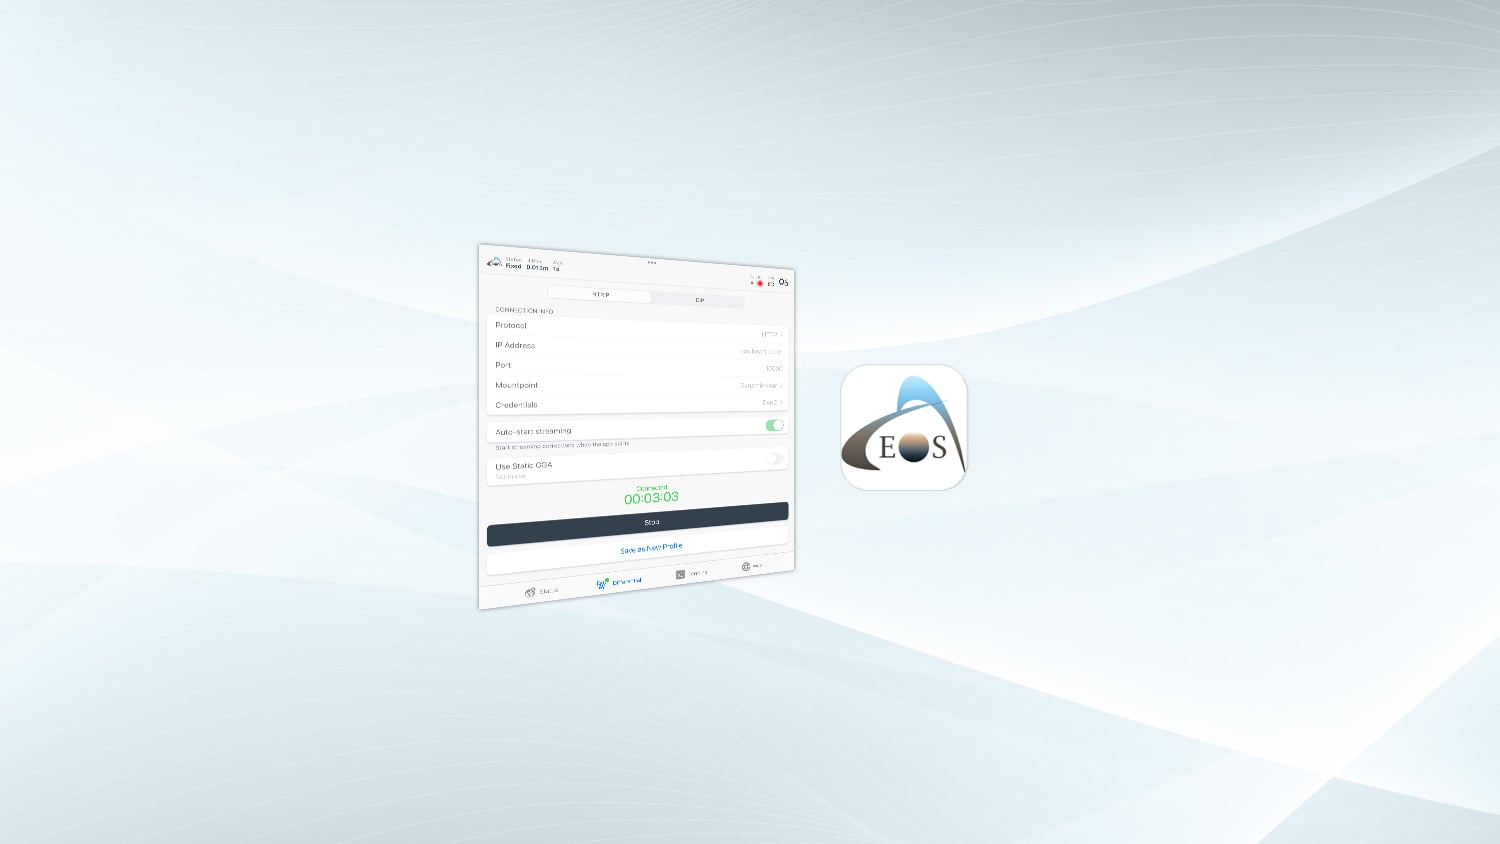
3. Select the Protocol. Most RTK network providers use the HTTP protocol. Unless your provider specifies HTTPS, select HTTP. Enter your IP Address and Port (sometimes collectively referred to as “caster information”). This information will be provided to you by your RTK network provider.

4. Next, tap on the Mountpoint field to open a view of the available mountpoints your caster is offering. Select your desired mountpoint. If you are unsure which mountpoint to use, start by selecting the mountpoint that is closest to your project area. Give preference to a mountpoint that is of standard RTCM format (usually RTCM 3.x) and which supports all four global constellations (e.g., GPS+GLO+GAL+BDS). If you are still unsure, contact your RTK network provider. Tap Done.

5. Back in the main NTRIP menu, select the Credentials field to open your login-information popup. Enter your username and password, provided by your RTK network provider, and tap Done.

Tip: If you would like to start streaming corrections from this NTRIP configuration every time you launch Eos Tools Pro, toggle on the Auto-start streaming switch before connecting.

6. Now tap the Start Streaming button. A timer will start, and the green Tx LED in the top right corner of the app will start blinking as your receiver begins receiving RTK corrections from Eos Tools Pro.

Once you are outdoors and your receiver is tracking satellites in clear view of the sky, you will be able to see your RTK corrections in action. Go back to the main status page of Eos Tools Pro by tapping Status in the bottom navigation menu of the app. In the Position tab, your Status field will change from DGPS to Float, and then finally to Fixed. The H RMS value will also improve to a within a few centimeters. Meanwhile, as long as you have a good internet connection, your correction age should fluctuate between one to two seconds.
Now that you have successfully completed your RTK setup, we recommend you save these settings in a profile by following the “Saving Your RTK Connection Information” steps later in this article. This way, you can save time when using the same RTK connection information in the future.

DIP: Connecting to Your RTK Network/Base Station Using the DIP Protocol
In the very rare cases in which RTK access to a base station is provided via a DIP, follow the below procedure.
1. Confirm that you have a valid GNSS position. To do this, go to the Status menu at the bottom and tap your Position menu. Your Coordinates should be populated and continuously updating.
2. Now tap open the Differential menu at the bottom of the app. Select the DIP tab.
3. Select the Protocol. Most RTK network providers use the HTTP protocol. Unless your provider specifies HTTPS, select HTTP. Enter your IP Address and Port (sometimes collectively referred to as “caster information”). This information will be provided to you by your RTK network provider.
Tip: If you would like to automatically start streaming corrections using this DIP configuration every time you launch Eos Tools Pro, toggle on the Auto-start streaming switch before connecting.

4. Tap the Start Streaming button.

Saving Your RTK Connection Information
If desired, you can also save your RTK network/base station connection information in a profile for quicker subsequent connection. These next steps will walk you through that quick process.
Saving RTK Connection Information for NTRIP and DIP Protocols
Follow the steps above for either method described above (either NTRIP or DIP). Next, tap the Save as New Profile button. You may tap this button before or after you have started your connection.

Simply give your profile a name and tap Save. In our example, we will name our profile “Dynamic.”

To use your saved profile the next time you want to connect via the same credentials, simply launch your profile options by tapping the Differential Profile field at the top of the Differential page in Eos Tools Pro.
In our case, we will select the “Dynamic” profile we just created.

Verify You Are Receiving RTK Corrections
Finally, let’s verify your receiver is receiving RTK corrections. Go to the Position menu of Eos Tools Pro by selecting the Status option from the app’s bottom navigation menu. Now you will verify the following fields:
1. The Status has changed from GPS or DGPS to Fixed or Float.
2. Once your RTK status is Fixed: Your HRMS value has changed to survey-grade measurements (e.g., a few centimeters or better).
3. Your Station ID has changed to the unique ID number of your base station or mountpoint. This will be three or four digits long.
4.The Age field, which represents the age of the most recently received corrections, is now around one to two seconds (provided you have a good internet connection).

Finally, if you tap on the RTK Status tab, you may find other helpful information about your RTK corrections. For instance, here you will also see the type of corrections received (in our case, “RTCM3”). You will also see the list of GNSS constellations and frequencies supported by both your caster and receiver.

Explore Related Items

How to Bluetooth® Pair Your Skadi Series™ GNSS Receiver to Android™ Devices and Enable Mock Location for Third-Party Apps
This article shows you how to Bluetooth® pair your Skadi Series™ GNSS receiver to any Android™ smartphone or tablet and and enable mock location for use with third-party apps.

How to Charge Your Skadi GNSS Receiver
This article shows you how to charge your Skadi GNSS receiver by using the included USB-C cord when the battery is inserted to the handle or receiver, or by using a supplemental external charging cord when the battery is free-standing.