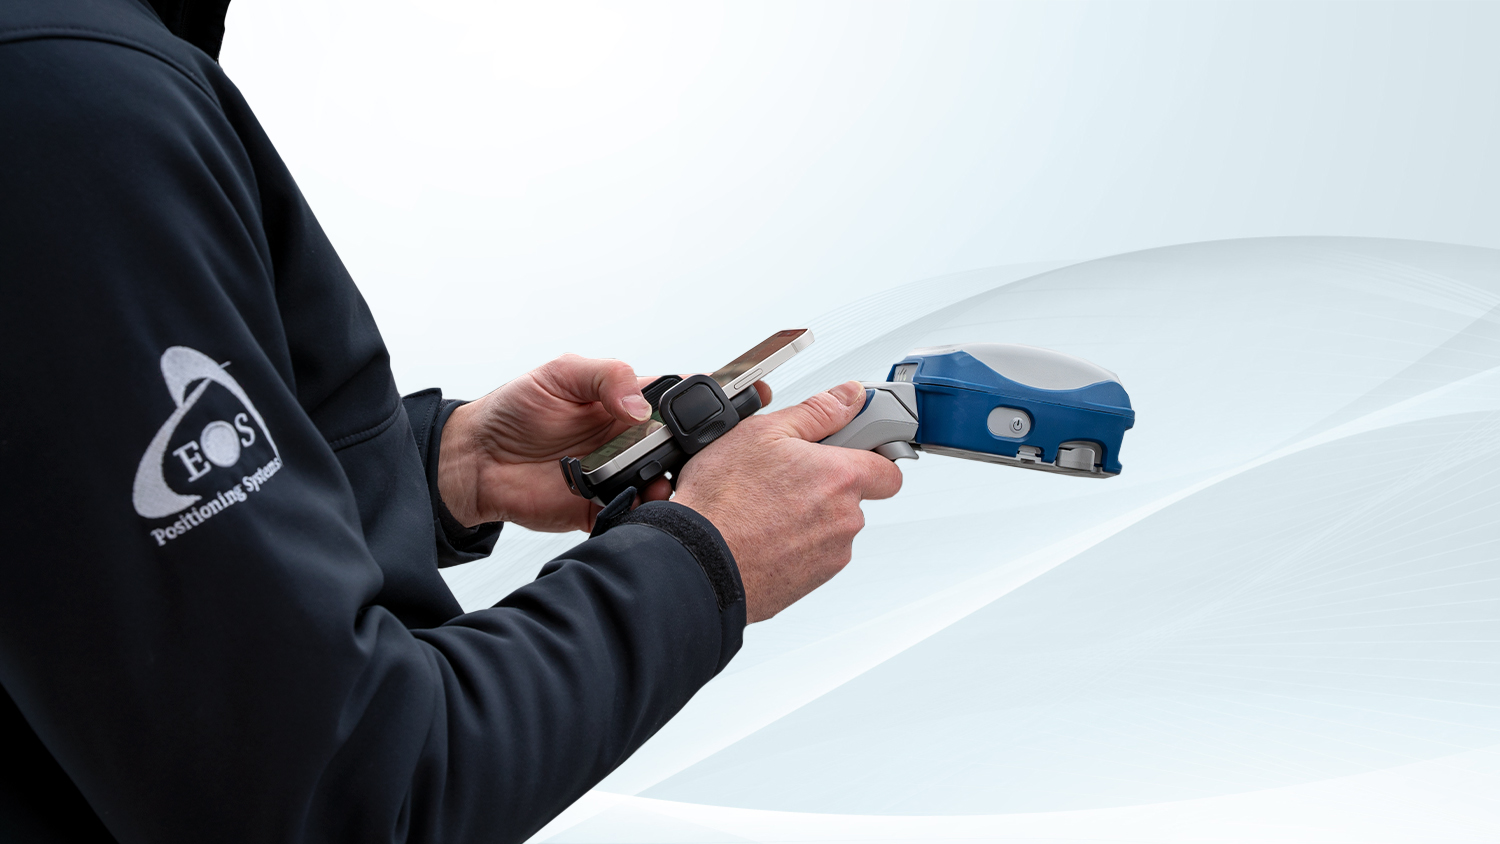
This video guides you through the steps to enable and initialize the Skadi Smart Handle™. The Skadi Smart Handle is an optional upgrade from the Skadi Standard Handle™ that provides two robust features: the Invisible Range Pole™ and Extensible Virtual Range Pole™. The smart handle may be used with a Skadi 200™, Skadi 300™, or Skadi Gold™ GNSS receiver from Eos Positioning Systems®. Learn the three methods to enable the Smart Handle and how to initialize the handle for use in the field.
Watch the video to learn how to enable and initialize your smart handle step-by-step. Or follow along with the transcript below!
Transcript
This video will show you how to enable and initialize the Skadi Smart Handle.
Step 1: Enable the Skadi Smart Handle

There are three methods to enable your smart handle.

To use the first method, open Eos Tools Pro and navigate to the Skadi Smart Handle settings. Toggle on the smart handle switch.

Alternatively, to use the second method, triple-press the receiver power button to enable the smart handle.

Finally, to use the third method, triple-press the smart handle’s trigger.
Regardless of the method you use, your smart handle will vibrate to indicate it has been enabled.

The “Tilt” LED on your Skadi GNSS receiver will also turn on and blink red at a medium speed.
Step 2: Acquire an RTK Fixed Position
Now that the Skadi Smart Handle is enabled, you must acquire an RTK fixed status.

To establish an RTK fixed status, open Eos Tools Pro, and enter your RTK login credentials as you normally would.

If you need help accessing an RTK source, contact your authorized Eos representative, and they can help.

Once you have an RTK fixed status, your “Tilt” LED will start to blink at a much slower rate.
Step 3: Initialize the Skadi Smart Handle
Next you must initialize the smart handle.

Initializing the smart handle requires a physical movement. Simply swing the handle in any wide motion or start walking at a moderate pace.

Once the smart handle is initialized, your “Tilt” LED will turn solid green.

The Skadi Smart Handle always defaults to the Extensible Virtual Range Pole mode. This mode uses a visible green laser pointer.

Toggling Between Skadi Smart Handle Modes
The two modes of the smart handle are Extensible Virtual Range Pole and Invisible Range Pole.

You may toggle between them by using two methods.

First, within the Eos Tools Pro app, tap either the “Extensible” or “Invisible” tab to choose your mode.

Alternatively, you may use the smart handle’s trigger. Simply triple-press the trigger to toggle between modes.

Congratulations! You’re ready to use your smart handle.
Continue Watching the Skadi Smart Handle Playlist
Find the next video in the Skadi Smart Handle video series by watching the full playlist.
Explore Related Items

Skadi Smart Handle™
The Skadi Smart Handle™ makes your Skadi 200, Skadi 300, or Skadi Gold even more productive. Taking advantage of very accurate LiDAR and MEMS sensor measurements, the Skadi Smart Handle enables an Invisible Range Pole™ and Extensible Virtual Range Pole™. Learn more about these cutting-edge features for field crews.

Skadi Series™ GNSS Receiver Comparison Chart: Download the Comparison Matrix
Download the comparison matrix for Skadi Series™ GNSS receivers. Compare categories such as corrections sources, accuracy levels, battery autonomy, advanced features, and more.