When searching for the perfect laser mapping setup, it’s important to evaluate your data collection needs and select the most efficient solution based on your requirements. To help you consider the strengths of each of three available workflows for the Eos Laser Mapping™ solution, we have created a detailed video series that walks you through the required hardware, setup, and strengths of each workflow. Let’s begin!
Overview: Eos Laser Mapping™ solution
First, it’s important to remember why you might want to use the Eos Laser Mapping™ solution. Laser mapping is a free solution that combines leading hardware (Arrow GNSS receivers, LTI laser rangefinders, and iOS® mobile devices) and geospatial software (Esri ArcGIS Collector or ArcGIS Field Maps) to allow you to easily, safely, and accurately capture data from a remote location. This is particularly valuable when an asset is in a hard-to-occupy location, such as a manhole in the middle of a busy street, or when an asset is in a place with poor GNSS satellite coverage, such as a gas meter attached to a building in a downtown alley. With Eos Laser Mapping™, you will be able to map these assets from afar without sacrificing accuracy or efficiency in the field.
There are three workflows available to use with the Eos Laser Mapping™ solution. While the general concept of each workflow is very similar, each one requires slightly different hardware configuration, and provides differing benefits. Keep reading to learn the benefits of each workflow, what is required to use it, and how to get started. Let’s begin!
Laser Mapping Workflow 1: Range-Azimuth
Best for:
- Situations when having a portable, simple setup is an asset
- Fast, submeter mapping
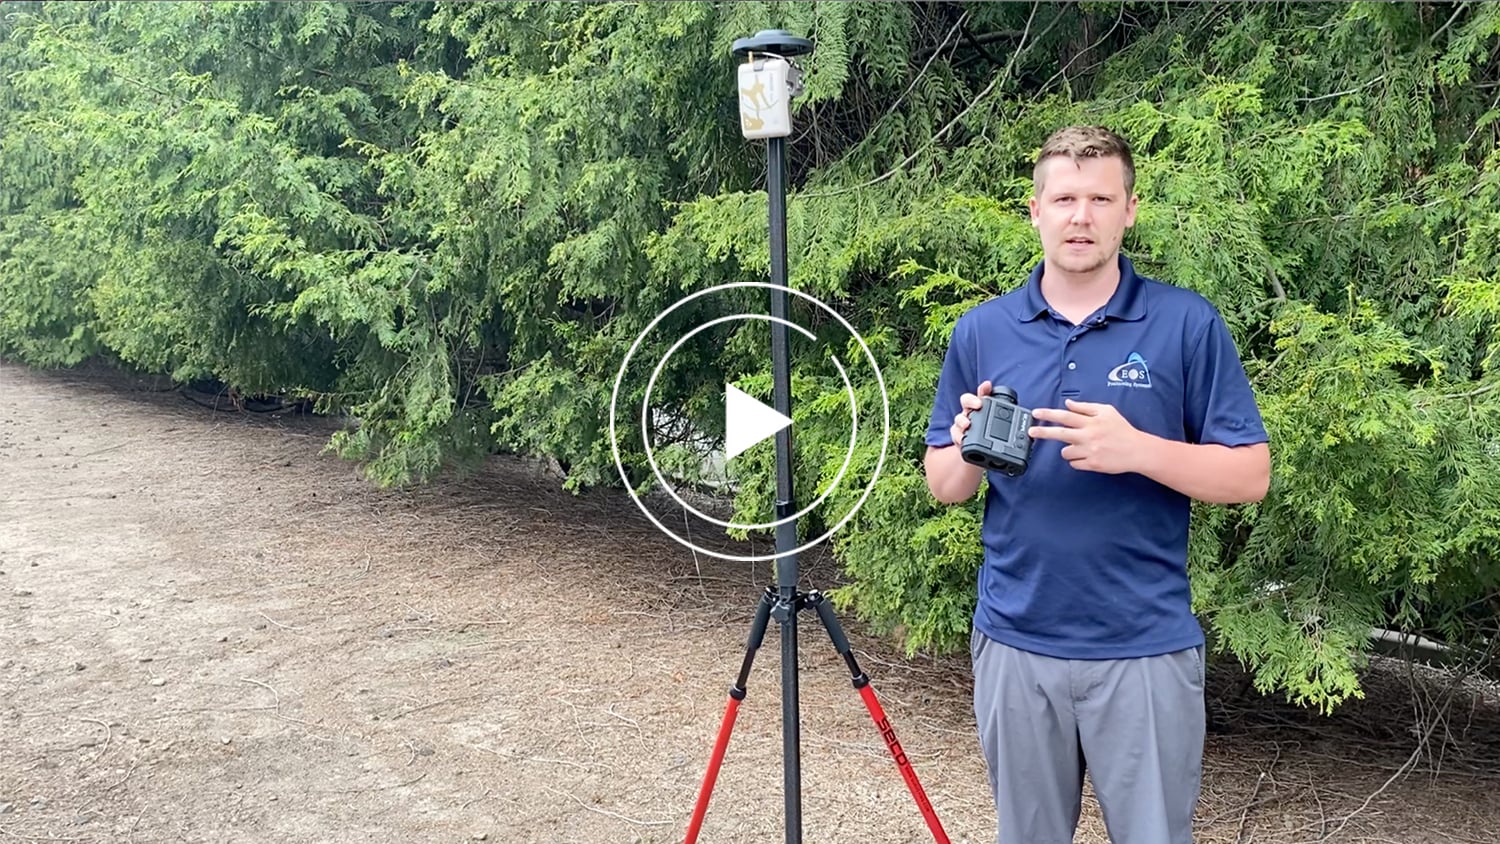
The first laser mapping workflow we’ll cover is called the Range-Azimuth solution. Range-Azimuth is the simplest solution workflow and requires the least equipment. This solution uses an LTI TruPulse 360 or 360R laser rangefinder (choose the international model of the TP360R when purchasing) equipped with a built-in electronic compass. The user takes a reading with the laser rangefinder, then inputs those three different numbers (distance, azimuth, and inclination) into Eos Laser Mapping (a module within Eos Tools Pro). Eos Laser Mapping™ will then feed that information into Esri Collector. Watch the video for the full explanation of requirements and how to get started using the Range-Azimuth workflow!
Equipment required:
- Eos Arrow Series® Receiver (any model)
- Eos Tools Pro (latest version)
- ArcGIS Collector or ArcGIS Field Maps (latest version)
- LTI TruPulse 360 Laser Rangefinder (choose the international model of the TP360R when purchasing)
- iOS device (iPad®, iPhone®) with version 11 or later
Recommended Accessories:
- Eos Range pole
- LTI TruePulse-Range pole Bracket
If you need to take measurements with very accurate azimuth, keep reading to learn about the Range-Backsight workflow …
Laser Mapping Workflow 2: Range-Backsight
Best for:
- Getting highly accurate readings and precise angular measurements
- Taking a large number of shots from a single location, as long as the assets are within view
- Total station-like workflow
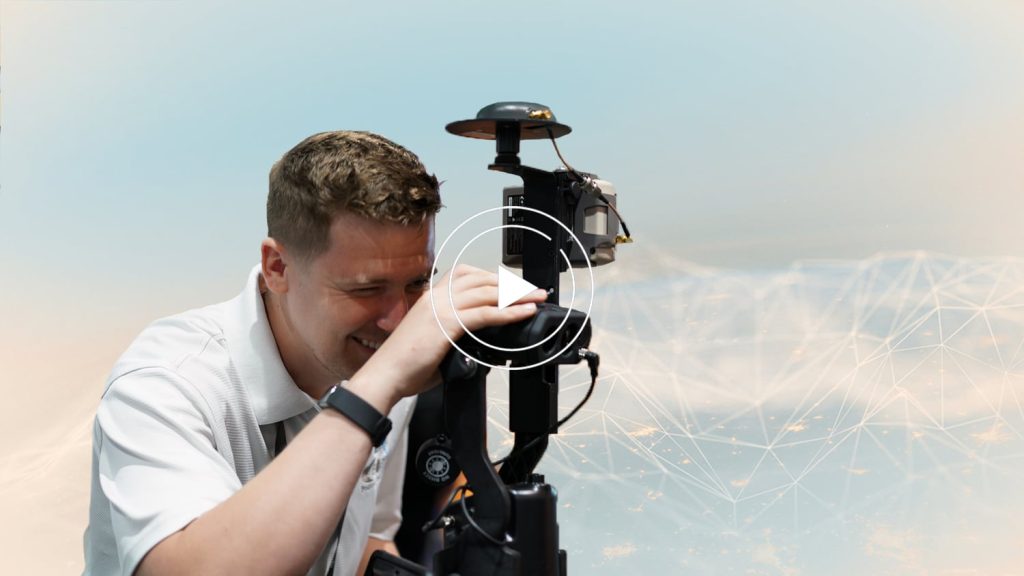
Want to take multiple measurements from a single location with very accurate angular values? The Range-Backsight workflow might be the best choice for you. The Range-Backsight setup gives you a solution similar to a total station-like workflow. It also allows for the most precise angular measurements. With Range-Backsight you will need to take what is called a “backsight point” before you begin collecting data. This is a necessary step to calibrate the LTI TruAngle encoder for a true azimuth reading. While this option requires the most equipment, it also provides an all-in-one package for extremely precise measurements that allow you to capture multiple assets from one location. Watch the Range-Backsight introductory video to learn about the hardware required for using this solution and how it works.
Equipment needed:
- Eos Arrow Series® Receiver (any model)
- Eos Tools Pro (latest version)
- ArcGIS Collector or ArcGIS Field Maps (latest version)
- LTI Trupulse 200x Laser Rangefinder
- LTI Mapstar TruAngle Angle Encoder
- iOS device (iPad, iPhone) with version 11 or later
- LTI Arrow TruAngle Mounting Bracket
- Tripod
Laser Mapping Workflow 3: Range-Range
Best for:
- Taking asset measurements without azimuth/compass readings
- Lightweight portability
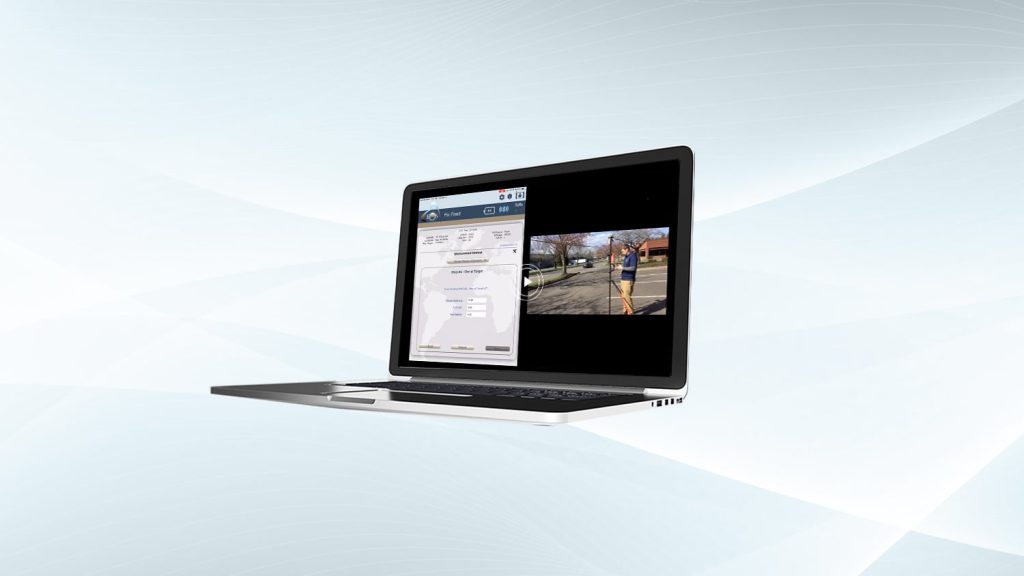
Looking for a light, portable solution that allows you to map assets very accurately, bypassing the inaccuracy of a built-in compass? The Range-Range laser mapping setup is popular among Eos customers. This workflow combines the best of both worlds in terms of accuracy and mobility! With the Range-Range workflow, you’ll need to take two shots per asset, but you’ll be surprised at how accurate and efficient this method is. Watch the Range-Range workflow introductory video to learn how to prepare for using this solution.
Equipment needed:
- Eos Arrow Series® Receiver (any model)
- Eos Tools Pro (latest version)
- ArcGIS Collector or ArcGIS Field Maps (latest version)
- LTI TruPulse 200X or TruPulse 360 Laser Rangefinder (choose the international model of the TP360R when purchasing)
- iOS device (iPad, iPhone) with version 11 or later
Recommended Accessories:
- Eos Range pole
- LTI TruePulse-Range pole Bracket


