In 2022, Eos Positioning Systems brought an Arrow Gold+™ GNSS Receiver to the Big Island of Hawai’i. Our goal? To test the accuracy of one of the newest Eos GNSS receivers against an existing survey control monument, located in Kaloko-Honokōhau National Historical Park. In this educational video, GNSS consultant Eric Gakstatter explains how to test the accuracy of your GNSS receiver with a survey monument, as well as why it’s generally recommended to do so, in order to test your GNSS receiver and software performance.
Transcript
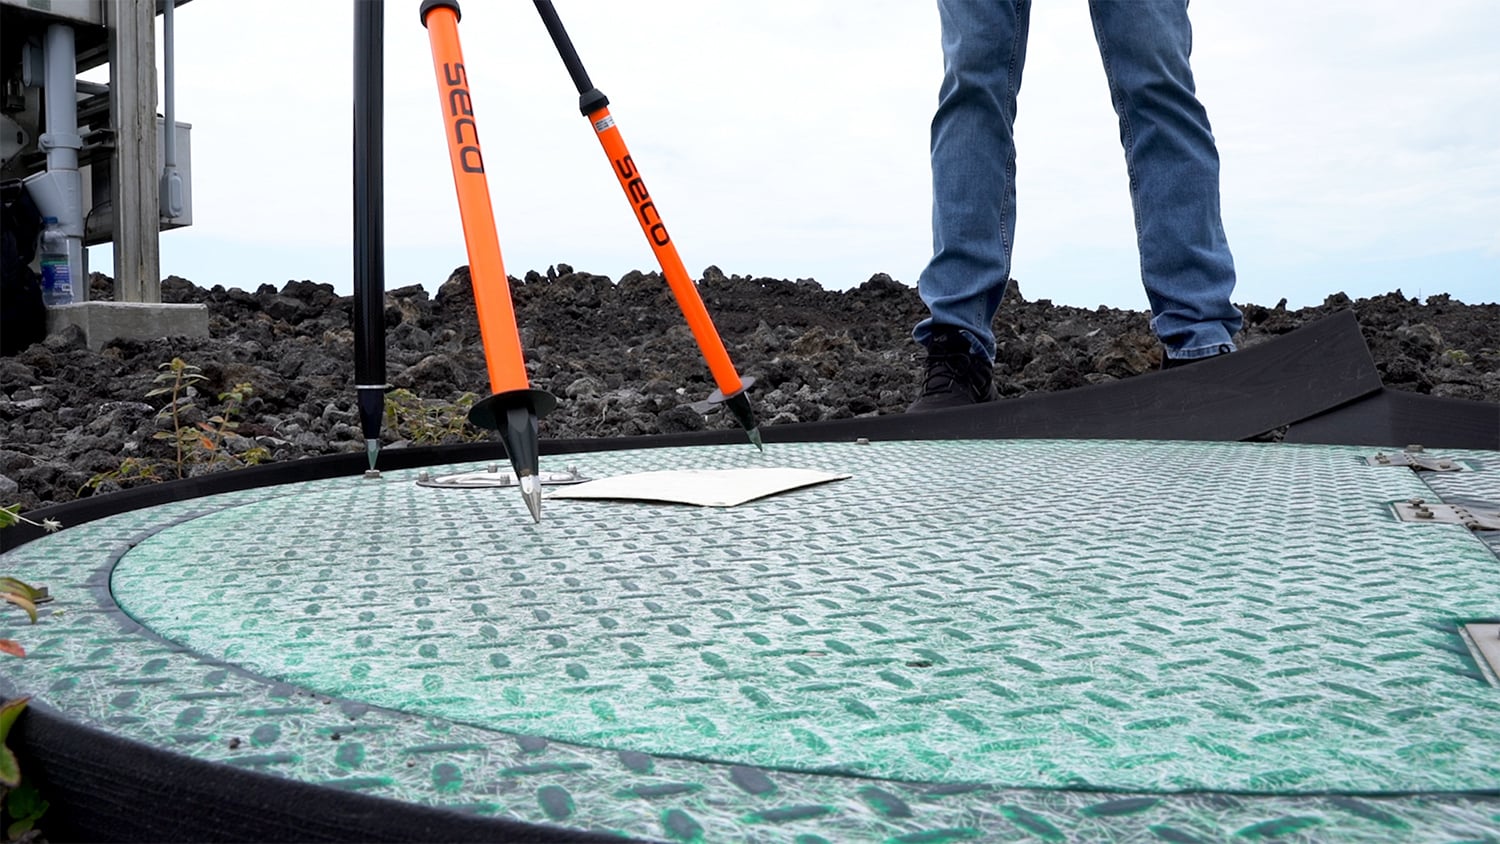
ERIC GAKSTATTER: Hi, I’m out at the National Park Service (NPS) in Kailua-Kona on the Big Island of Hawai’i with the purpose of testing the Arrow Gold+ with ArcGIS® Field Maps running on an iPad mini® against a survey mark [monument]. This survey mark was established back in 2006 using long occupation times and then updated several times since then. It’s actually right on the head of this bolt on this utility cabinet.

Before Beginning, Make Sure You are Connected to a Base Station to Receive RTK Corrections
For our RTK corrections, we’ll be tapping into the NPS RTK (real-time kinematic) base station a few kilometers away. There are actually three of these base stations on the Big Island — all three RTK bases are run by the NPS — and there are five in all of Hawaii that are publicly available.

Why is it Important to Test the Accuracy of Your GNSS Receiver against a Survey Monument?
So, the question might be, why do we need to do this type of field testing? Well, there are two components. One is to test the accuracy of the GNSS receiver itself and how well it’s performing. By comparing the location your GNSS receiver is outputting to that of the survey monument with known coordinates, you can easily see if you’re achieving centimeter-level accuracy. And the number-two reason is to make sure that your software — in this case, I’m using Esri’s ArcGIS Field Maps app — is set up properly. What I mean by that is that we both have the location profile set up correctly, and that we’re achieving the accuracy we think we should be getting.
To reiterate, the way we’re going to achieve all of this is by comparing the data collected live here with our Arrow Gold+ GNSS receiver and Field Maps is the same, or close, to the known coordinates of the survey mark on the utility cabinet bolt.

Verifying your performance like this is a good standard practice for folks to do before you start collecting data with RTK accuracy. I’ve seen a lot of cases where people will go out and collect data using the wrong datum, or the wrong coordinate system, and then have to fix their data later on. That’s due to their app not being configured correctly before they started their data collection. So, it’s better to have some kind of test mark, whether it’s a public survey monument like this one or another known coordinate you’ve got, that you can go out and occupy really quickly and regularly — either daily, weekly, or monthly — to test that your equipment and software configuration are proper and accurate. This will save you the pain of fixing data after it’s been collected.
Collecting Our Live Coordinates and Verifying their Accuracy
So, we have the survey mark’s location loaded into Field Maps as a point. It’s currently covered up by the position icon because we’re occupying the same point.
Speaking of the position icon, let’s tap on the current “GPS Details” setting within Field Maps to get some information about our location. By doing this, we can see that the location provider to our iPad is the Eos Positioning Systems receiver followed by its unique serial number. This means our iPad is getting its location from the Arrow Gold+™, which is good because this means we’ve got the location provider set up correctly.
Right under location provider, we can see our location profile setting. I’ve got the Hawaii RTK location profile selected; this is a location profile I created that uses the PA11 datum. And then of course you can see a few lines under that that our “Fix Type” is RTK fixed; this means we are properly connected to our base station, so we’re receiving the RTK corrections that drill us down to centimeter-level accuracy. And that explains why we’re getting — as we want — 0.4 centimeters horizontal and 0.7 centimeters vertical accuracy. And, I’ll just add here because this is cool to me, we are getting all of that with a pretty tight correction age of 1 to 2 seconds and lots of satellites.

To capture a point, I’ve got Field Maps set up to perform 5-second averaging. So, when I hit the plus “+” button in Field Maps, you can see it’s starting to average. As it’s averaging, I’m going to give my new feature a name by entering the mark ID of the survey mark, which is FFBW58. Then I’ll tap “Done” and tap on “Submit.” And during that time, Field Maps has taken 5 seconds of GPS data and averaged them.

And remember, with Field Maps, the app starts collecting data right when you hit the plus “+” button. Now, I should note that the internet’s a little bit slow out here in the field, but you can see that after a very short lag, the app stored our new point data.

By selecting the new point we just captured, we can display all of its attribute information. For example, we have the latitude, longitude, altitude, and a timestamp of when the averaged GPS point was taken. As we scroll down toward the bottom, we’ll see the average horizontal precision, average vertical precision, the number of positions that Field Maps averaged to calculate those figures, and the standard deviation. All of this is great data to have recorded.
Now, we’re going to capture a few more points just like we did, in the exact same spot. We’ll then use these to get an average accuracy measurement from the receiver. We can then compare our receiver’s average coordinate to the survey mark coordinates.
Coordinates of survey marks like this one are captured using an Online Positioning User Service (OPUS) solution. In its simplest terms, OPUS is a free service operated by the U.S. National Oceanic and Atmospheric Administration (NOAA), and it provides both the public and government organizations the ability to post-process GPS data and output corrected coordinats and information about accuracy, among other things. Because the survey monument was processed using OPUS, we have both access to and confidence in the information about its accuracy. By comparing the information we’re collecting about our receiver’s accuracy to the known data about the monument’s accuracy, we can determine just how accurately our receiver is performing. It looks like we’re getting about a centimeter or so for X and Y at this point.
And just like that, you can verify the accuracy of your GNSS receiver and whether your software app is properly configured. But let’s back up to an important point: Where can you find a survey monument to use in your verification process? …
Where to Find Survey Monuments
Where can you find survey monuments? Well, in the U.S., the NPS has their own set of survey monuments, and for each of these they have OPUS shared solutions that are available, so you will have all the information you need to compare accuracy measurements. Another great option is to find a publicly accessible survey monument close to you by using the National Geodetic Survey (NGS) Data Explorer. They’ve got an entire database of survey marks throughout the U.S.

Each monument has certain 2DRMS values, which is a way of evaluating horizontal and vertical positioning accuracy of the mark. One thing I’ll add on that point is that not all the survey marks in the NGS database are appropriate for the testing shown in this workflow. You want to pick the high-quality ones, ideally, survey monuments of first or second order on both horizontal and vertical. If you’d like to learn how to pick a high-quality survey monument in the NGS Data Explorer, read the subsection below. If not, you can skip ahead to the following section on setting up your own survey mark.
How Do I Choose High-Quality Survey Monuments from the NGS Data Explorer?
Start by clicking on a desired survey monument in the NGS Data Explorer. This will launch a popup containing more information about the chosen survey mark.
Launch the survey mark’s datasheet by clicking the “Datasheet” hyperlink. Now, look for the rows containing the FGDC 95% standard deviations. Note that not all survey marks in the NGS database have these values so you’ll need to search for ones that do.


If you are outside the U.S., you will need another resource to locate a survey monument. Those resources will vary and are typically organized by local or national government agencies. We recommend contacting your local government agency to find more information on where to locate the highest-quality survey monuments in your area.
If there are no government-provided or other publicly accessible survey monuments in your area, it is actually relatively straightforward to establish your own …
Setting Up Your Own Survey Monument
If you don’t have a survey mark near your location, which is somewhat common, you can easily set up your own. You’ll need an RTK-compatible Arrow GNSS receiver, like the Arrow Gold, and a data-collection app such as ArcGIS Field Maps. All you have to do is set up your Arrow GNSS receiver on a tripod, like we’ve got here, and collect data to submit to that OPUS free service (submit your data to OPUS here). You’ll need to collect data — static data, where the tripod is just sitting on top of your mark, doing nothing but running and collecting raw data — for at least two hours. You’ll then submit your raw data to OPUS, and they will return to you the survey coordinates for that mark, along with some accuracy statistics. From that point on, you can use that highly accurately surveyed mark as your own control point — in effect your own survey monument. I recommend you set a PK nail (a nail with a wide head that’s indented in the center and commonly used to mark positions) or a nut in the ground, like they’ve got on this utility cabinet. It’s important to make sure whatever you put in the ground to mark your spot is permanent and not going to move.

Proceed with Verified Accuracy!
So, in summary, this is the recommended way to test the accuracy of your GNSS receiver with a survey monument before you start to use it in your standard field workflow, and regularly thereafter to ensure performance. Not only will you ensure the GNSS hardware is conforming to the accuracy that you expect, but you’ll also make sure your data-collection app, like Field Maps, is set up correctly.
And that’s it! Congratulations on learning how to compare the coordinates of your GNSS receiver with those from a survey monument. There’s a lot more to be said about this methodology, but for now, we’ll consider this RTK-setup verified. Signing off from Kona, Hawai’i. Thanks for watching!
Do You Have Questions about Survey Monuments?
Eos’s technical support team is standing by to answer all your questions and help you through this process. Contact them any time via website, email, or phone, and we’ll walk you through.
Explore Related Knowledge Base Items

Five Resources to Get You Started with External Bluetooth® GPS Receivers
Want to use external Bluetooth® GPS receivers in your work, but not sure where to start? Eos has compiled five resources to help you get started on your journey.

4 Free GPS Training Workshops: Start-to-Finish Training
Eos Positioning Systems was pleased to offer 4 live GPS training workshops for various ArcGIS apps. Contact Eos to request a recording.