Welcome to Eos Laser Mapping™ for ArcGIS!
Synopsis
Here at Eos, we want to equip you with all the tools for success. That’s why we’re releasing a video tutorial series on one of our most popular solutions — Eos Laser Mapping™ with ArcGIS Collector!
This solution enables field crews to easily, quickly, and safely capture assets location — anywhere. The Eos Laser Mapping™ solution is for field crews that need to map hard-to-occupy assets without occupying every single point. This is common when assets are located on busy highways, streets, swamplands, dense vegetation, downtown areas, and in other hard-to-reach, unsafe, or GNSS-impaired environments. Field crews are currently using Eos Laser Mapping™ for utilities, municipal, transportation, and environmental application.
This video series will walk you through the steps required to perform your Laser Mapping workflow. In this video, we will show you how to configure some initial settings in ArcGIS Collector and Eos Tools Pro.

For information on setting up your ArcGIS Pro layer and publishing your web map, please review video 1 in this Eos Laser Mapping™ video series.
Pair your iOS® device
Before proceeding, make sure your iOS device is paired with both the Eos Arrow GNSS receiver and the LTI TP200X. Please note: During the pairing process, the TP200X will prompt you with a password. By default, the password is 1234.
- Android Mobile Device – Please note that as of March 29, 2022, this solution will also run on Android mobile devices.
Set threshold values in Eos Tools Pro
When acquiring a GNSS location, you can make sure of the quality of the position by setting threshold values in Eos Tools Pro. There will be audible alarms for GNSS conditions and certain parameters (such as estimated accuracy, differential status, and age of differential correction) that will be displayed in red color when their threshold values are exceeded.
As you can see, we have purposefully placed the antennae in a location with poor visibility to trigger the alarm.
In order to set the GNSS alarms, open Eos Tools Pro, and tap on the “Alarm” button at the bottom of the main menu. In the Alarm menu, set the alarms required for your accuracy. If you want centimeter accuracy and are connected to an RTK network, select RTK. You also can select Submeter depending on your accuracy needs.
Now, back under the Position tab, you can see all the field data that is outside the alarm thresholds.
Configure real-time orthometric heights
If precise elevation is required for your workflow, we strongly suggest taking a moment to configure real-time orthometric heights to match your vertical datum. In this section, we will show you how to configure Eos Tools Pro so that it outputs orthometric height measurements in the Z-value of the point geometry in Collector. This is possible thanks to built-in geoid models within Eos Tools Pro.
To do this, tap the Config tab at the bottom of the main menu. Select Altitude in the upper menu bar. Now, from the Altitude Reference drop-down, select Orthometric. You will be presented with a list of supported, downloadable geoid models. Scroll down to your country and select the geoid model you wish to download.
For field work in the USA, you will want to select GEOID 18/NAVD88 (NAD83 2011).
The geoid model will download to your device. Once downloaded, select the model by simply tapping on it (a selection checkmark will appear to the right). Then, tap Done.
Back in your Eos Tools Pro position tab, you will now see your orthometric height.
Congratulations! You’ve now configured Eos Tools Pro.
Configure settings for Esri ArcGIS Collector
Now, with Eos Tools Pro running in the background, open up ArcGIS Collector. Navigate to the Settings menu, and then select Location Provider. Here, you will want to add your Arrow GNSS receiver. Click Add and select your Bluetooth-paired Arrow receiver. Then, tap Done. Now, select it as your Location Provider.
Once you have selected your Location Provider, click on the “Offset” menu. Now, select Eos Tools Pro.
Please note that in Collector’s Location Profile, you will also need to configure the required datum transformation. This will not be covered in this tutorial. Please refer to your GIS professional if you are not familiar with these Collector settings.
Now, select a point feature to be recorded.
Please note that you will be able to record lines and polygons using the laser and the geometry will be sent to Collector (including X, Y, and Z values) but not the other attributes. This tutorial only focuses only on taking points.
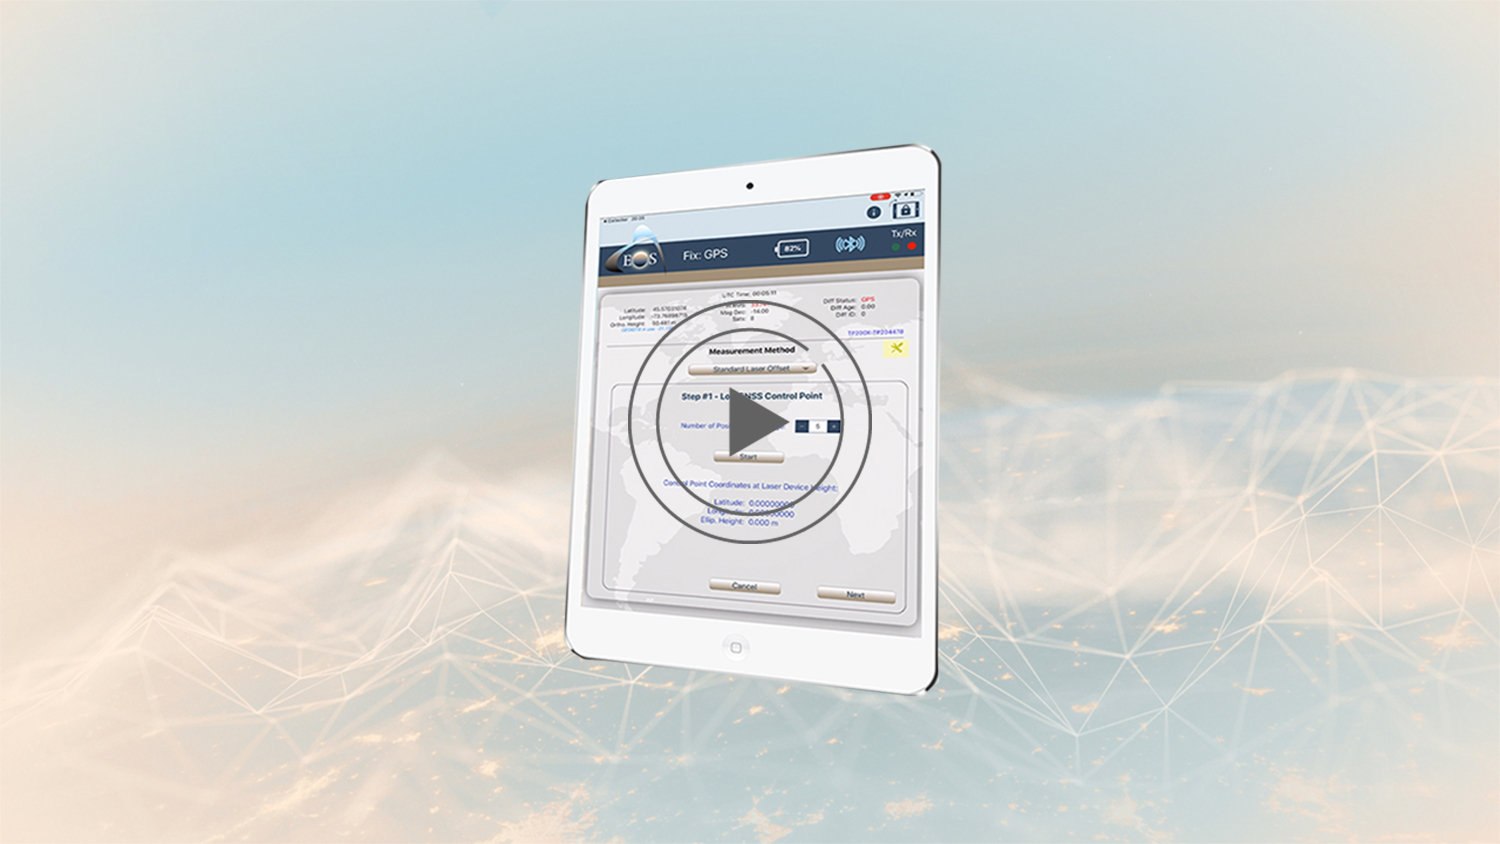
Next, select the three dots ellipses […] icon that appears on the top right of the New Feature tab and select Offset from Location. By doing so, the Eos Tools Pro Laser Offset Page will open.
Now, inside the Eos Tools Pro Laser Offset page, tap on the Settings tab.
Input the height of your antennae and the height of the laser device. This is measured in meters. Setting the GNSS Antenna Height (m) and the Laser Device Height (m) is critical for precise measurements. Please make sure you enter the correct information.
Congratulations! You are now ready to collect with orthometric height and/or take laser-offset measurements directly inside your web maps in Collector. You will find a complete manual on how to set up Eos Laser Mapping™ with your kit.
If you have any additional questions, please contact Eos technical support.
Explore Related Knowledge Base Items

Free Eos Laser Mapping for ArcGIS Field Maps: Request the Recording
Eos is pleased to offer a free training workshop for Eos Laser Mapping™ with ArcGIS Field Maps. Learn how to map assets from afar while retaining high accuracy.

Eos Laser Mapping™ Guide: Step-by-Step Startup (PDF)
This Eos Laser Mapping™ for ArcGIS® User Manual is a resource for those interested in deploying laser mapping.