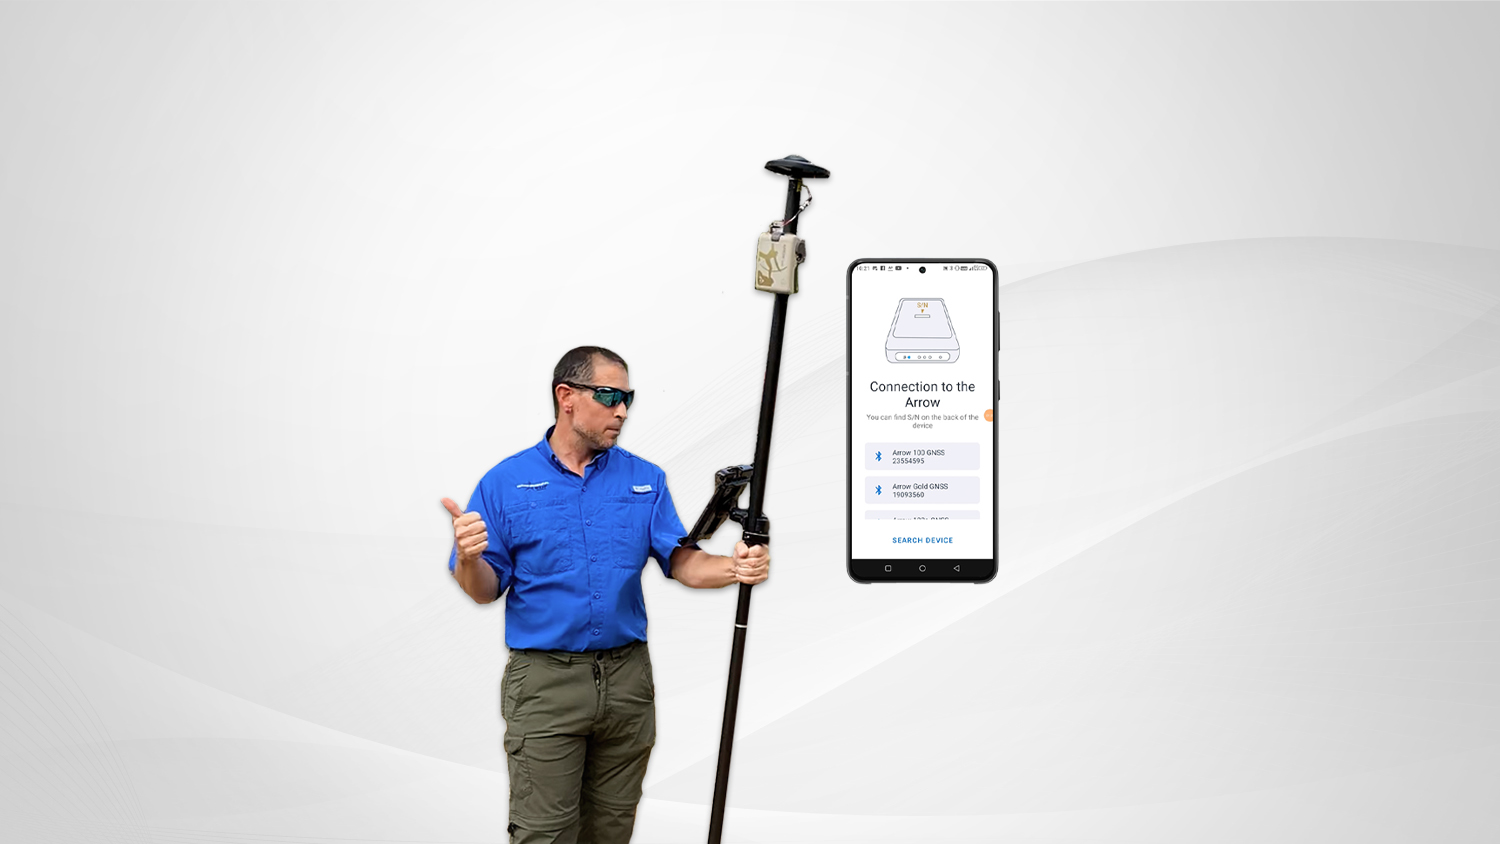
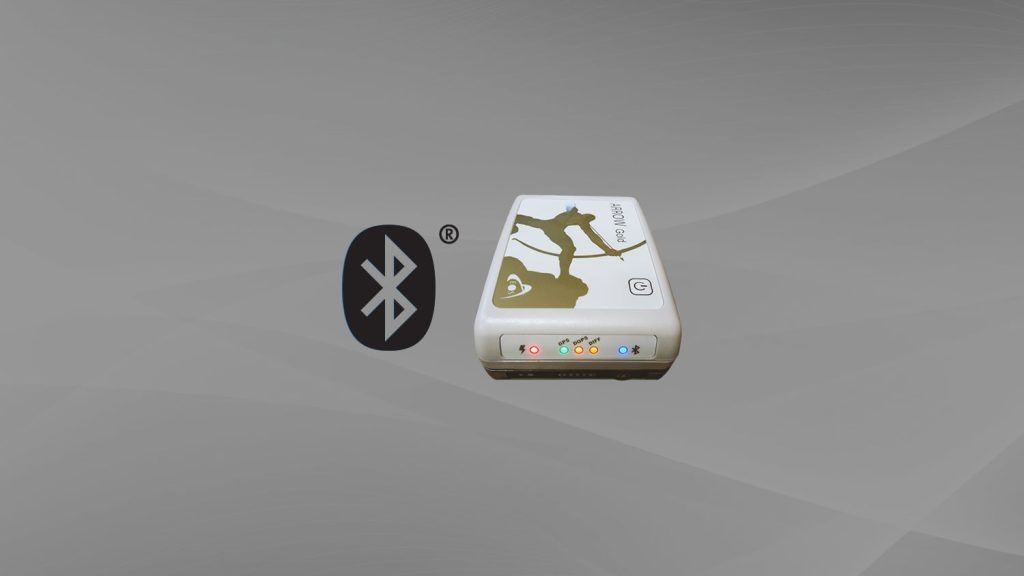
In this step-by-step tutorial, learn how to pair any Android™ device with an Eos Arrow GNSS receiver. Join Matt Dove, a Geographic Information Systems Analyst from Texian Geospatial GIS & Asset Solutions, as he demonstrates the process. This guide is applicable to all Arrow Series® models.
This video walks you through these steps:
- Downloading and setting up the Eos Tools Pro app from the Google Play Store
- Enabling mock location in your Android settings
- Pairing your Android device with your Eos Arrow receiver via Bluetooth®
- Configuring the Eos Tools Pro app
- Validating your Android device is using mock location
Watch the video or follow along with the transcript below!
Transcript
MATT DOVE: Hey, it’s Matt Dove from Texian Geospatial GIS and Asset Solutions. Today, I’m here to show you how to pair any Android device to any Eos Arrow [GNSS receiver] model.
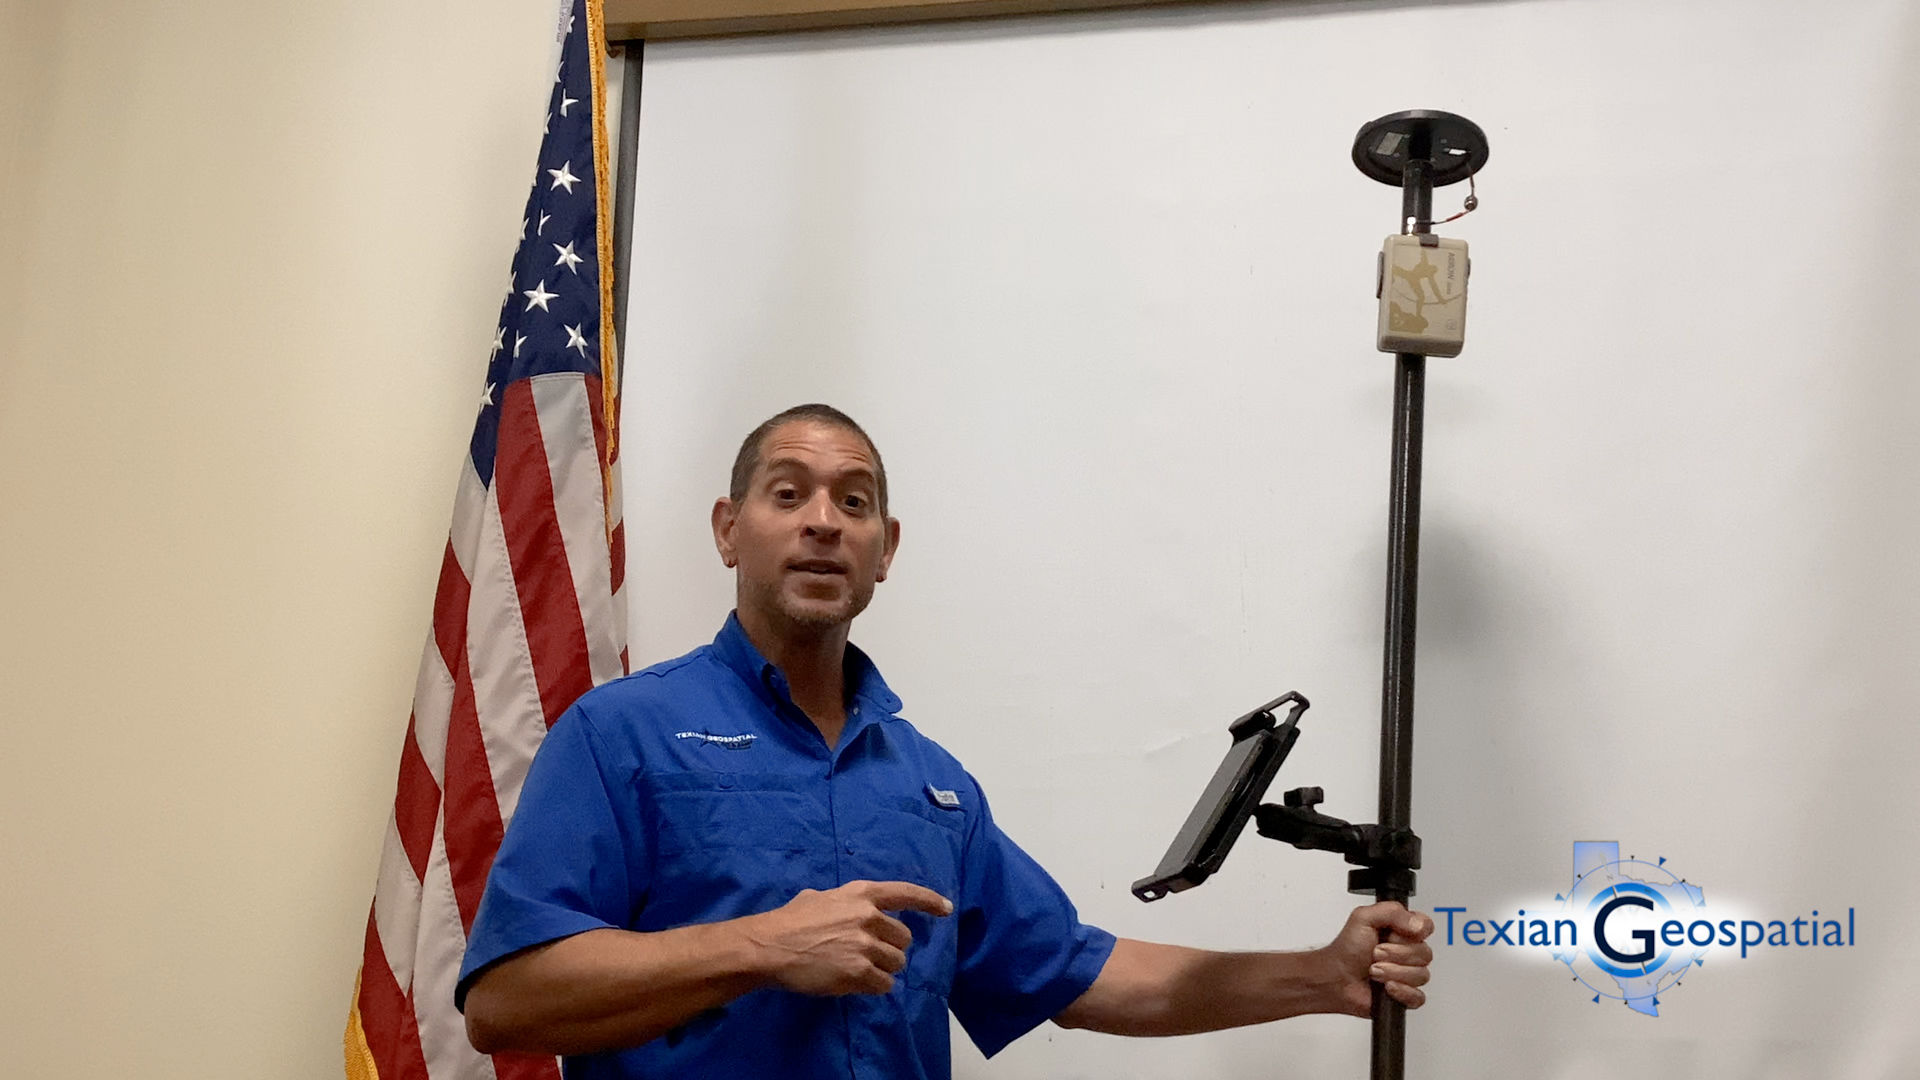
Downloading Eos Tools Pro
The first thing you will need to do is to go to the Google Play Store. Type “Eos Tools Pro” into the search bar and download the Eos Tools Pro app.

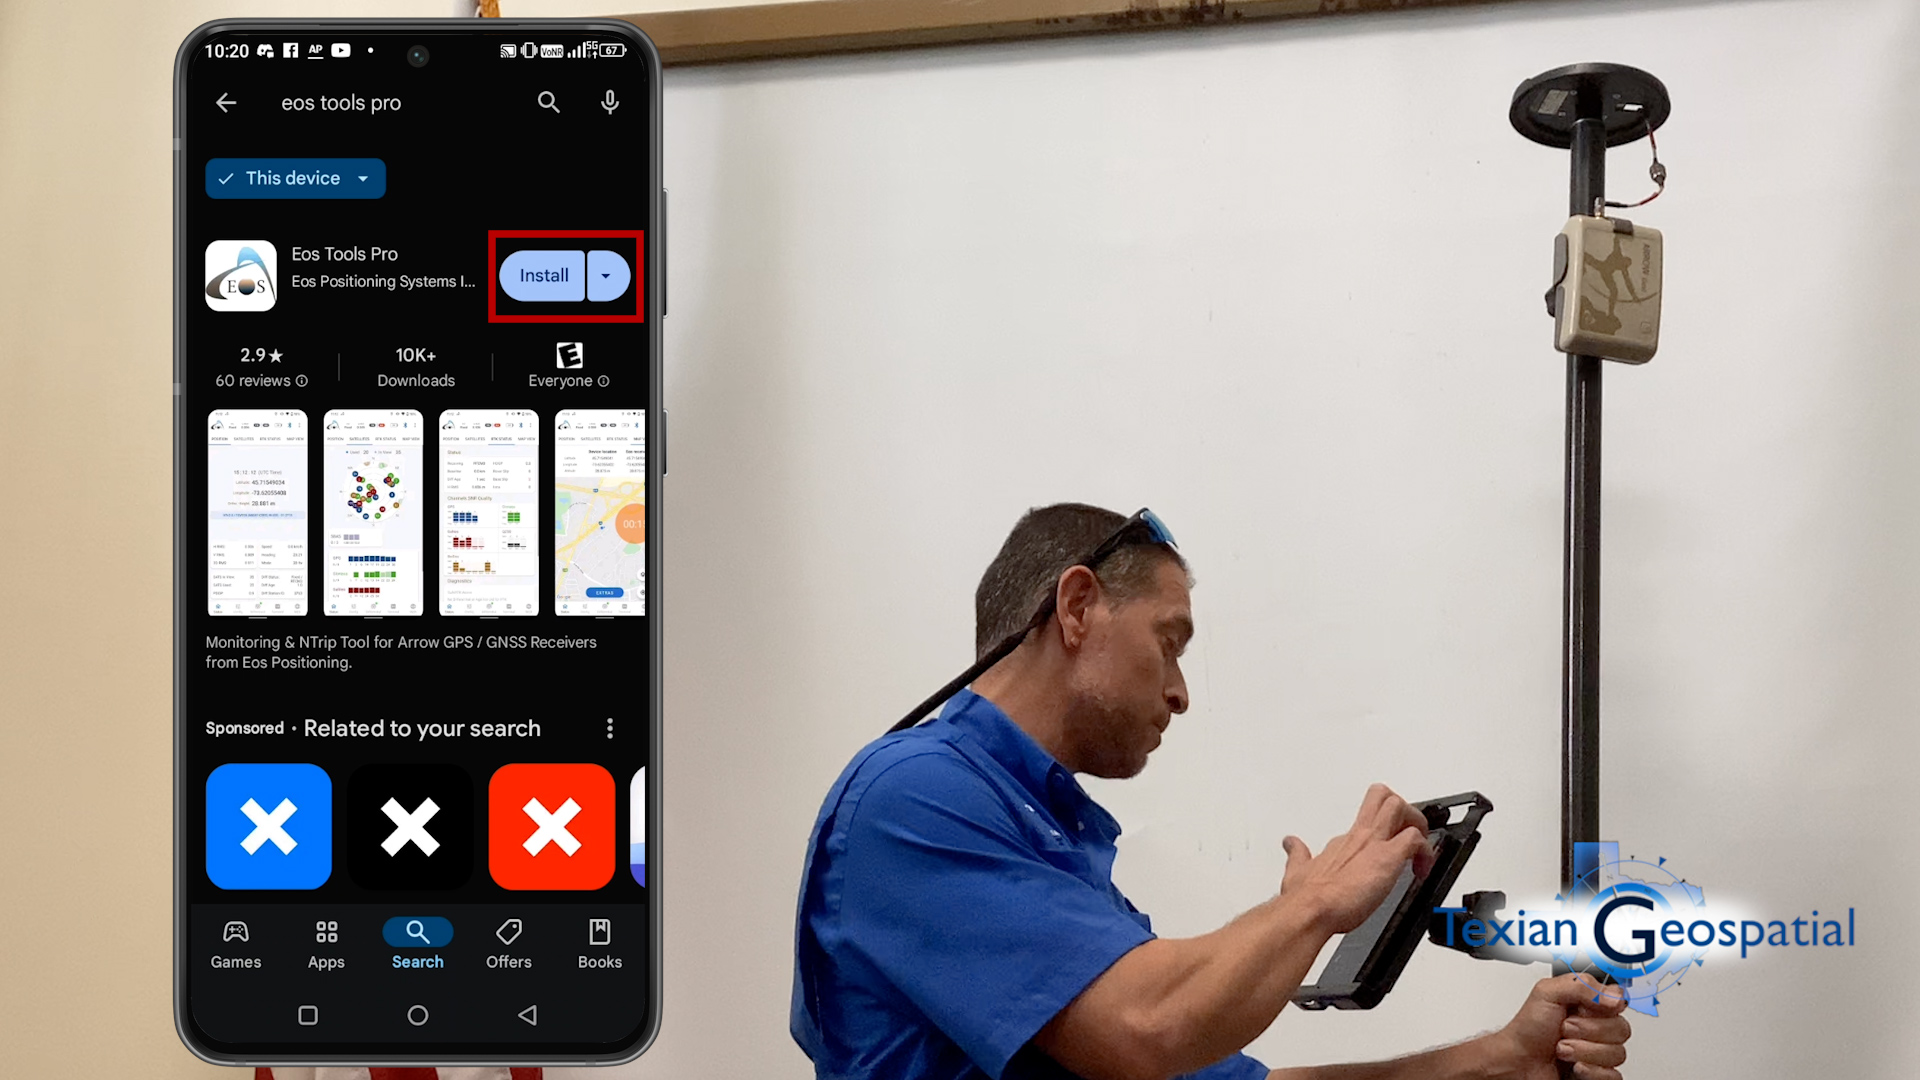
Once Eos Tools Pro is downloaded, you will then go back to your [device’s] home interface.
Enabling Mock Location
You’ll go to your “Settings” menu. Go to the top search bar in your Android settings. Type in “Developer options.” Press “Enter” and click “Developer options” again.
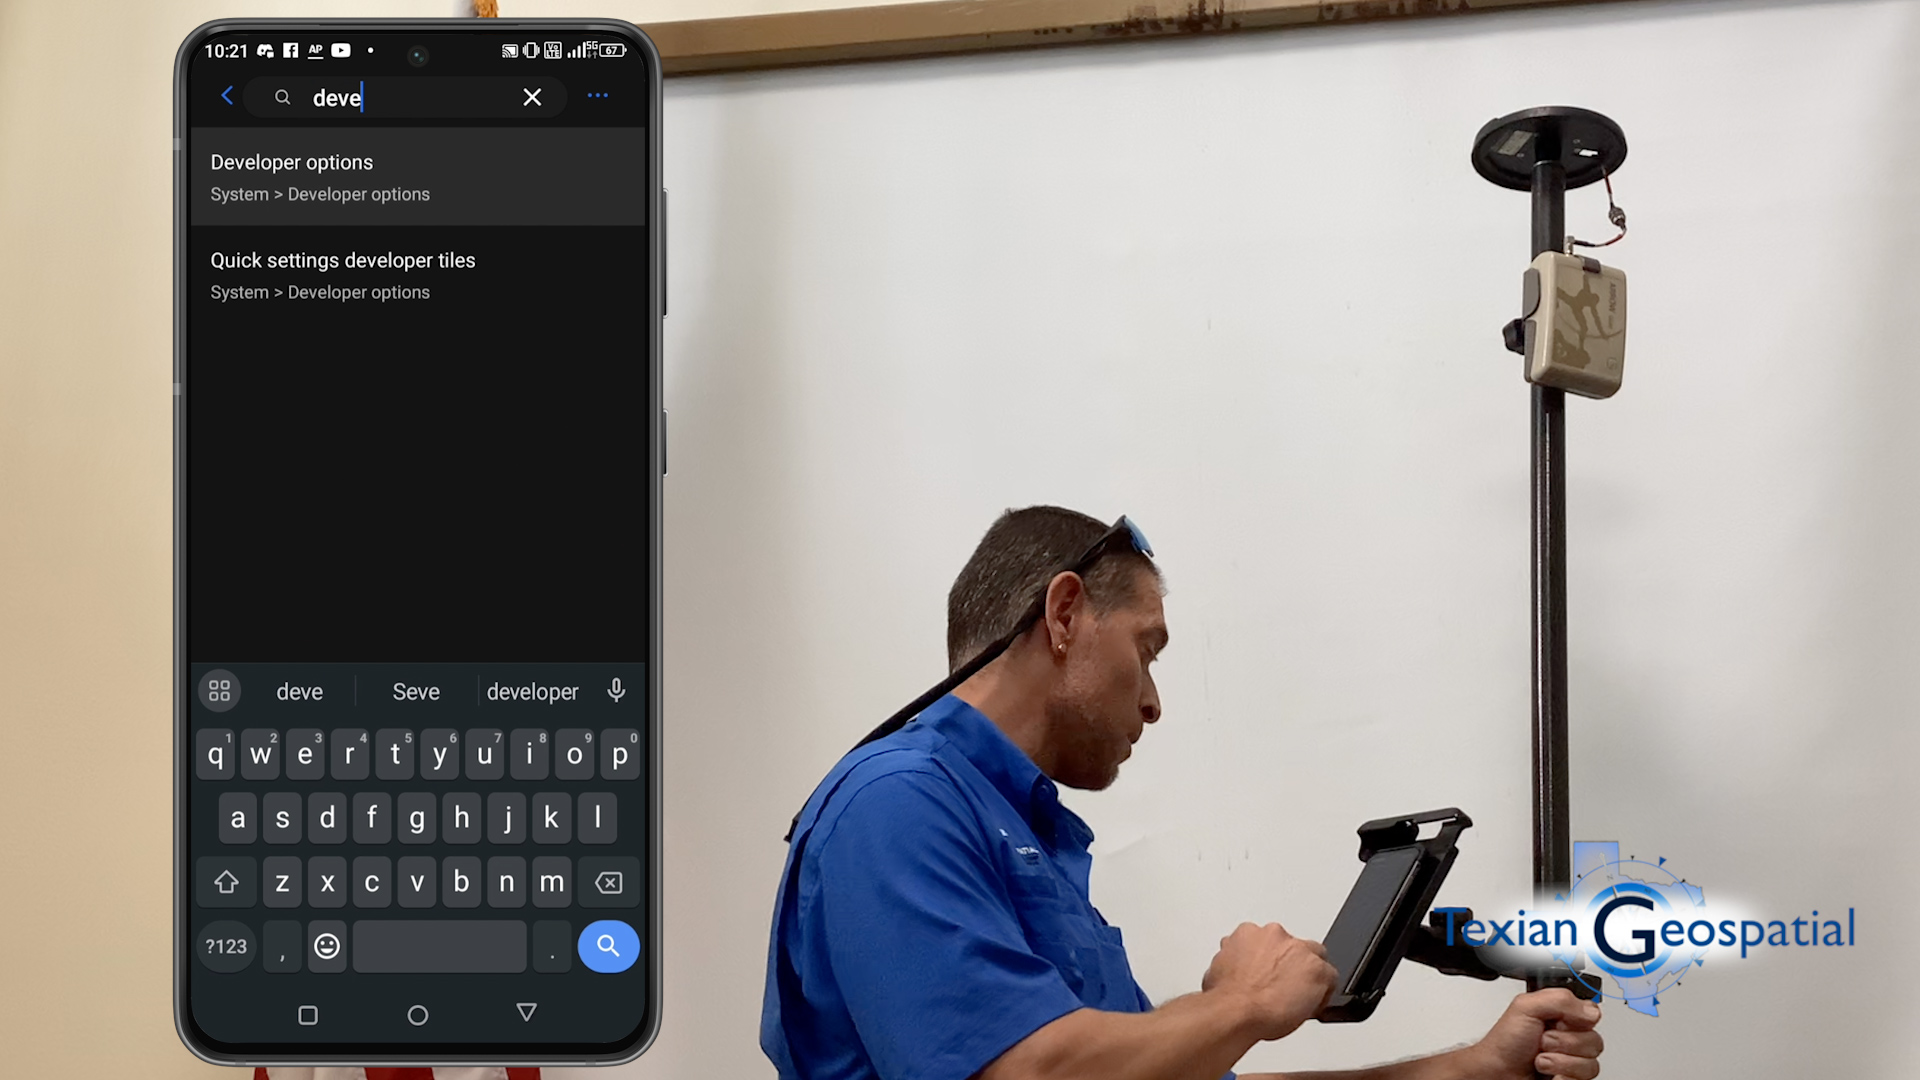
Now in the top search bar, type in “mock location.”
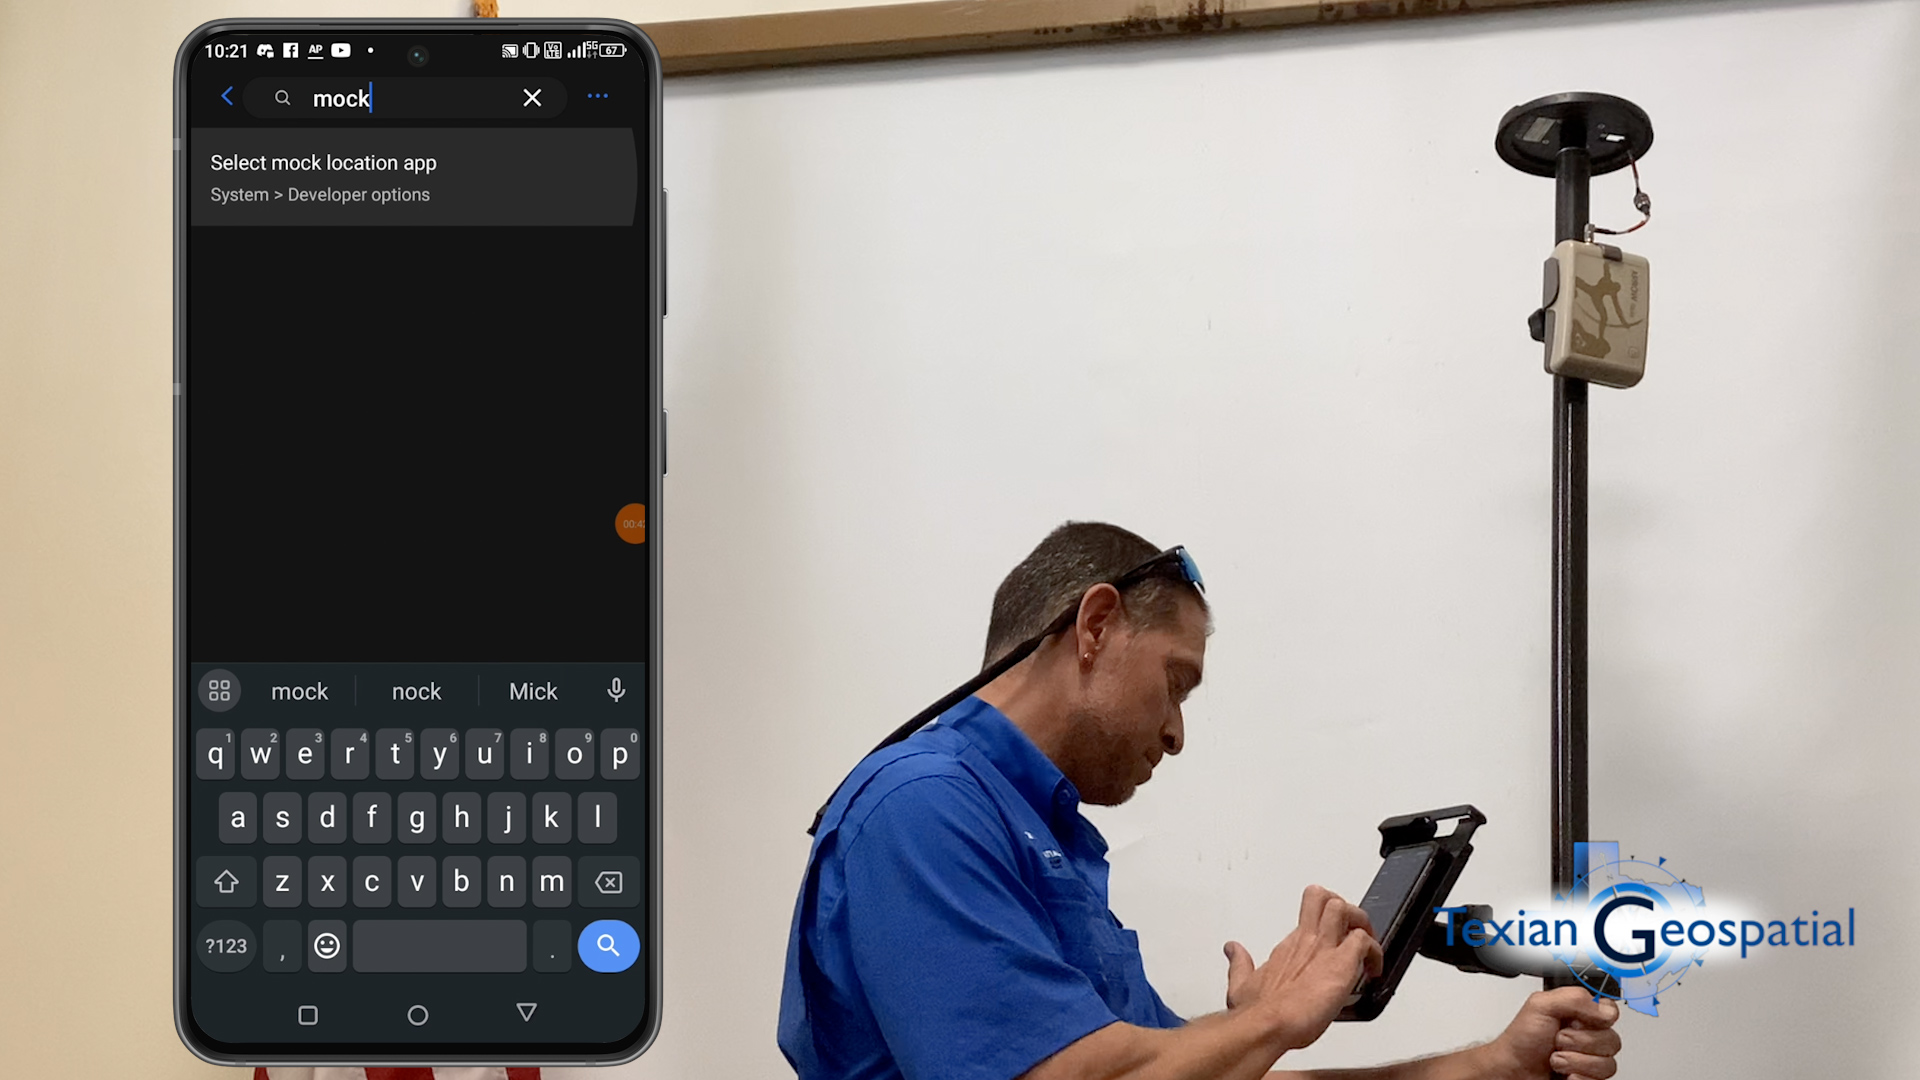
Press “Enter.” Press “Select mock location app” and you should see Eos Tools Pro as an option. Click that option.
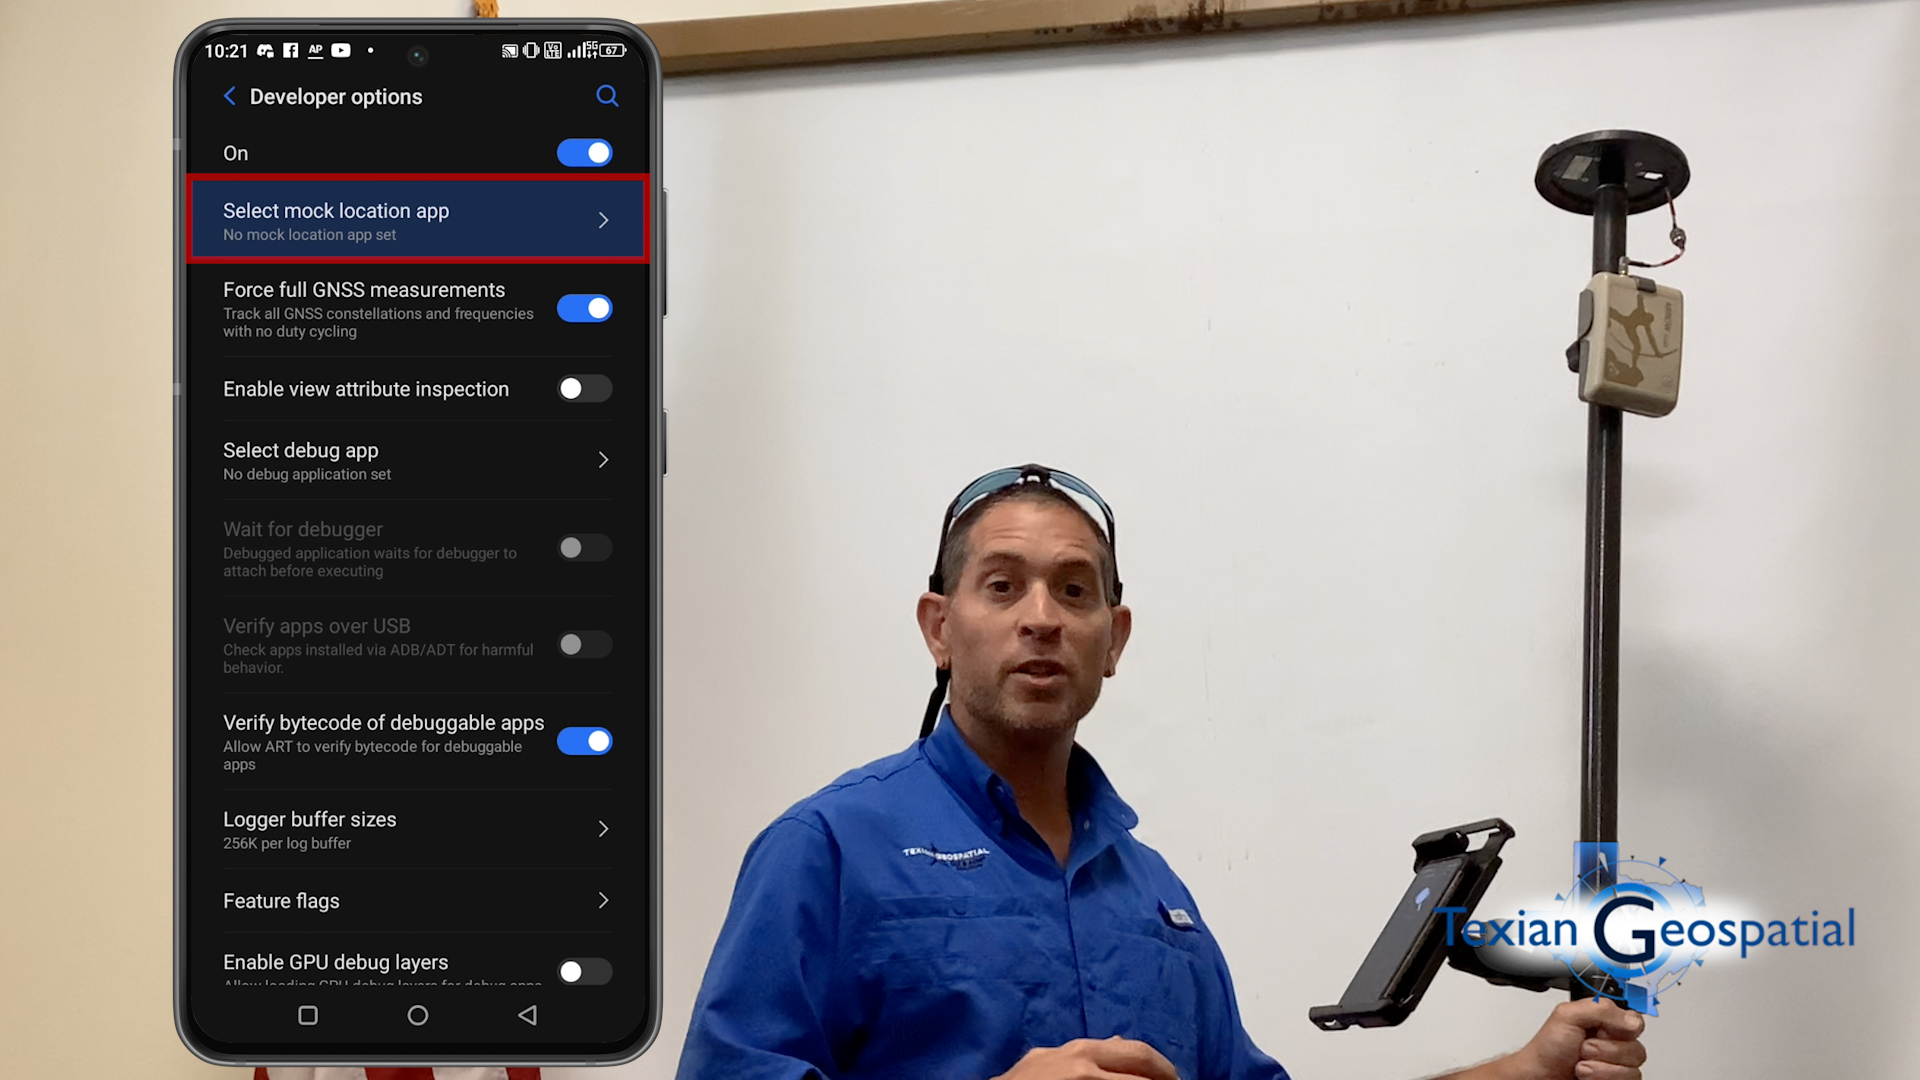
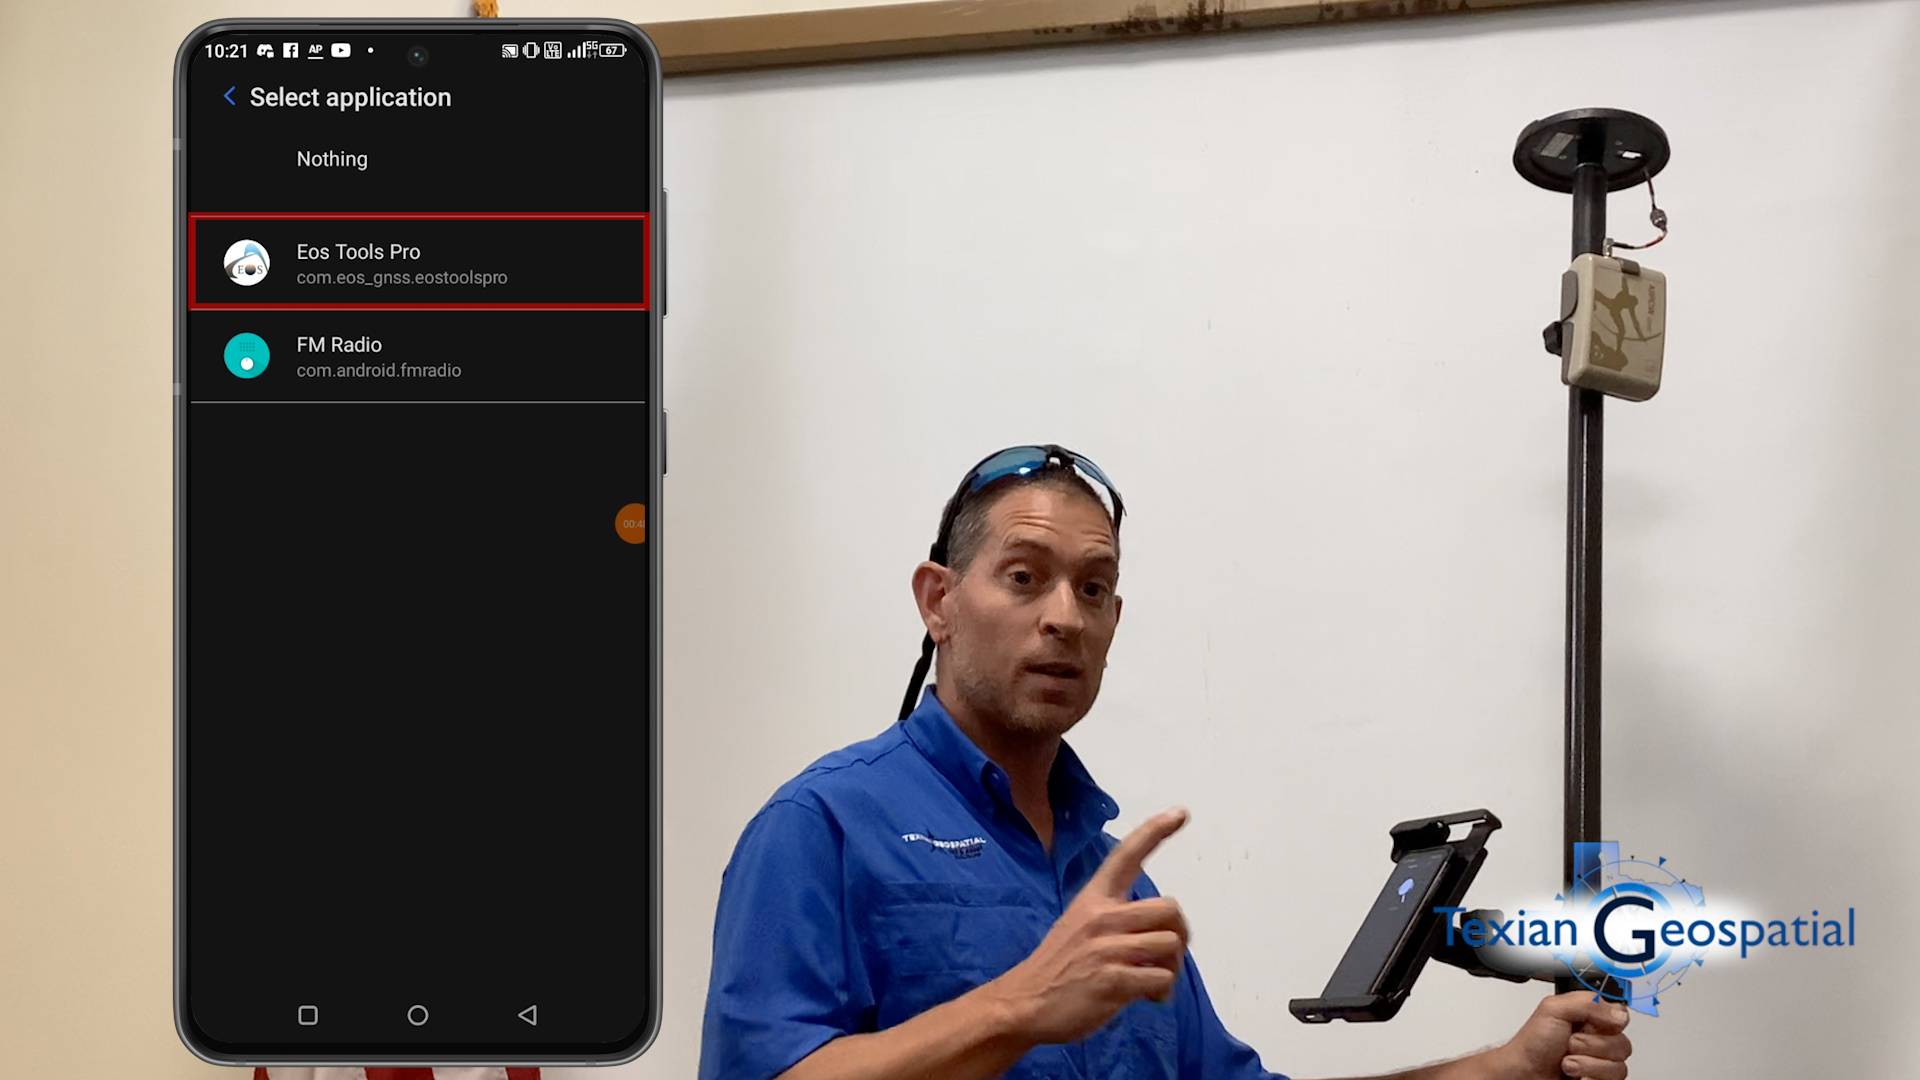
Alright, now that you have enabled mock location, we’ve headed outside. We’re now going to pair your Android device with the Eos Arrow Gold®.
Pairing Your Eos Arrow GNSS Receiver with Bluetooth
The first thing you’re going to do is turn your receiver on.
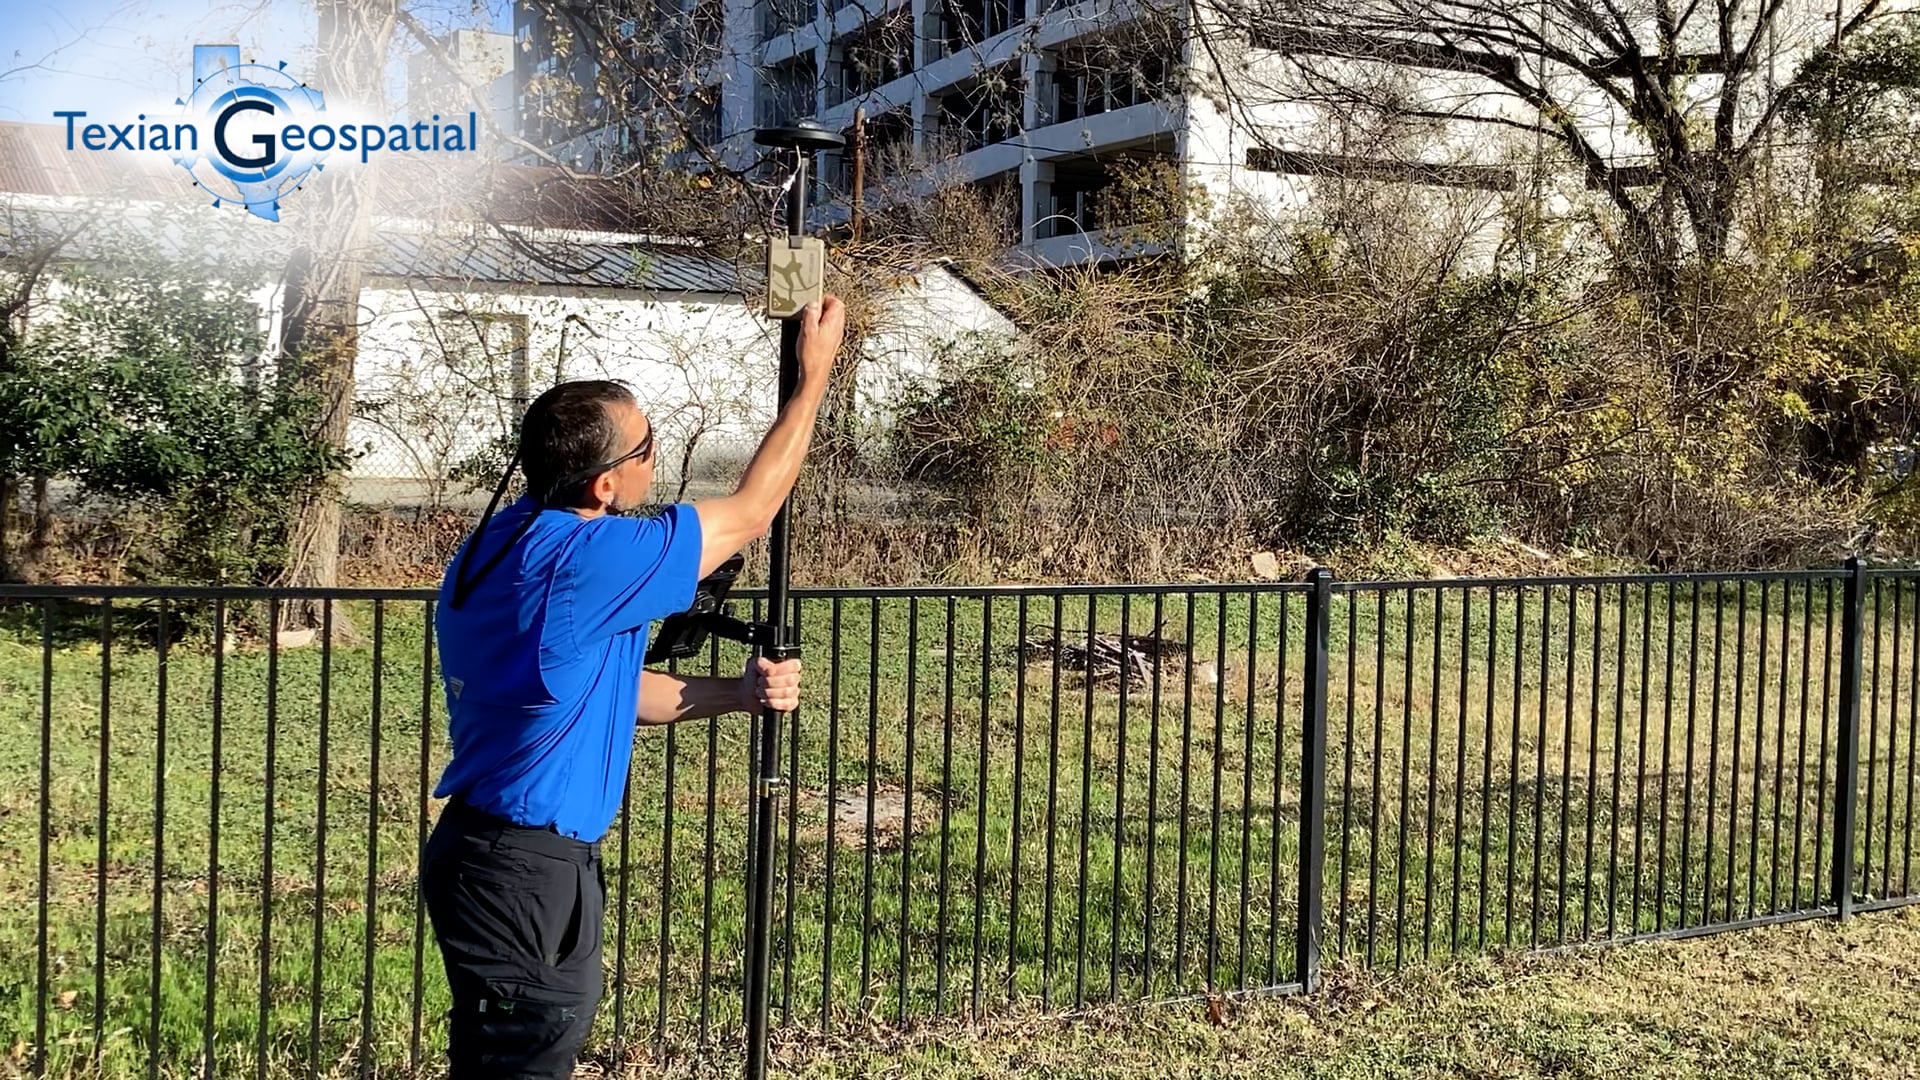
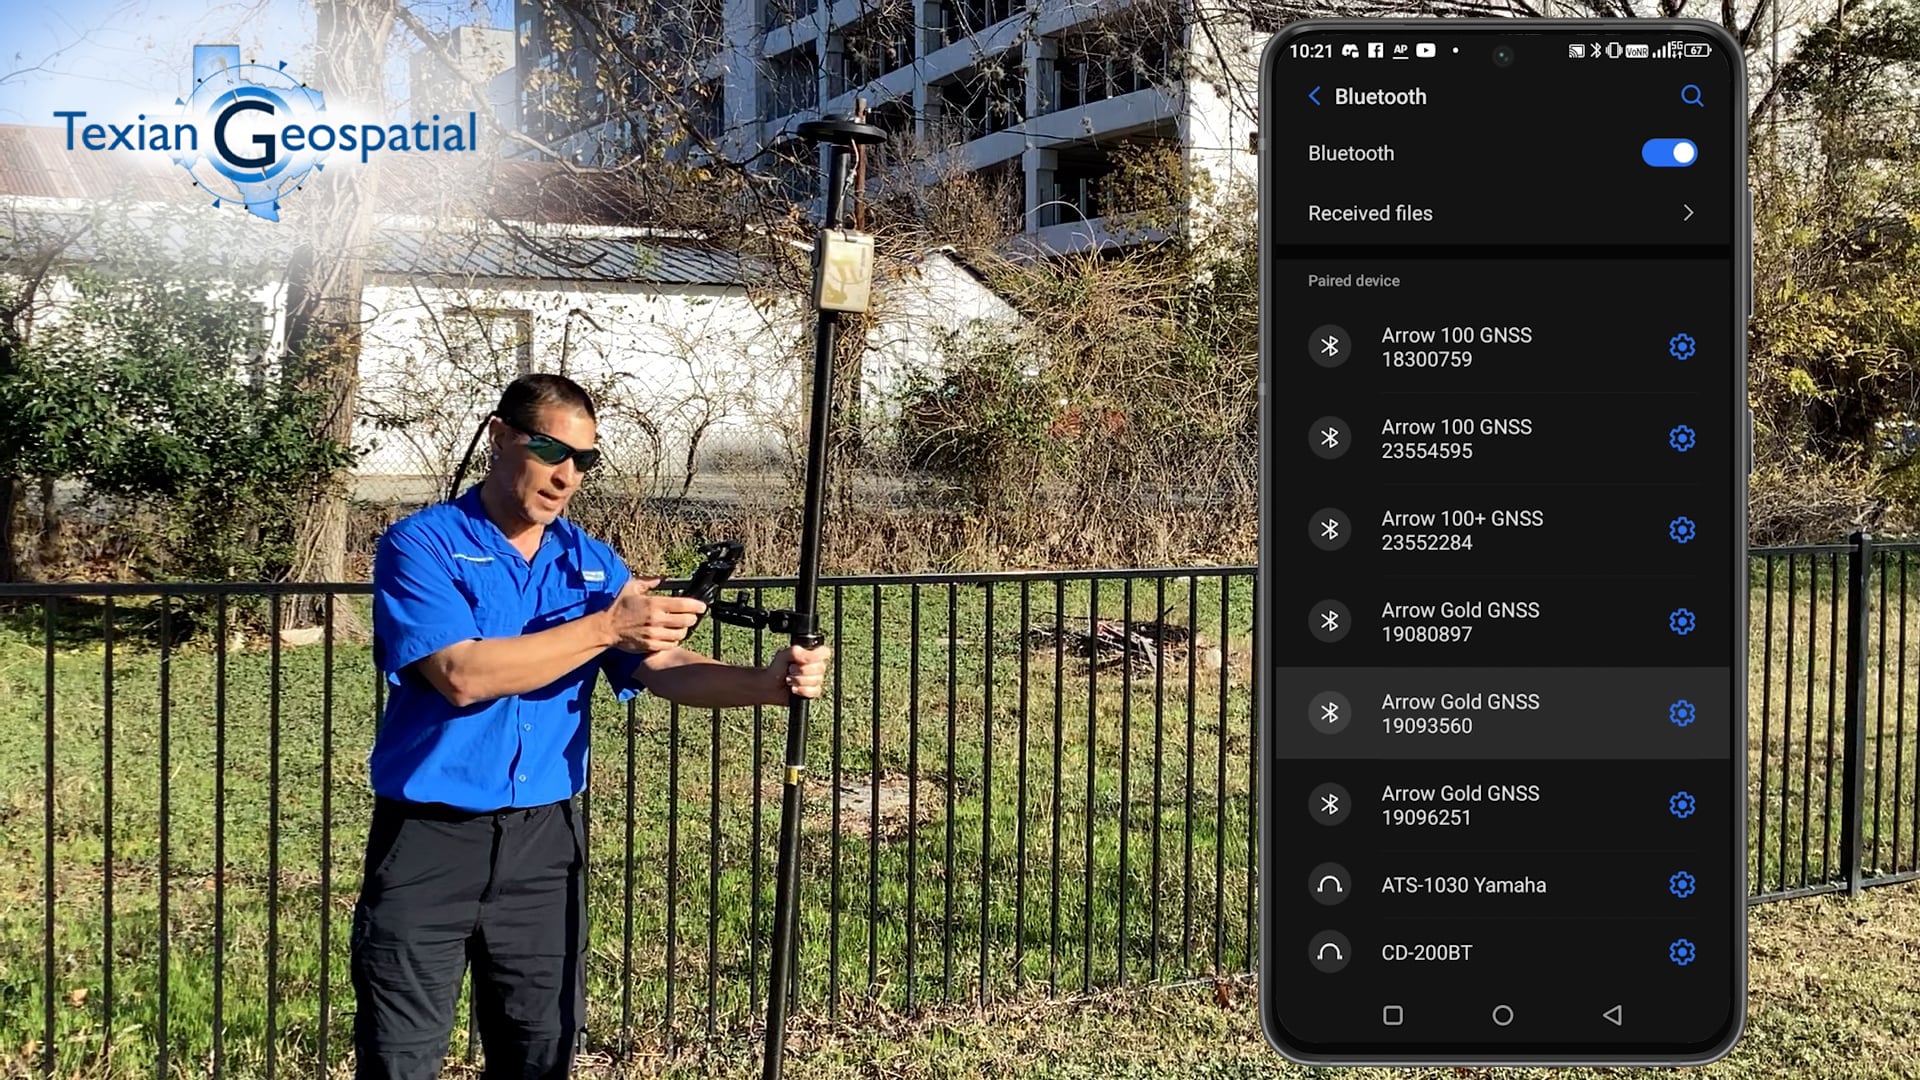
Then, go back into your Android device, go to the settings tab, find Bluetooth. Turn your Bluetooth on. Then, find the serial number that corresponds to your Arrow unit, and click it to enable.
Enabling Mock Location Within Eos Tools Pro
Okay, now that you have paired your Eos Arrow with Eos Tools Pro, we’re going to head inside the Eos Tools Pro application. Once inside, you should see a screen that says, “enable mock location.” Press “OK.”
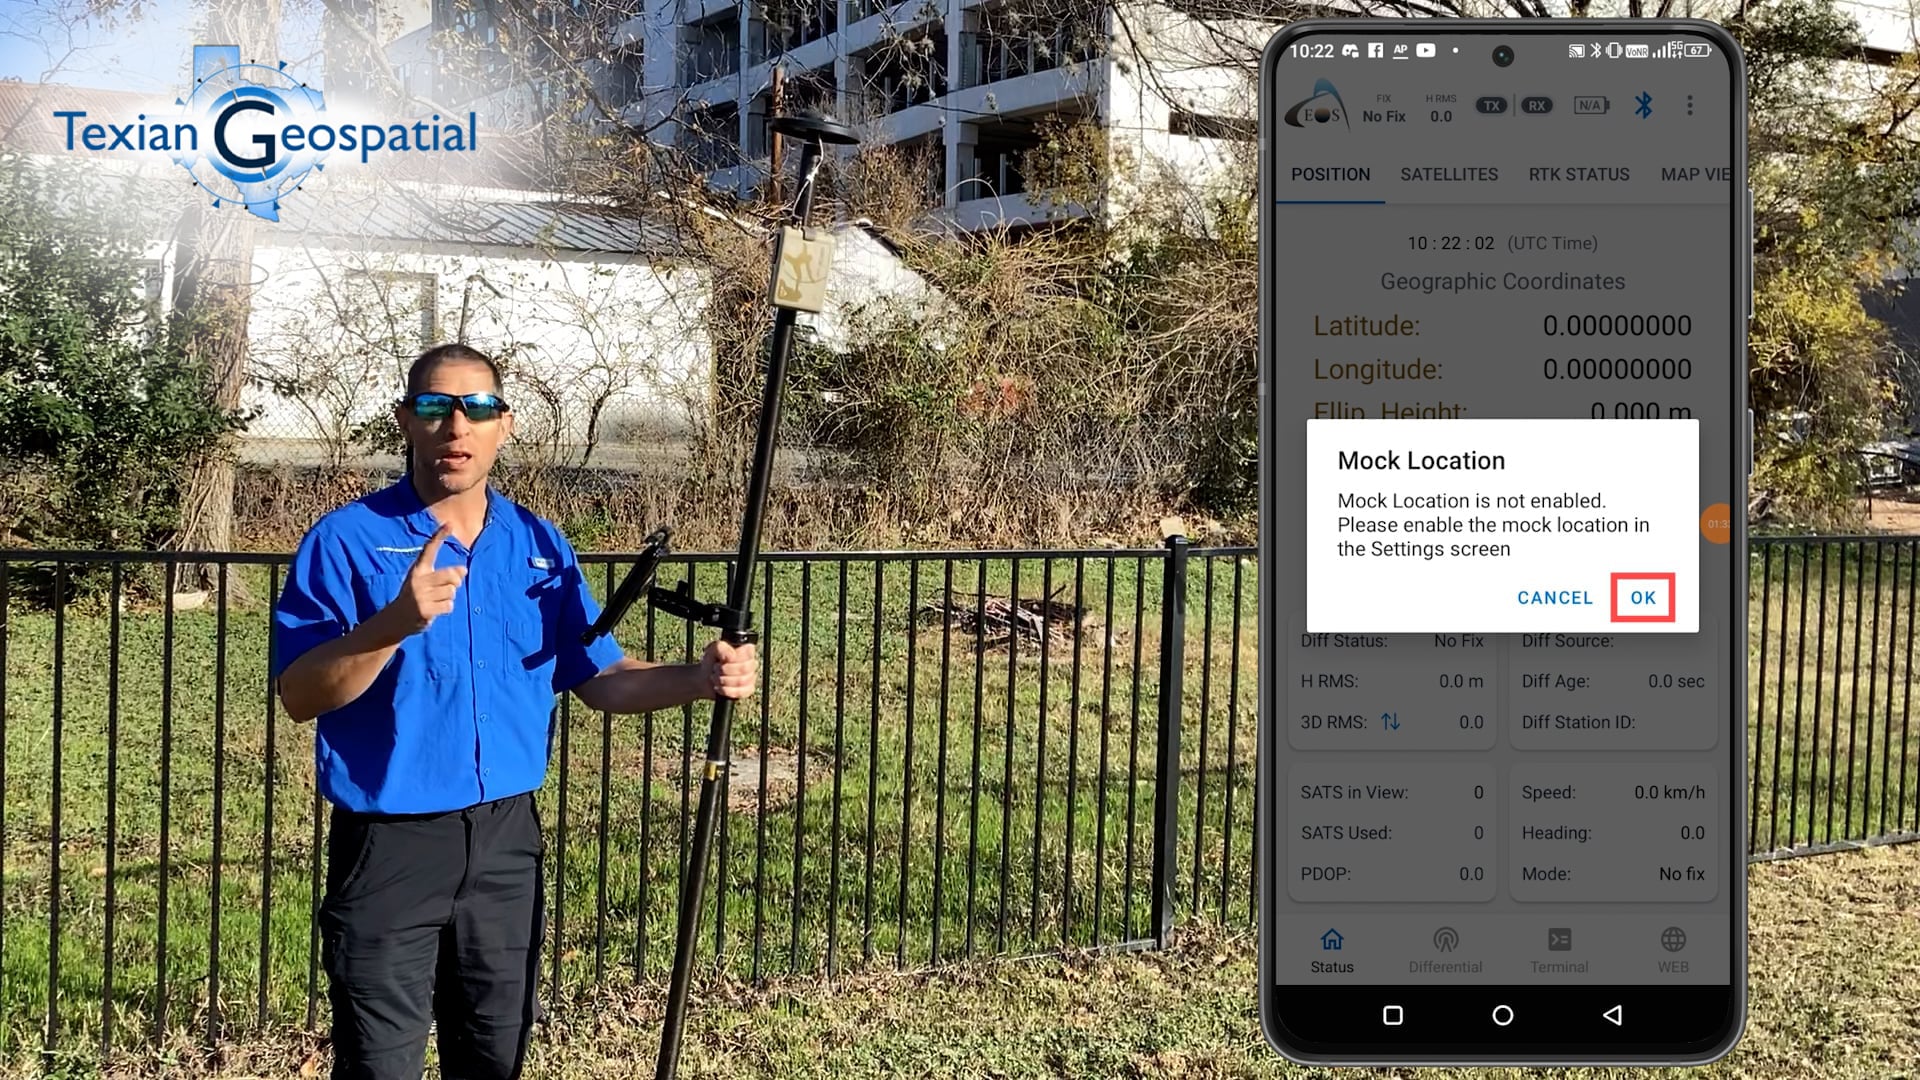
If you do not see that, go to the top of the screen, and press the ellipses button on the right.
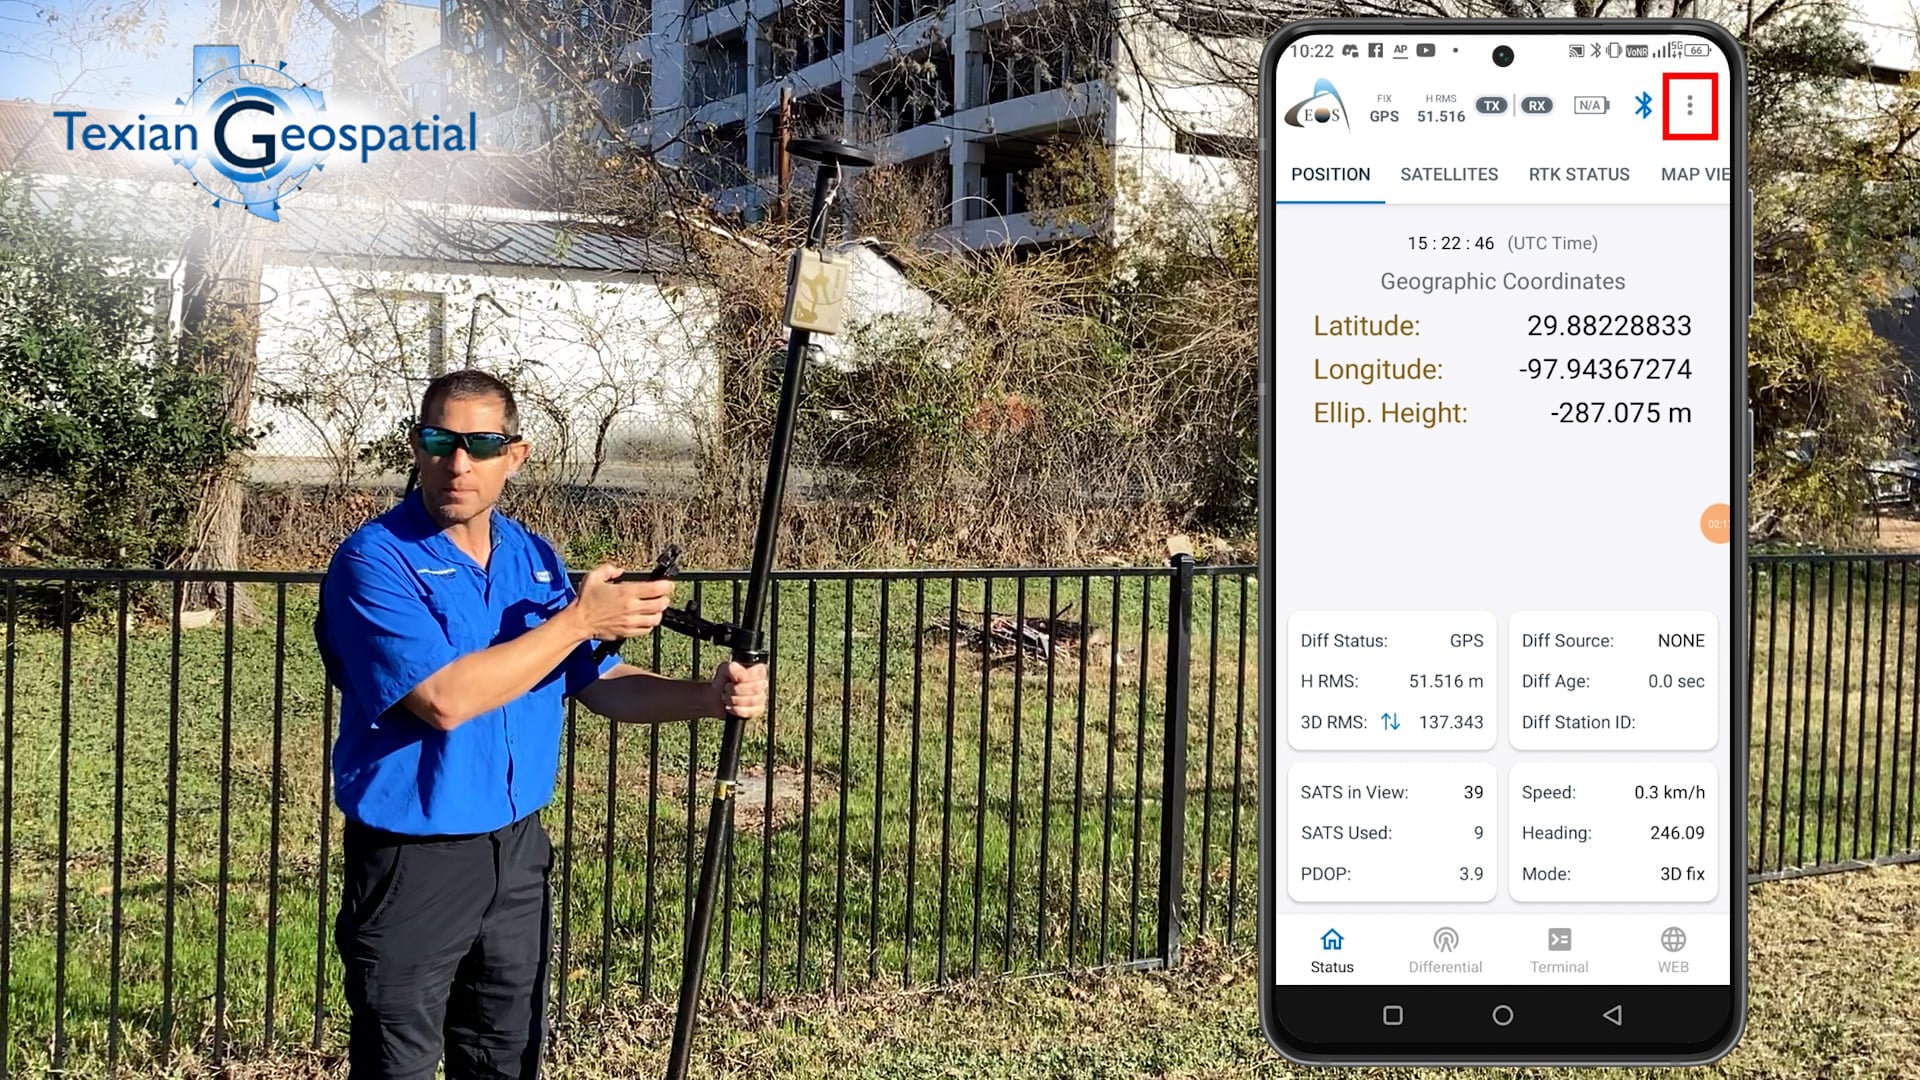
Once inside settings, you’re going to scroll down until you see “Replace Device Location.” Toggle that button on.
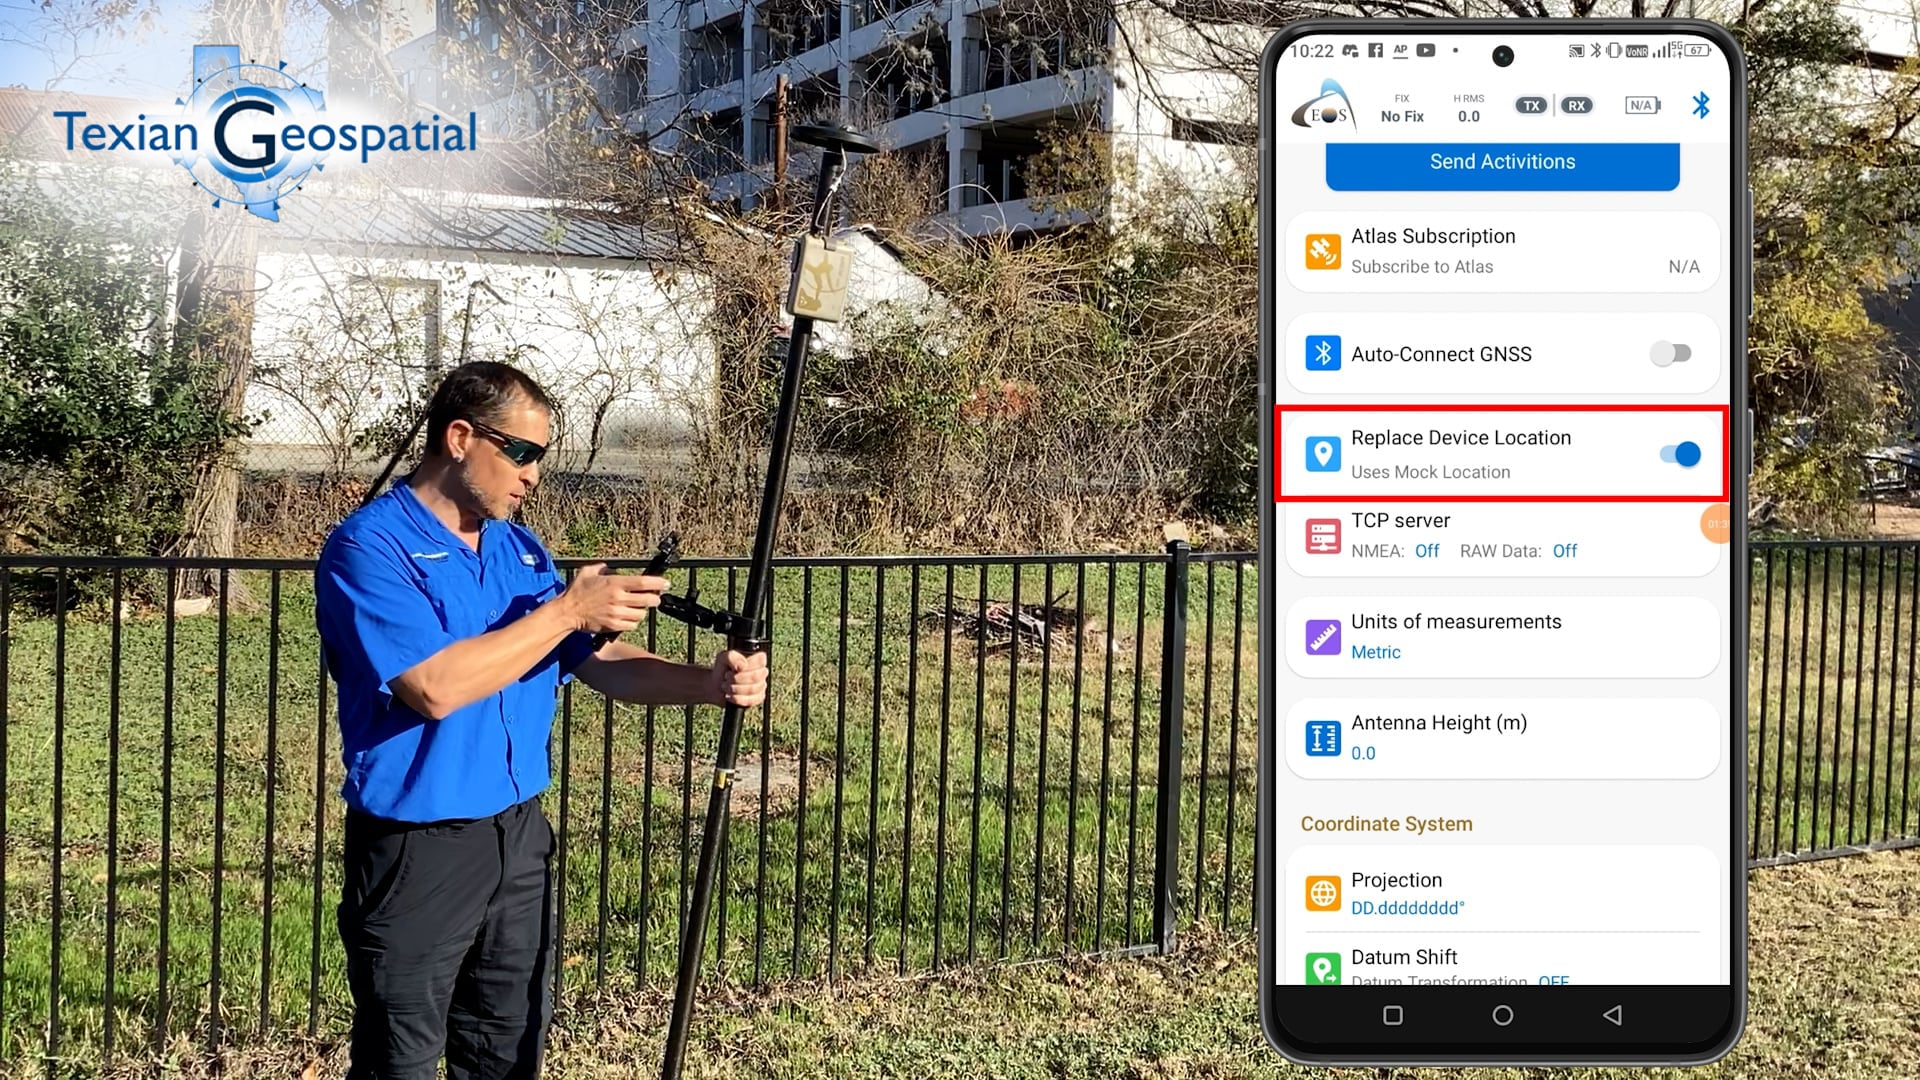
Alright folks, we have enabled mock location. We have paired your Bluetooth device with the Eos Arrow Gold unit, and we’ve paired the unit to Eos Tools Pro.
Validating Our High-Accuracy Location
We will now validate your results to make sure that you’re collecting with high accuracy.
The first thing you’ll do is you’ll head back into Eos Tools Pro and head to the “Map View” screen.
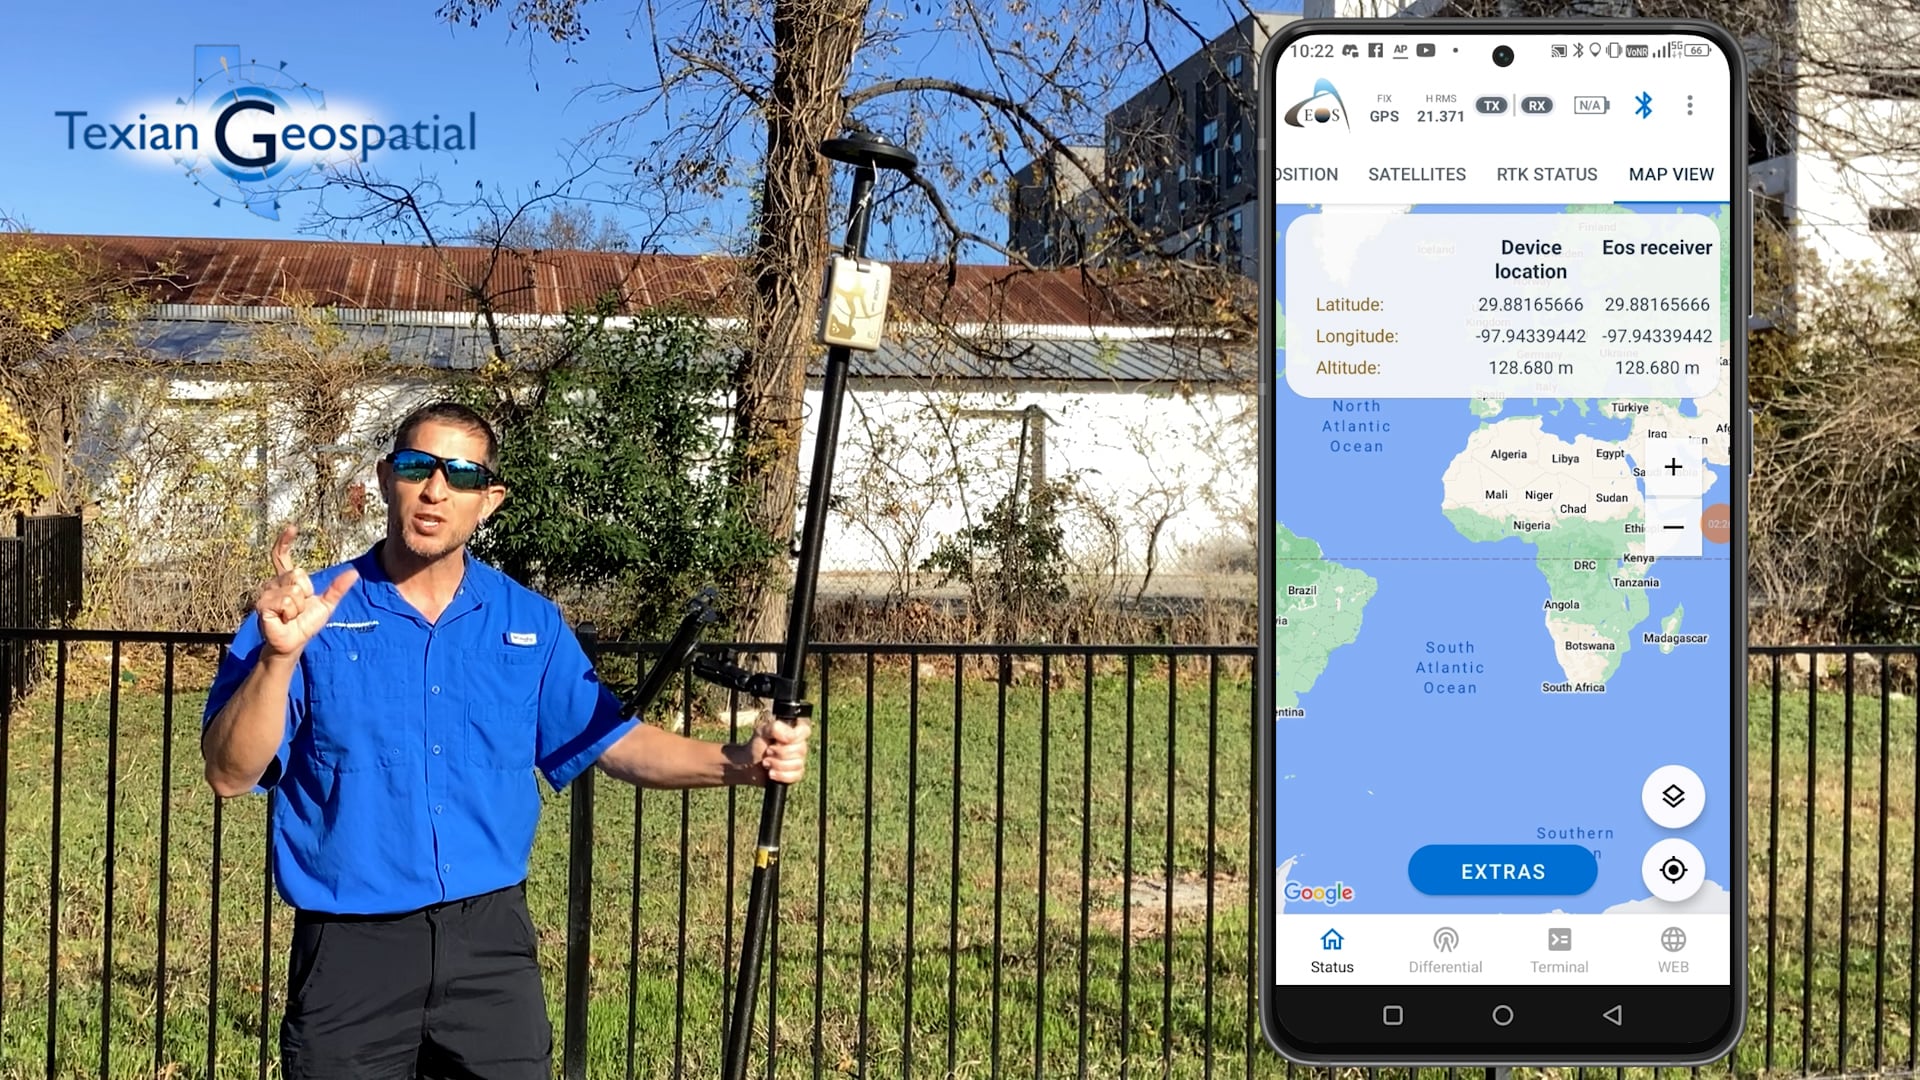
You should see, at the very top, a pop-up menu. This will read your device location and Eos receiver’s metadata.
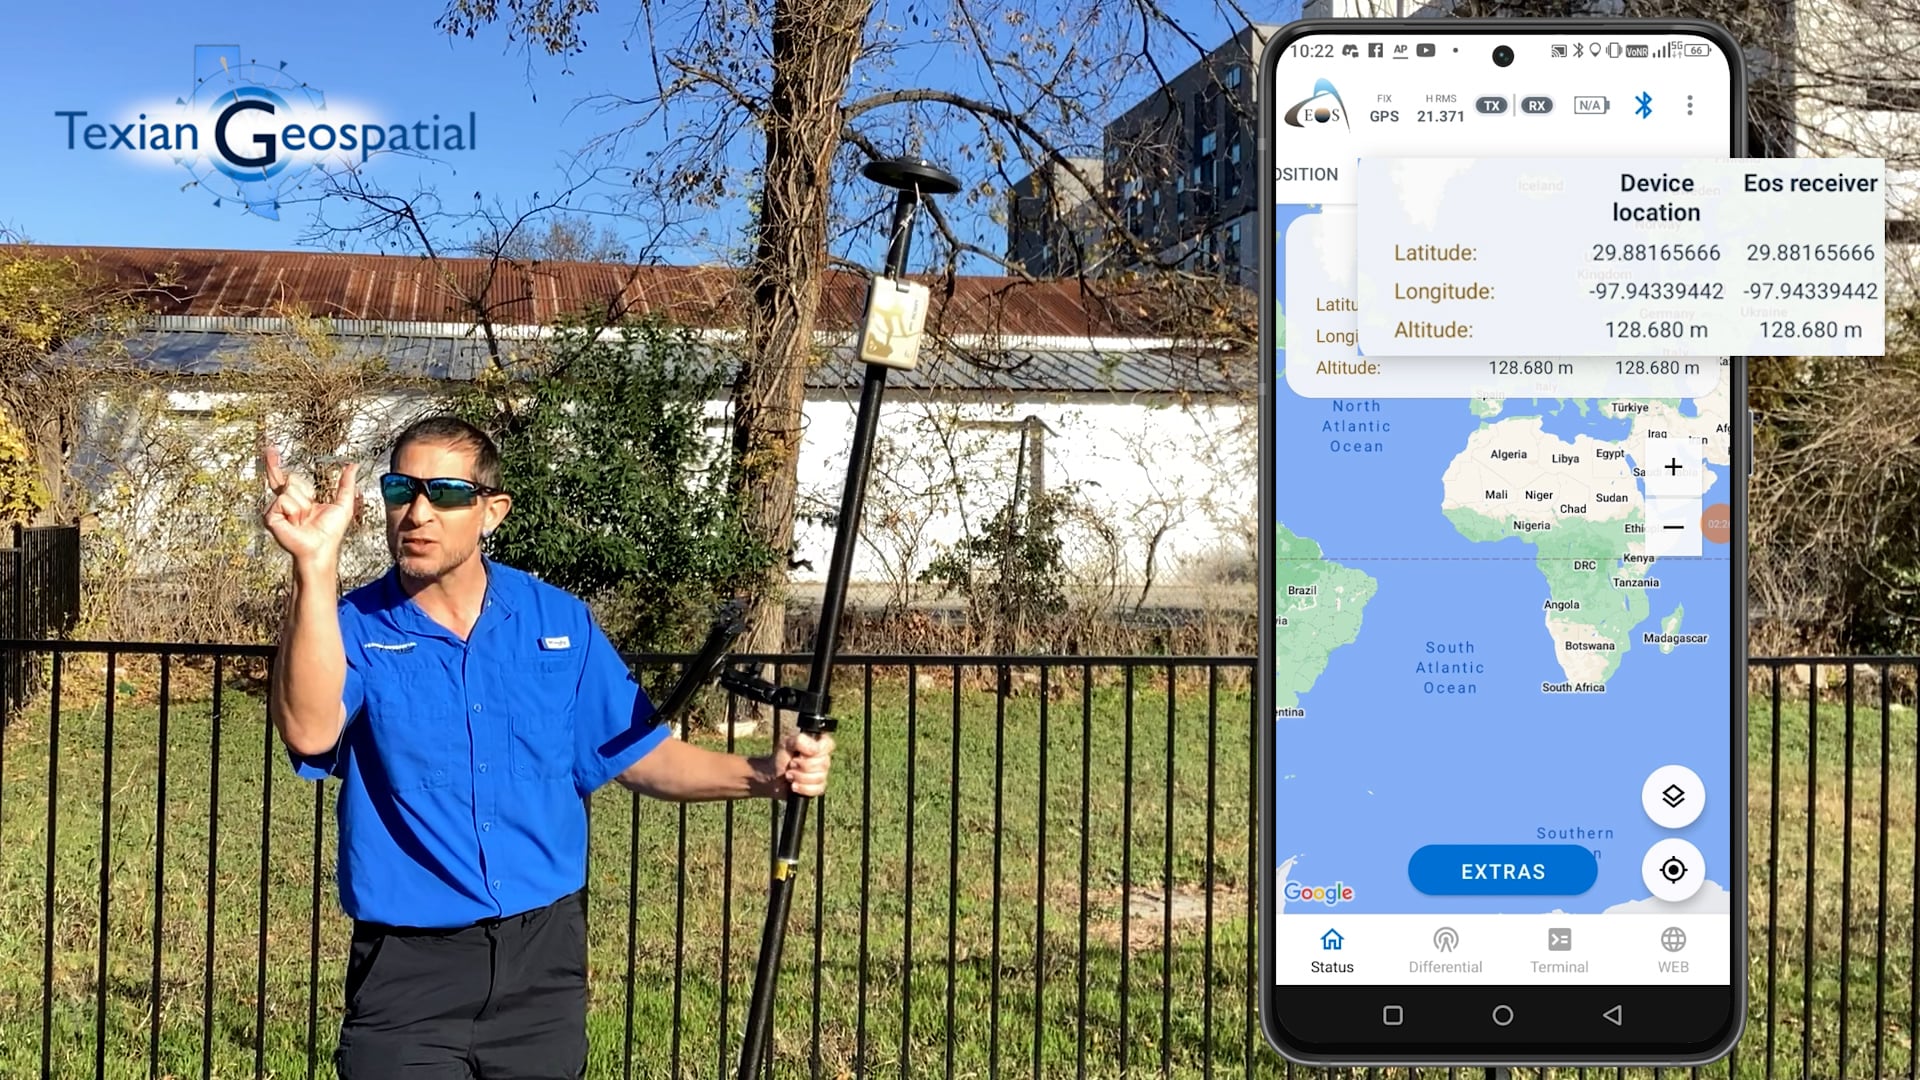
If those units match, you have enabled mock location.
Have More Technical Questions?
Eos’s technical support team and Texian Geospatial’s mapping experts are standing by to answer all your questions. Contact them any time via website, email, or phone!

