Last updated: March 2020
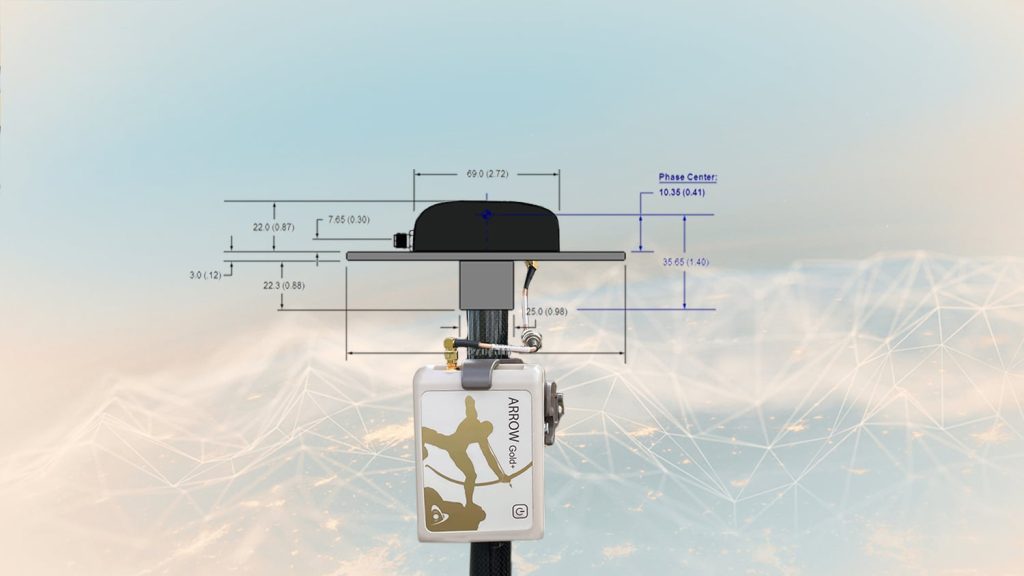
There is big news in mobile data collection for GIS field operations. It is now possible to record orthometric heights directly in the field without the need for post-processing. This is thanks in part to the Eos Arrow receivers, which now support Geoid models, and in part to the new Collector Aurora v18.1.0 featuring the Z-value (aka “elevation”) in the geometry. Collector v18.1.0 was formerly known as “Collector Aurora” during its beta phase, but now will be called simply “Collector” among ArcGIS professionals. The previous version of Collector is informally known as “Collector Classic”.
To take advantage of this, and record features with orthometric heights in the field, you will need to use ArcGIS for Desktop or ArcGIS Pro to create a feature class that is Z-enabled. If you have a previous map that you used with Collector Classic, you’ll need to modify these maps to support the elevation.
You will then need to configure Eos Tools Pro (on iOS® or Android) for your Arrow receiver to send orthometric heights in real time to Collector.
Play the video above, or follow along with the written steps below. Scroll down for a printable PDF resource.
To follow along you’ll need an Arrow receiver and the latest versions of Collector (v18.1.0) and Eos Tools Pro.
A) First, Enabling Z-Value in your map
Follow the steps below to enable Z-value in your map.
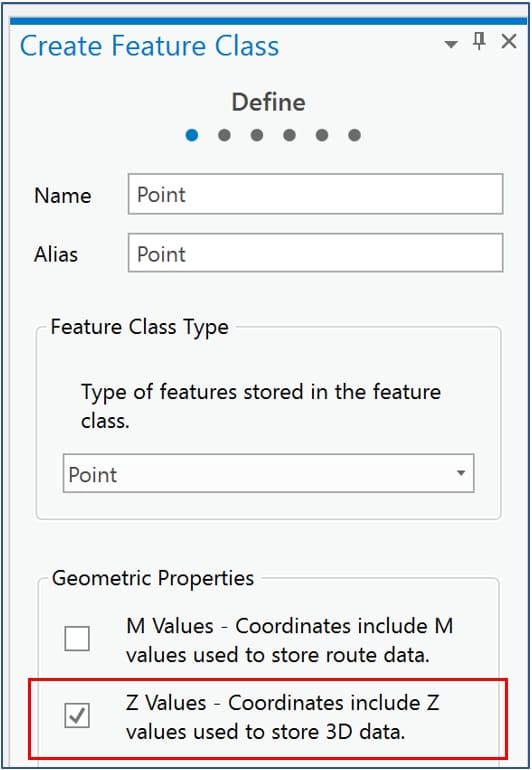
1. Using ArcGIS Pro or ArcGIS Desktop, create a new feature class with the following attributes:
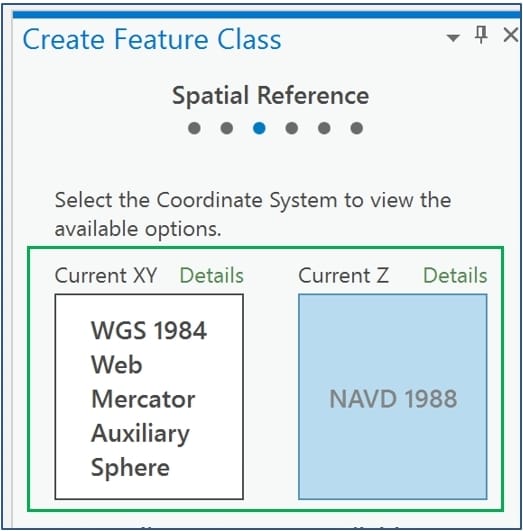
a) Create a Feature Class and Enable “Z Values”
b) Select your horizontal coordinate system of “WGS 1984 Web Mercator Auxiliary Sphere” (WKID 102100). (Unless you are using basemaps or imagery that are in a different datum.)
c) Select the vertical datum of “NAVD 1988” (WKID 5703).
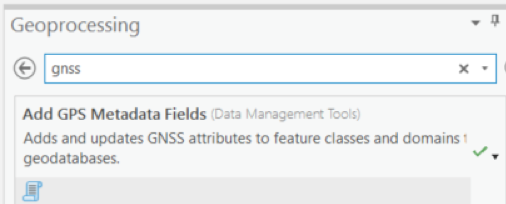
2. Run the “Add GPS Metadata Fields” tool (embedded on ArcGIS Pro) on the feature class to automatically add all available GNSS metadata fields.
Note: You will find this tool by accessing the Analysis tab and select the Tools icon.
3. Publish the layer to ArcGIS Online as a feature service.
4. Create a web map.
a) Add the new feature service to the web map.
b) Configure the pop-up to pull the Z-value from the feature geometry and display it in the pop-up:
i. Find the layer in the Contents pane on the left-hand side.
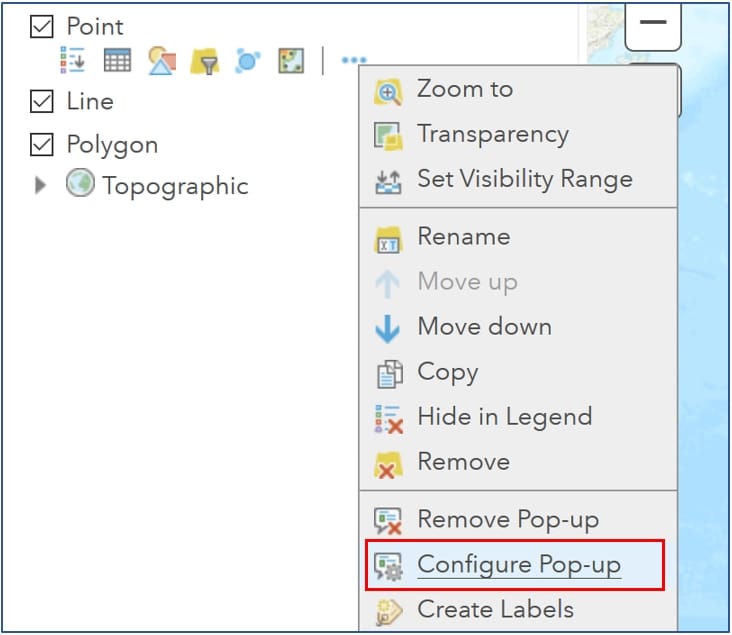
ii. Open the layer menu and select “Configure Pop-up”.
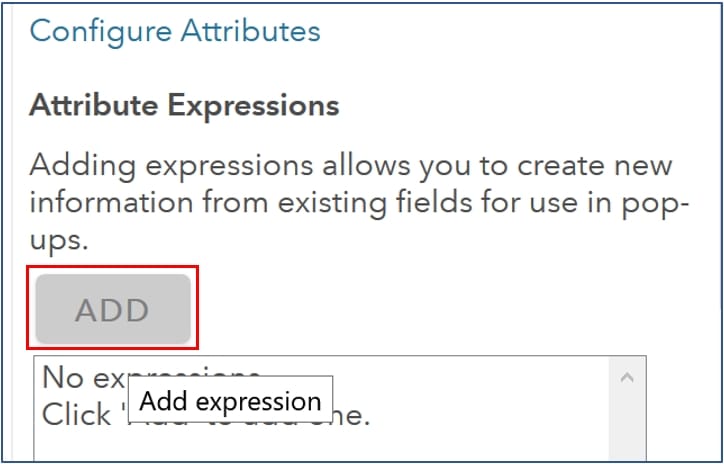
iii. Click the “ADD” button under the Attribute Expressions section.
iv. Create a new Expression called “Ortho Ht. (m)’’ and copy and paste “Round(Geometry($feature).Z, 3)” into the expression box, and then click the “Okay” button.
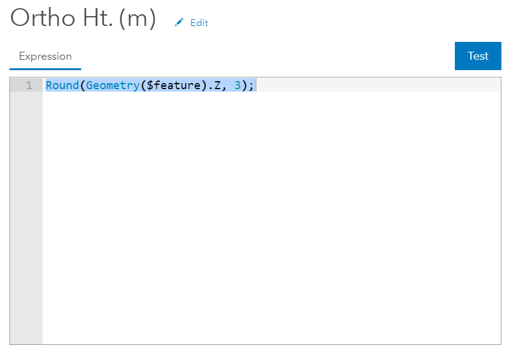
This will create the Orthometric Height Field in meters (with 3 decimals) in the layer.
v. Create a new Expression called “Ortho Ht. (ft)’’ and copy and paste “Round(Geometry($feature).Z*3.28084, 3)” into the expression box, and then click the “Okay”
This will create the Orthometric Height Field in feet (with 3 decimals) in the layer. Click OK to finish the process.
vi. Click “Ok” again to get out of the configure pop-up menu.
vii. Save the map.
The orthometric heights from your Eos Arrow GNSS receiver will now be stored into the geometry of the feature, and it will be displayed in the pop-up within the Collector app.
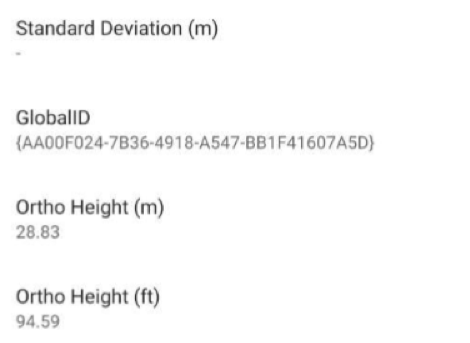
B) Second, Configure Eos Tools Pro to output orthometric heights from the Geoid model
We will now setup Eos Tools Pro to use the Geoid model. You will need both an Internet connection for your device, and the Arrow to be connected via Bluetooth to the same device.
1. Open the Eos Tools Pro app and navigate to the “Altitude” settings under the “Config” menu.
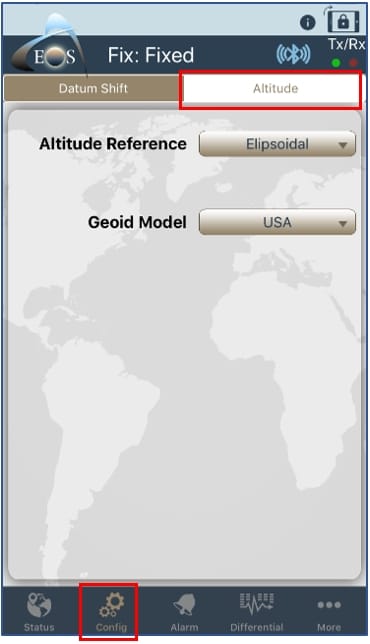
2. Select/Download the appropriate Geoid model for your area.
a) First, from the “Altitude Reference” pull-down, select “Orthometric”.
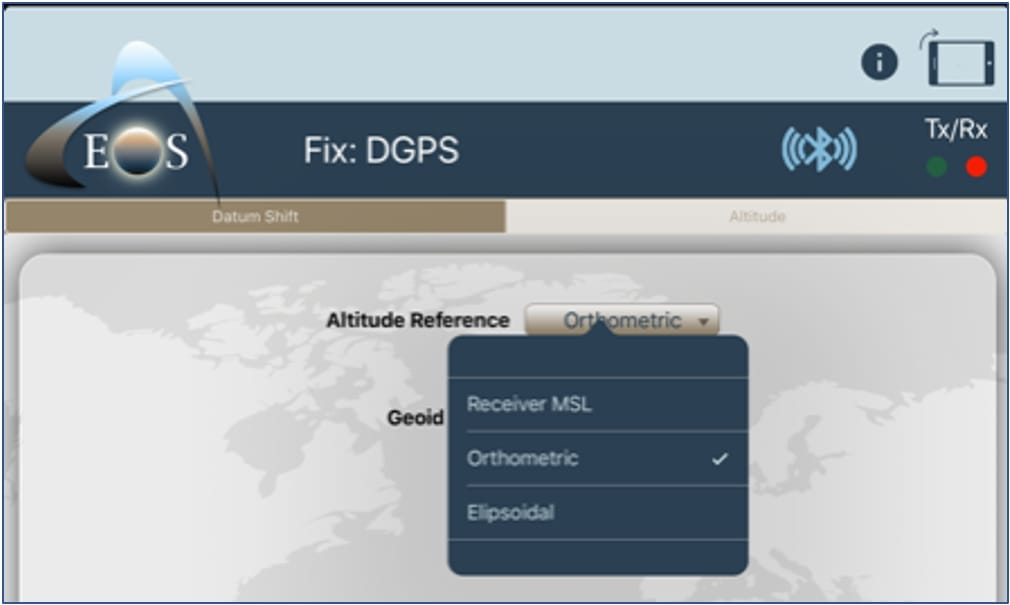
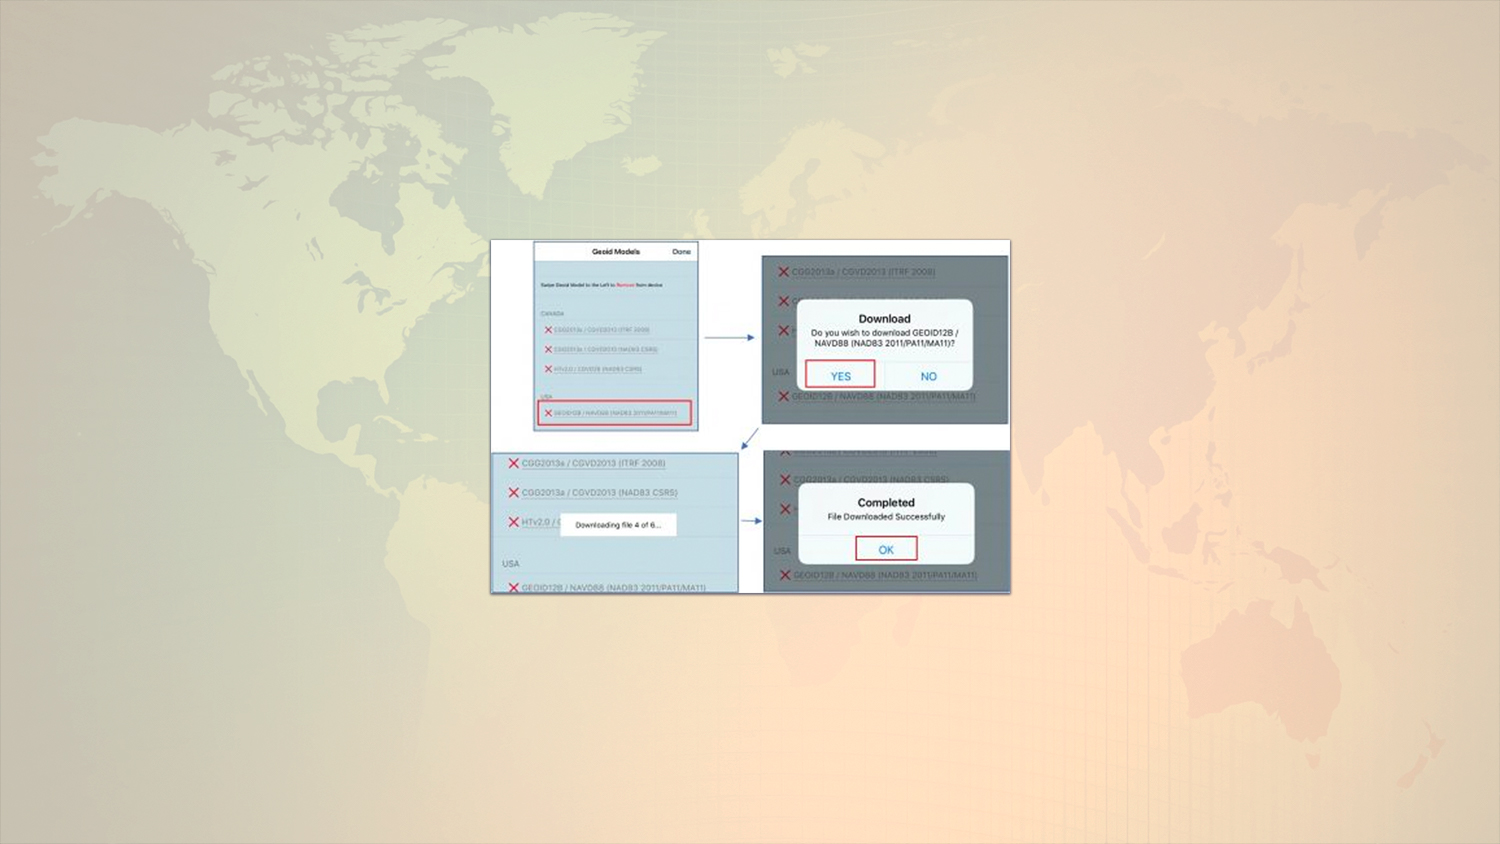
b) The Geoid model list, which is sorted per country, will be displayed. Select the proper Geoid model for your country. For example, for the United States, select GEOID12B. Then tap “YES” to download the Geoid model files to your device. Wait for all the files to be downloaded, and then tap “OK”.
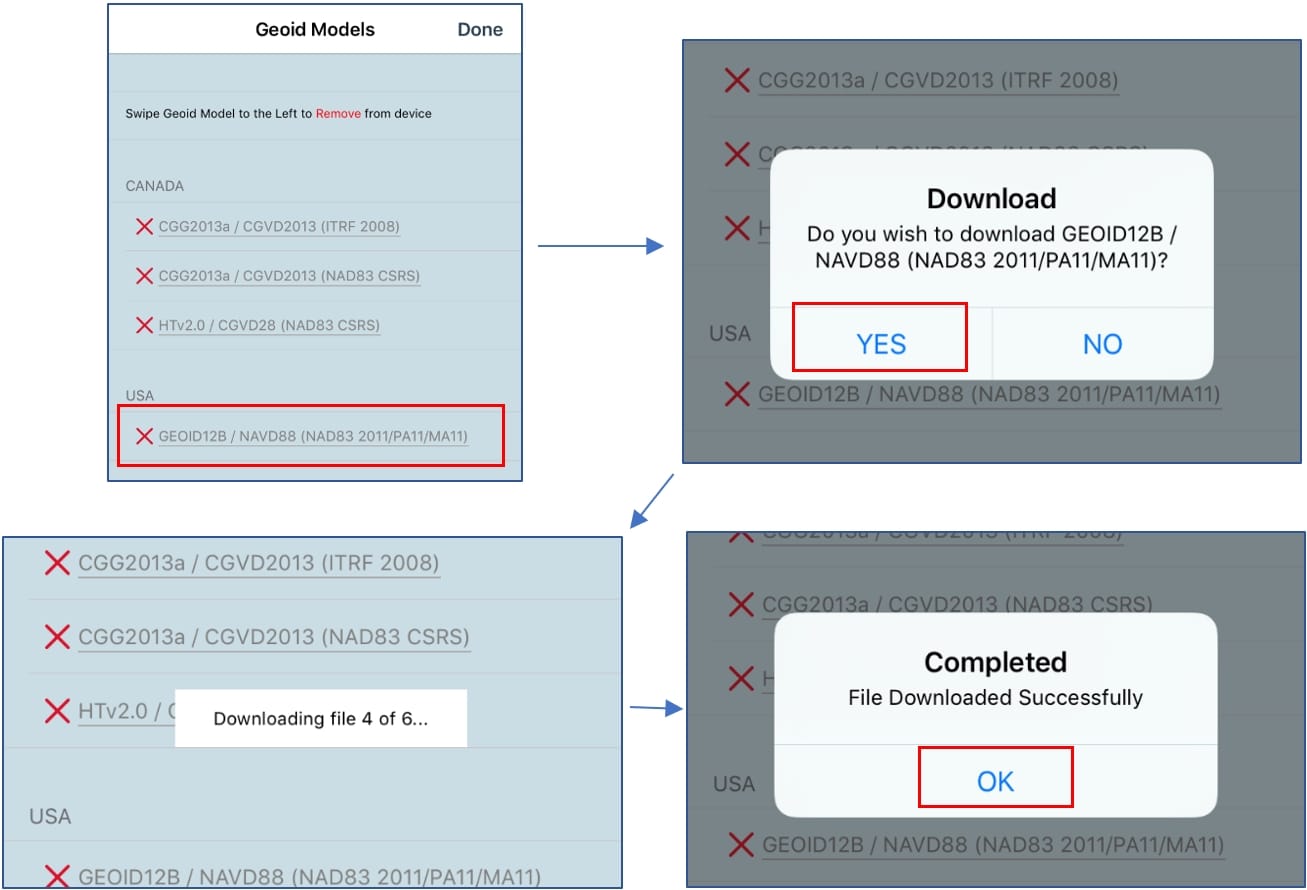
c) Once the files are downloaded, a green checkmark √ will replace the X on the left of the listed Geoid model. This confirms that all the geoid model files are available locally on your device. Make sure to tap on the Geoid model to select it (a blue checkmark √ will be displayed on the right to confirm the selection).
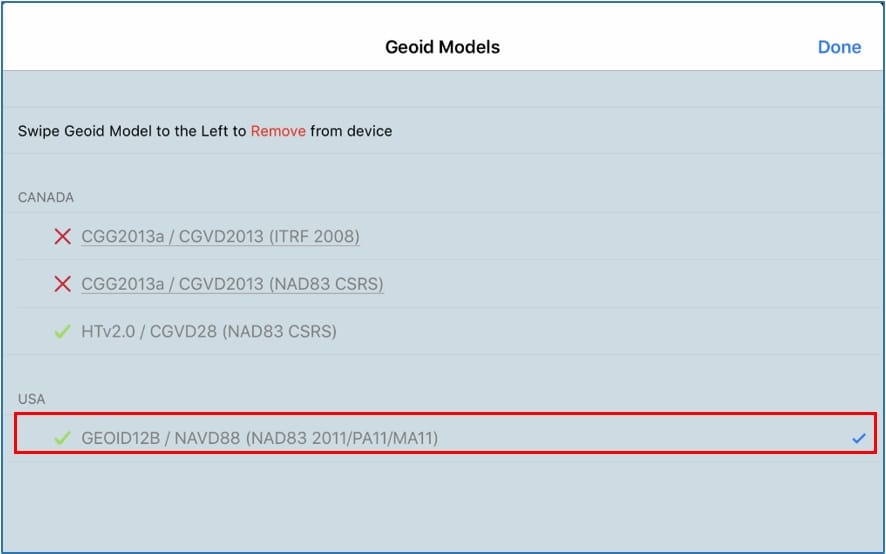
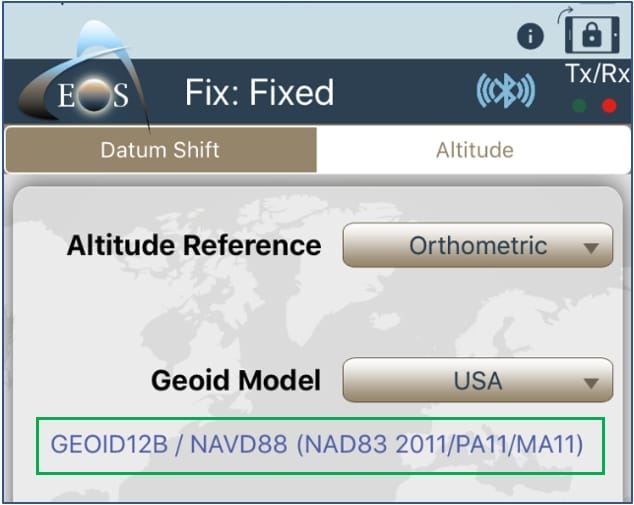
3. Make sure that the correct Geoid model and Altitude Reference are selected.
The Geoid model in use will be displayed below the selection pull-downs.
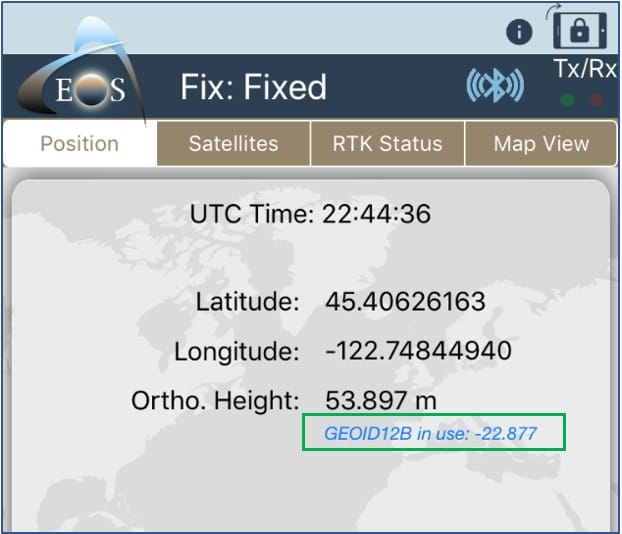
4. Verify that the geoid is in-use.
Go back to the “Position” page and navigate to the “Status” menu. With the Arrow outputting a valid position, the Geoid undulation will be computed for your location, and will be displayed below the “Ortho. Height” value.
C) Adding the XY Tool on your layer to populate Ortho Height
1. Open your point layer (or map containing the point layer) in ArcGIS Pro.
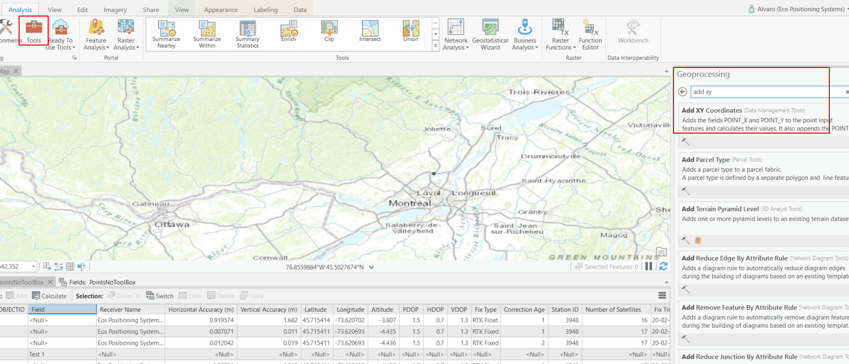
2. Select the “Analysis” tab and click on the Tools Search ‘’Add XY Coordinates” with the search bar on the left.
3. Click on the Browse folder and find your point layer and click “Open”.
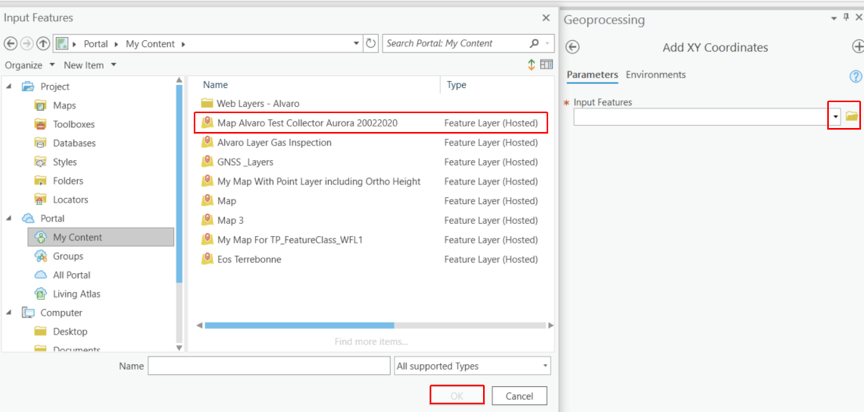
4. Click on Run to start the process.
Once done you should be able to see the Orthometric Height (in meters) displayed in the “POINT_Z” column.
You are now ready to collect true survey-grade orthometric heights directly in the field with your Collector app and Eos Arrow GNSS receiver!
A few helpful related facts:
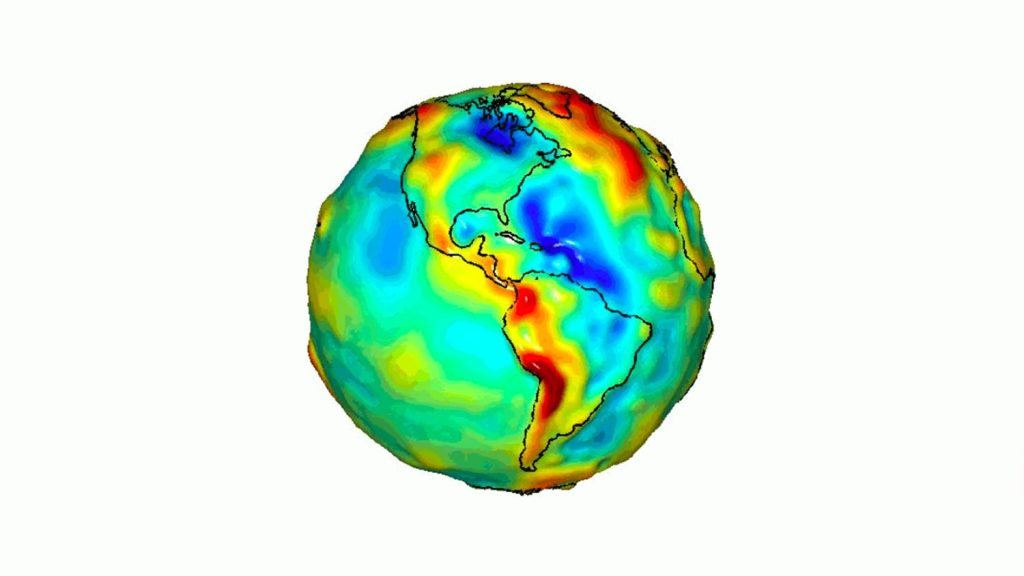
Geoid models are “tied” to a horizontal datum. For example, for the United States, as of January 2019, the Geoid model used for the NAVD88 US vertical datum is the GEOID12B. The GEOID12B is “tied” to the NAD83 (2011) horizontal datum ellipsoid. For your Arrow to output coordinates in NAD83 (2011), it must be receiving corrections from base stations/RTK Networks also referenced to NAD83 (2011).
Current limitations with ArcGIS (as of January 2020):
There are only two places where the orthometric heights can be displayed:
- In Collector with an active Internet connection (not in offline mode)
- In ArcGIS Pro
You will not be able to view the elevations (z value) in the pop-up of the Map Viewer for ArcGIS Online.

