Synopsis
Eos Locate™ is a solution based within Eos Tools Pro that allows a field worker to collect georeferenced data of underground assets by using Esri’s ArcGIS Collector. The data collected includes all parameters from a locator device (such as depth below cover and frequency) along with high-accuracy GNSS locations and metadata from your Arrow receiver. This video series will walk you through the steps required to perform your locate workflow. This video starts with creating your locate layer in ArcGIS Pro, using the Eos Locate™ Toolbox, and publishing your web map.

Welcome to Eos Locate™ for ArcGIS®. Eos Locate™ is a solution based within Eos Tools Pro that allows a field worker to collect georeferenced data of underground assets by using Esri’s ArcGIS Collector. The data collected includes all parameters from a locator device (such as depth below cover and frequency) along with high-accuracy GNSS locations and metadata from your Arrow receiver.
This video series will walk you through the steps required to perform your locate workflow. This video starts with creating your locate layer in ArcGIS Pro, using the Eos Locate™ Toolbox, and publishing your web map.
Before you start, make sure your ArcGIS Pro software license is up to date, and that you have downloaded the Eos Toolbox for ArcGIS .zip file from your Eos Locate™ Manual to your PC and extracted the content.
If you still need the manual, visit the Eos Locate™ page at this link.
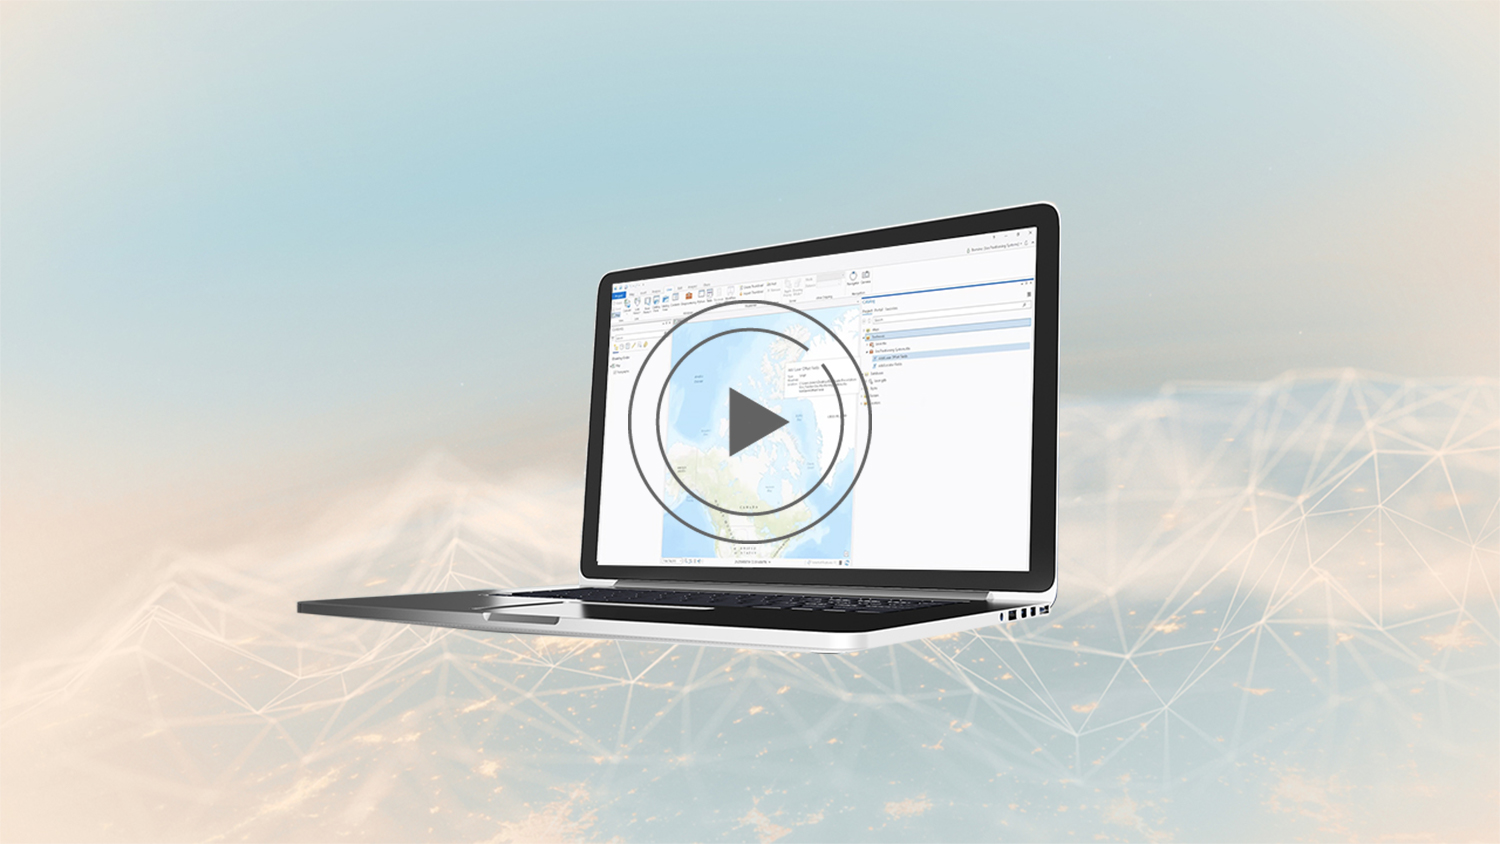
Now, open up ArcGIS Pro and log in to your ArcGIS account. Create or Open a New Project. We are going to title our project “LocateDemo.”
Next, click on View and select Catalog Pane. On the Catalog Pane (on the right) select Databases and right click on the database of your map. Select New/Feature Class to create the feature class that will be used with the Locator metadata.
Now, on the Define page, name your feature class/alias. We will name ours “LocateDemo.” Next, select Point as the Feature Class Type. Make sure to check the ‘’Z-Values’’ box in the Geometric Properties. Click on Next twice.
Now, in the Spatial Reference menu, you will select your horizontal and vertical datum.
For this example, we will set the horizontal datum to WGS 1984 Web Mercator Auxiliary Sphere, because this is the world’s most commonly used horizontal datum. Next, we will set our vertical datum to NAVD88 because we are in the United States. Eos Tools Pro will o utput real-time orthometric heights based on the U.S. GEOID18 model. If you are unsure of which coordinate system/datum to use, be sure to consult with your GIS specialist.
Click Finish. Your feature class is now prepared. Now, we will add a GlobalID to your layer.
In the Catalog Pane, Click Databases, then right click your locate layer. Hover over Manage, then click Add Global IDs.
Next, you will add fields for locate and GNSS metadata to the feature class you just created.
To do this, from the Catalog Pane, right click on Toolboxes and select Add Toolbox. This is where you will need the Eos Toolbox for ArcGIS that you downloaded before the tutorial. Browse and select the extracted Eos Positioning Systems.tbx Toolbox. Click OK.
The Eos Positioning Systems.tbx toolbox should now be listed under the Toolboxes menu. Right click on Add Locator Fields and click Open.
In the Geoprocessing Pane, click the file folder icon to generate a popup asking you to select your feature class. Select the point feature class for which you want to populate the metadata, and click Open. Now, once the Geodatabase is opened, select the feature class and click OK.
Click Run to add the metadata to the feature class (point). This process may take a few minutes to complete.
Next, under Catalog tab, under the Project tab, select Databases. Right click your layer, and select Add To Current Map. Your Point Feature Class now has the GNSS metadata and Eos Locate™ fields.
To verify that this is the case, go into the Contents tab. Right click your layer, and hover over Design. Then, click Fields. Now, you should see all your GNSS and locate fields displayed in the table.
Now that you have added fields for GNSS and locator metadata to your feature class, you will publish your web layer.
From the Share tab, select Web Layer/Publish Web Layer.
Under the General tab enter the following Item Details: Name, Summary and tags. You can also select which groups you’d like to share the web layer with.
Next, tap the Configuration tab and enter the Feature Properties for your layer by pressing the Edit button (pen icon on the right).
Check the following boxes under the Operations property:
- ‘’Enable editing and allow editors to:’’;
- ‘’Enable Sync’’; and
- ‘’Export Data’’.
Next click Publish. To confirm that the layer is successfully published, you should receive this confirmation.
Now, your web layer has been successfully published. Next, you can move on to creating your web map.
Under the Share tab, click Web Map. Now, under the General tab, enter the following Item Details: Name, Summary and tags. Add the Tag: “Eos_Locate”. You must add the “Eos_Locate” tag before sharing the Map, otherwise the solution will not work.
Select who you’d like to share the map with, and click Share. To confirm that the web map successfully shared, you should receive this confirmation.
Congratulations ! You have now successfully published your web map.
Next, we will log into ArcGIS Online to configure your attributes.
Under the Content tab, click on your locate web map. Now, click Open in Map Viewer on the right. Under the Content tab, you should see your locate layer.
Expand the options by clicking the ellipses (…) and select Configure Pop-up. In the Configure Pop-up section, click Configure Attributes. Now, in the Configure Attributes pop-up, select all fields that contain Latitude and Longitude values. Set the Format to “8 decimal places” and then click OK.
Do this for every Latitude and Longitude point. For Latitude and Longitude, you will modify four total fields and set them to 8 decimal places. These fields include:
- ESRIGNSS_LATITUDE
- ESRIGNSS_LONGITUDE
- EOS_LATITUDE_SHIFT
- EOS_LONGITUDE_SHIFT
While still in the Configure Attribute pop-up, also select all fields that will contain Altitude values. Set the Format to “3 decimal places” and click OK.
For Altitude values, you will modify seven total fields and set them to 3 decimal places. These fields include:
- ESRIGNSS_ALTITUDE
- EOS_ORTHO_HEIGHT
- EOSLOCATE_DEPTH
- EOSLOCATE_MARKER_DEPTH
- EOSLOCATE_GNSSANTH
- EOS_UNDULATION
- EOS_ALTITUDE_SHIFT
When done, go back to the Configure Pop-up Pane, and click OK.
Now, set your map to the zoom level desired, and save your map. Here, you can give your map a title, category, and assigned tags. Once again, be sure to tag your map with eos_locate. The solution will not work without this tag. Now Share your map with its desired user groups by choosing from the options. Click Done.
To verify that your map is properly published, open ArcGIS Collector on your iOS® device. Browse to the group that you have shared the map with and open the map.
Click on the + button. The newly created Eos Locate™ layer should be listed.
Nice work! Your web map is now configured.
You will find a complete manual on how to setup Eos Locate™ with your kit. If you have any additional questions, please contact technical support on the Eos website.
If you have any additional questions, please contact Eos technical support.


