This is Step 2 of 3 // Return to Step 1
We will do two things here:
- Pair the Arrow with Windows via Bluetooth
- Install & run the Eos Tools Pro application
A. Pair the Arrow With Windows via Bluetooth
The basic steps to pair to Windows 11 are the same and you should be able to follow this guide to get set up, but if not please contact our technical support team.
Your Arrow unit works with Secure Simple Pairing in Windows 10, and should not need a passkey. If for some reason, Windows does ask for a passkey, you can use 12345678.
On the Windows taskbar, click Show hidden icons and then click the Bluetooth icon. In the flyout menu, choose Add a Device.
(If there is no Bluetooth icon, your Bluetooth connection is probably turned off. Turn it on at Settings > Devices > Bluetooth. This will take you to the same screen as clicking Add a Device.)
On the Bluetooth Device screen, click Add Bluetooth or other device, then select Bluetooth in the next dialog box. Windows will scan, and you must click the Arrow unit on the list.
Windows will let you know the device is now paired.
B. Install & Run Eos Tools Pro
Visit our Eos Tools Pro page and click the Windows 10 install link.
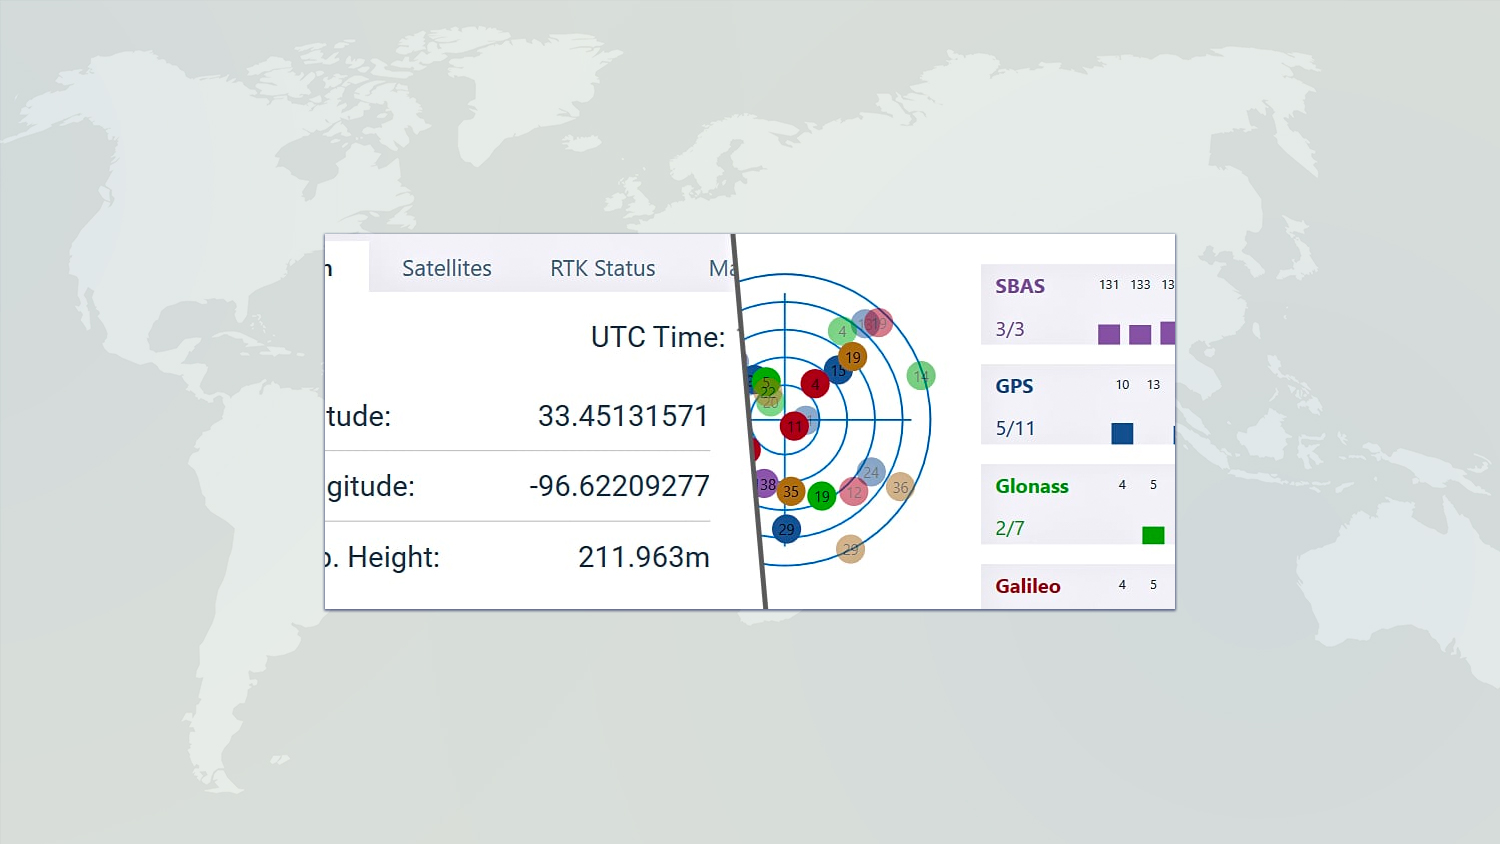
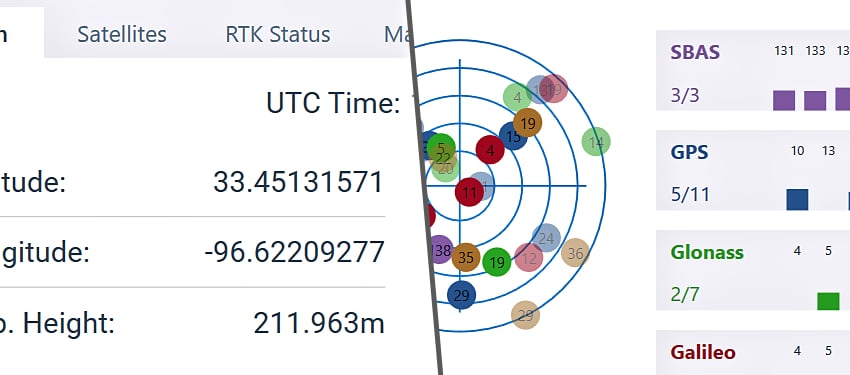
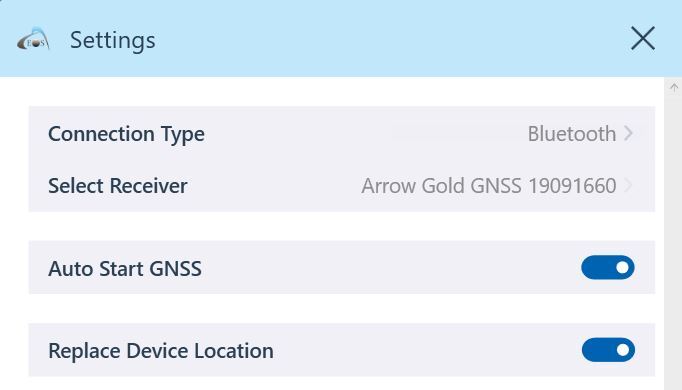
Once installed, start the application. Click the Settings icon in the upper right, and then Select Receiver. Choose your paired Arrow unit.
Now click Start GNSS next to Settings.
Click the Settings icon in the upper right, and then enable Replace Device Location.
NEXT: Completing the Hardware Setup
The Arrow unit is now paired with Windows 10, and the application is accessing it.
The Eos Tools Pro application is expecting to receive data, but the antenna needs to be attached first.
Choose which mounting option you are using:
Having trouble? Contact Technical Support >

